Panda Hue OTG
- Product Link: Click to buy
Revision Log
| Version | Date | Revision |
|---|---|---|
| v1.00 | September 5th, 2025 | Initial Version |
Introduction
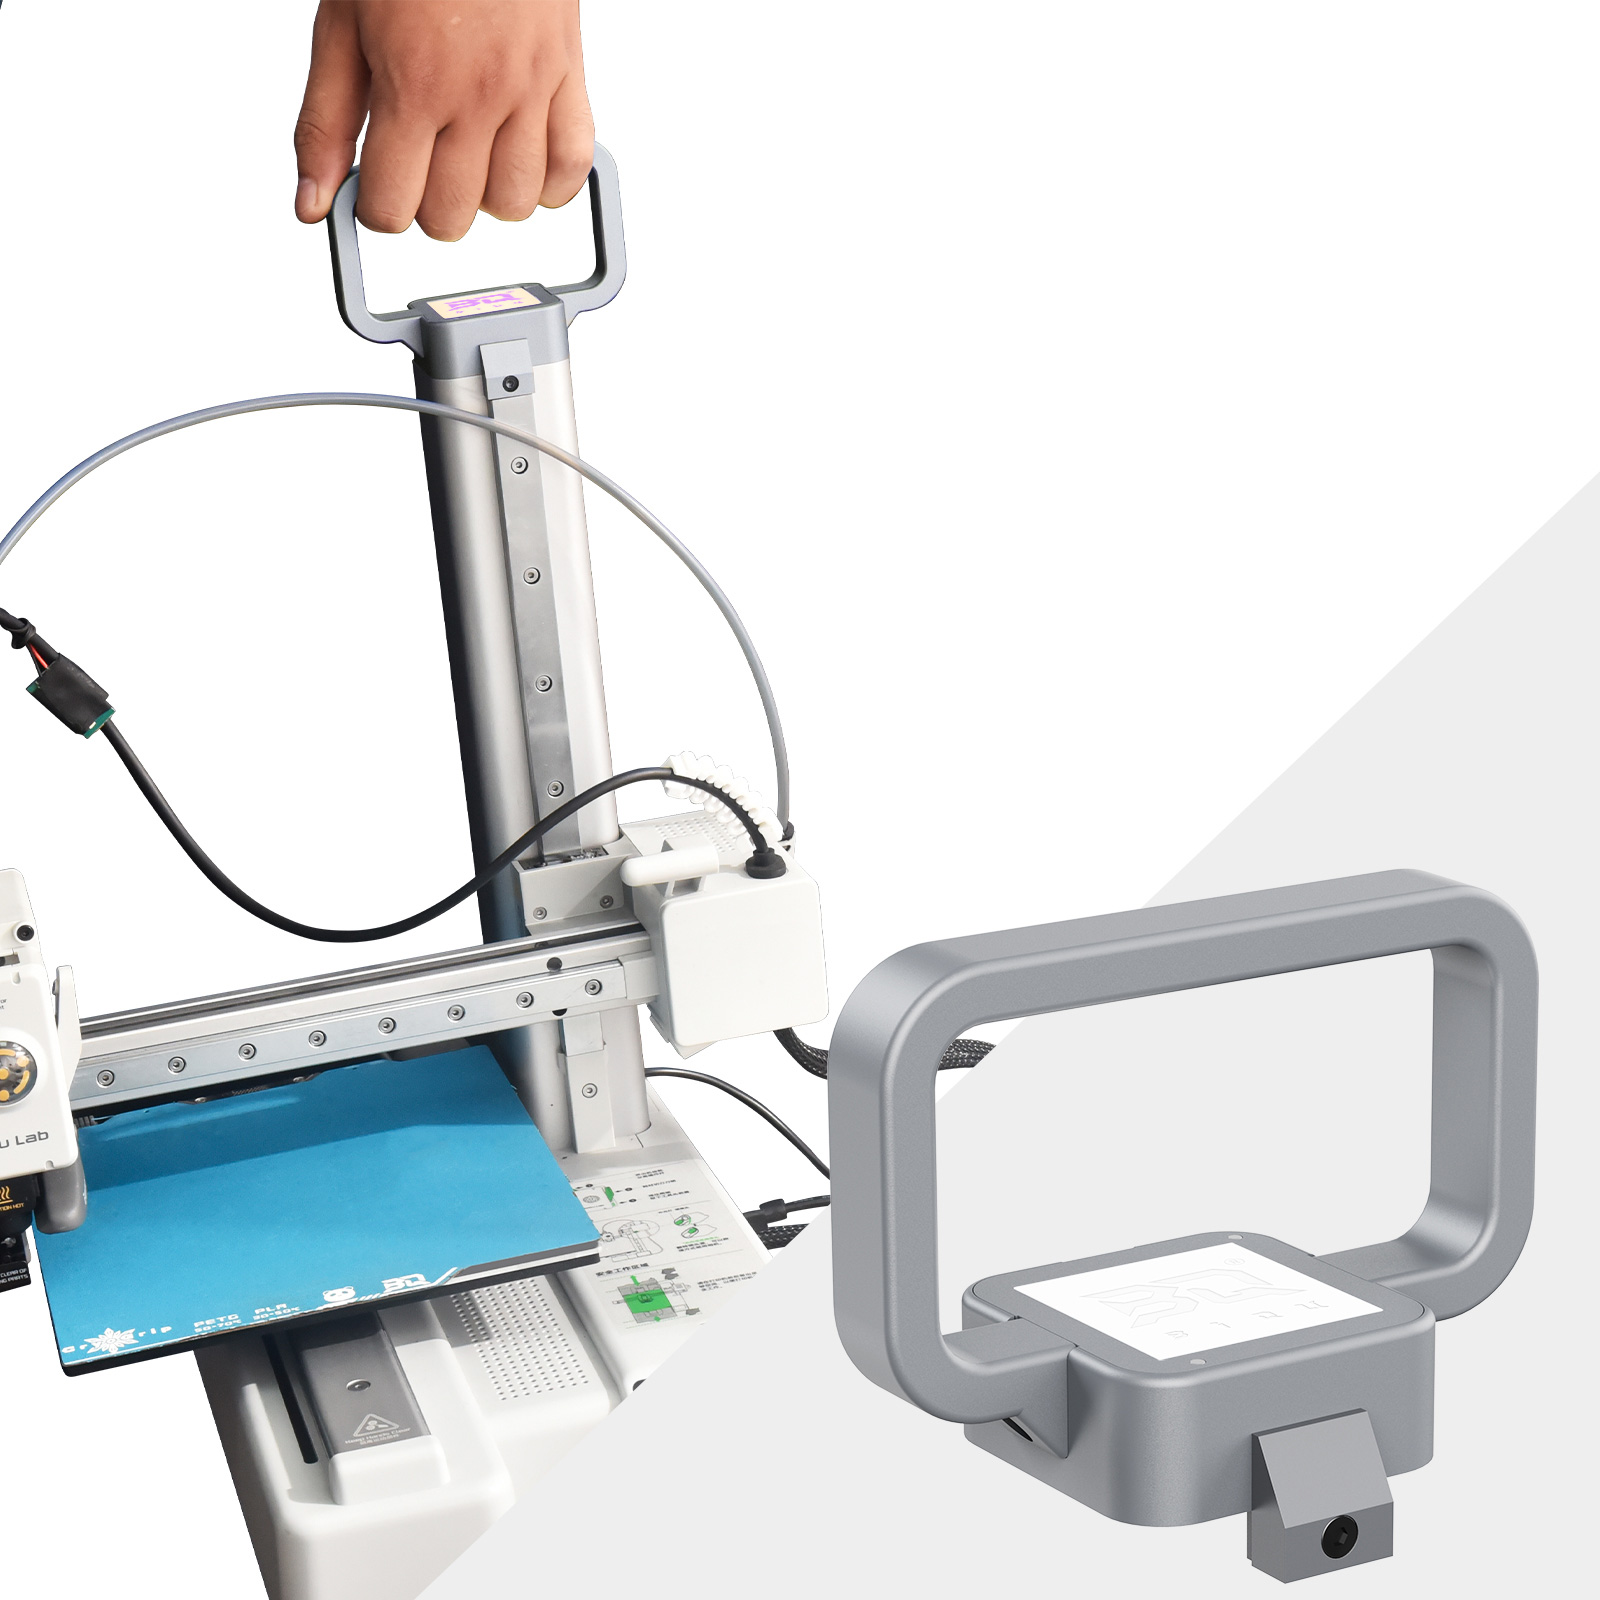
The Panda Hue OTG is an all-aluminum alloy handle upgrade designed for the Bambu Lab A1 mini, enhancing its portability and customization. It features an integrated light board module that supports interchangeable, user-designed relief panels. This system allows for personalization without compromising the unit's structural integrity or functionality, offering a sophisticated fusion of utility and aesthetic customization.
Features
Unmatched Durability – Crafted from high-strength aluminum alloy and precision-machined with CNC technology, this component delivers robust performance while remaining exceptionally lightweight.
Custom CMYK Lithophane Swappable – Personalize with your artwork, logo, or favorite image.
LED Lighting – Brings your lithophane to life with vibrant detail.
Seamless A1 Mini Integration – Quick installation with stock screws for perfect compatibility.
Specifications
-
Product Name: BIQU Panda Hue OTG
-
Material: Aluminum Alloy
-
Compatibility: For Bambu Lab A1 mini
-
Voltage: 24V
-
Current: 0.1A
-
Weight: ~130g
Installation Guide
Safety Notice: Before starting, power off your printer to ensure safety during installation.
-
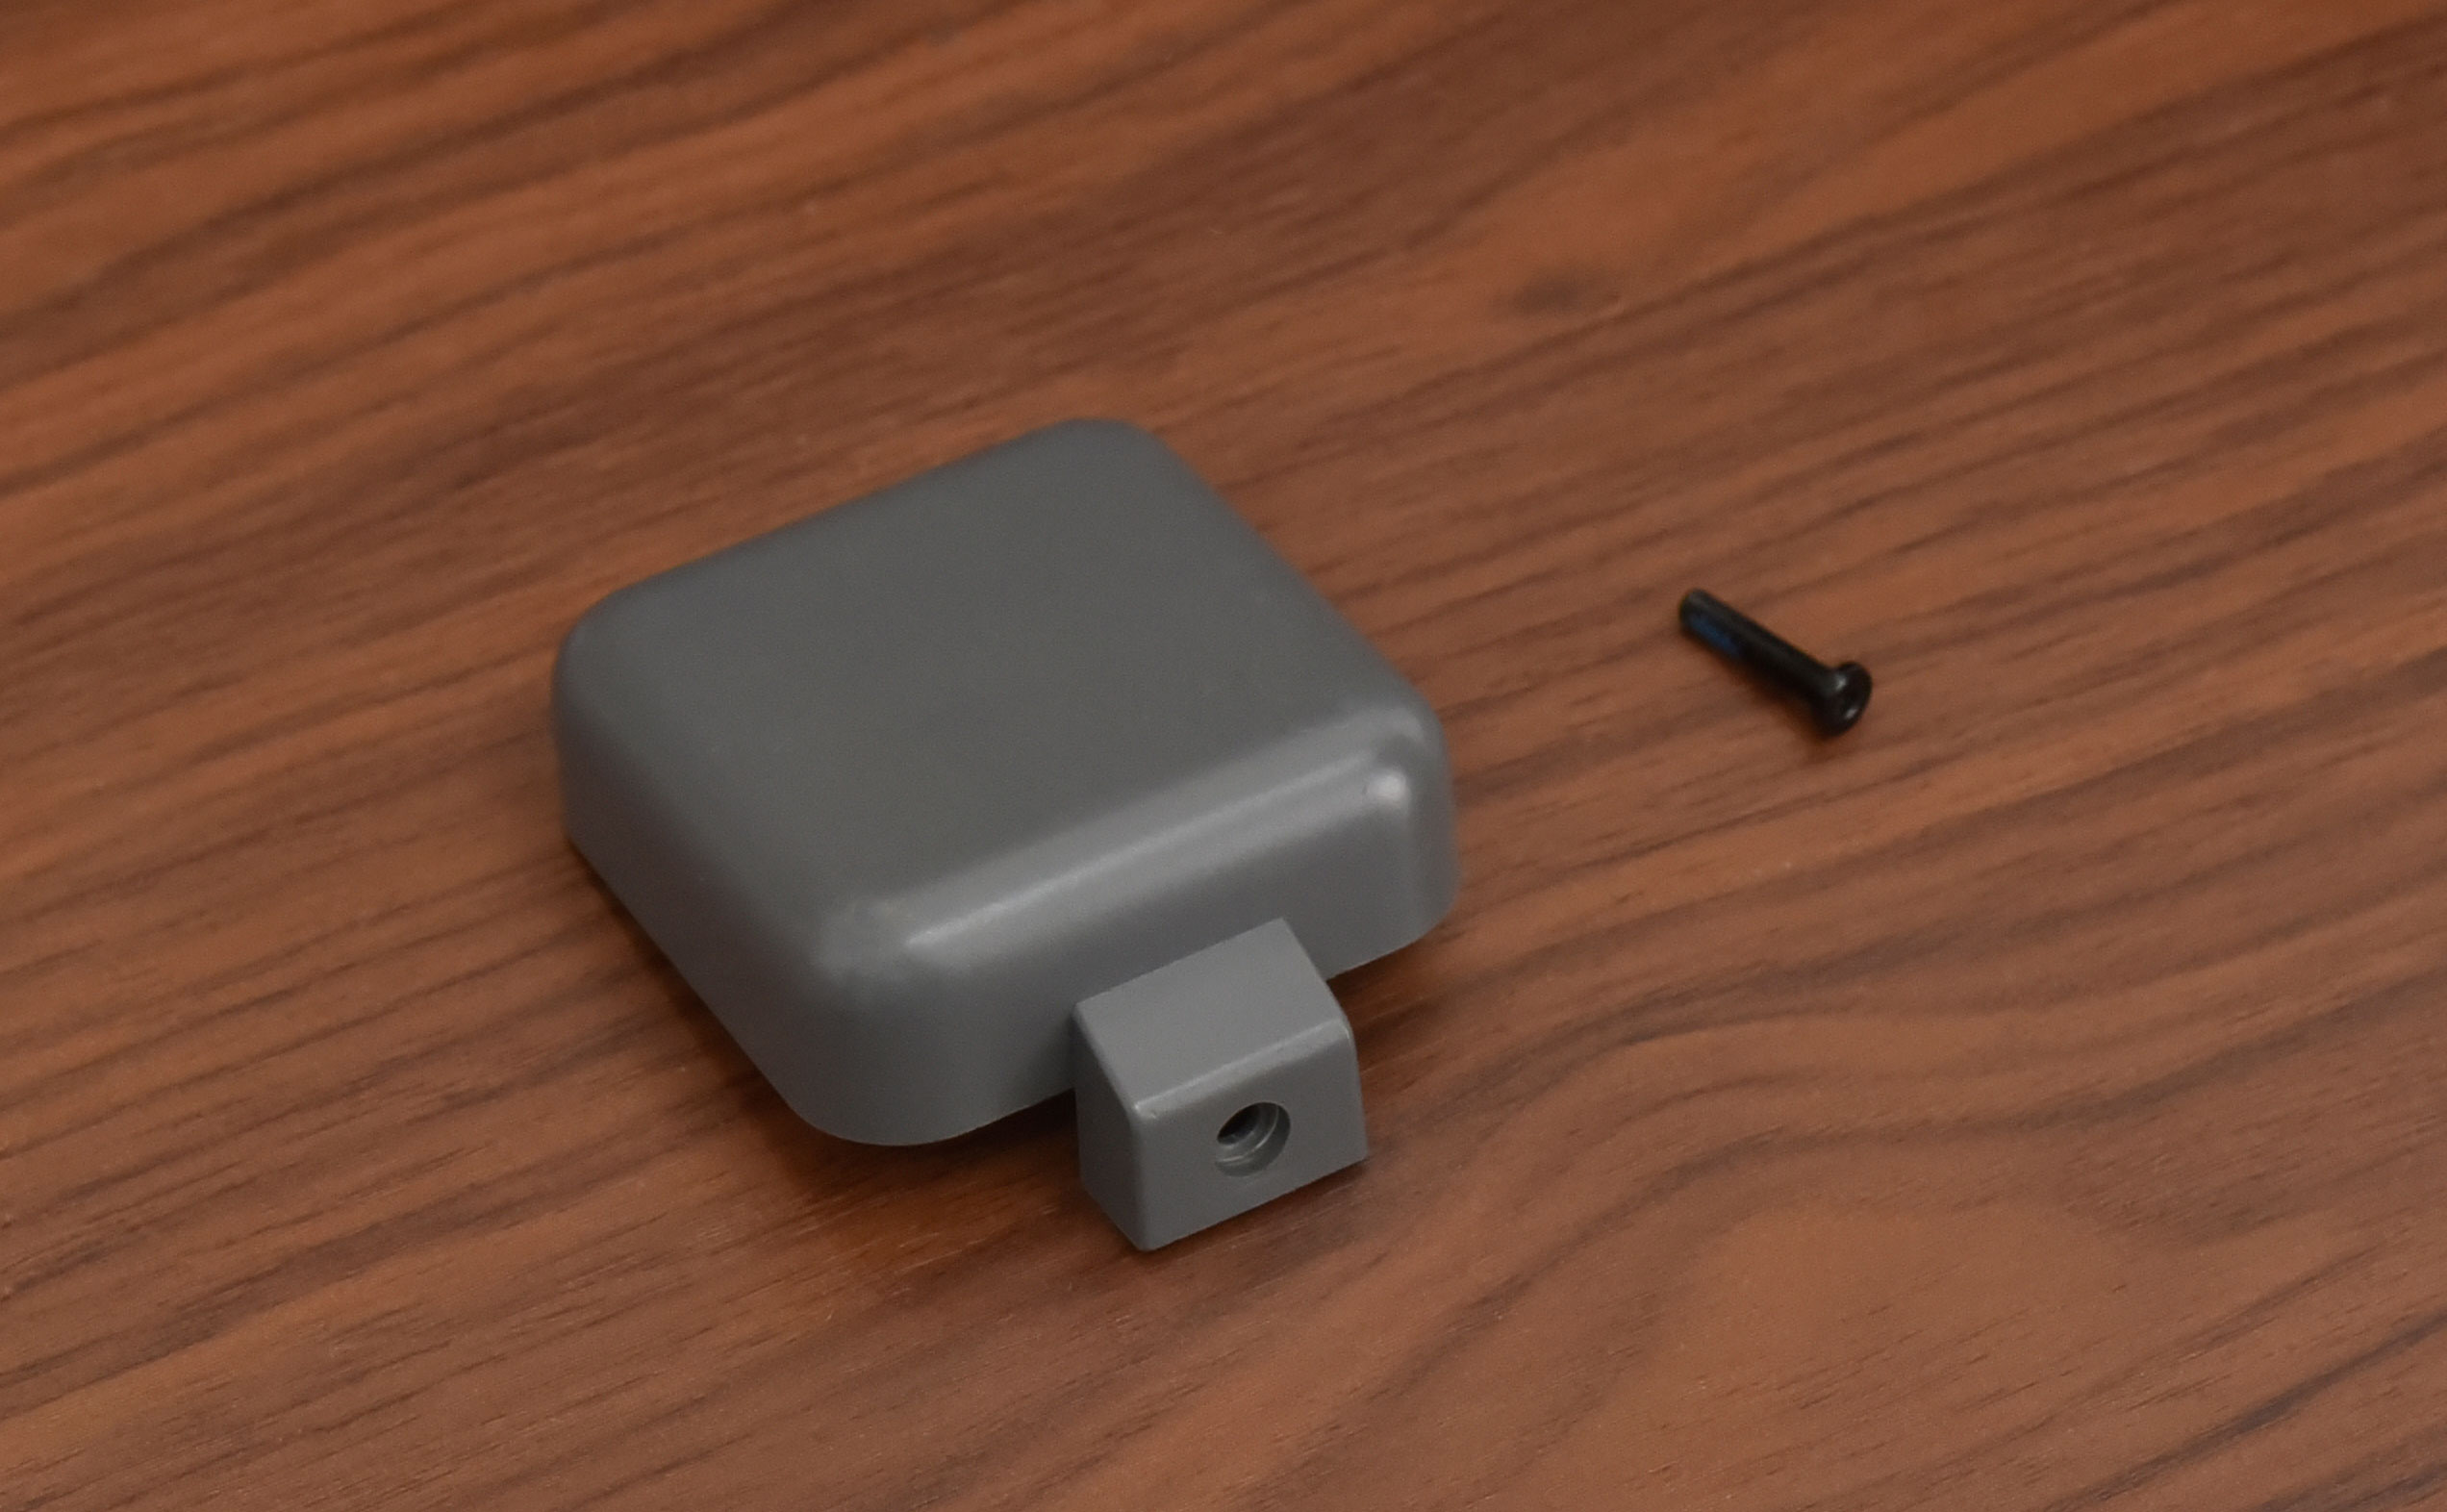
Step 1: Remove the Top Cover
-
Use an H2.0 screwdriver to remove the stock screw.
-
Carefully take off the top cover.
-
Keep the stock screw — it will be reused to secure the Panda HUE OTG later.
-
-
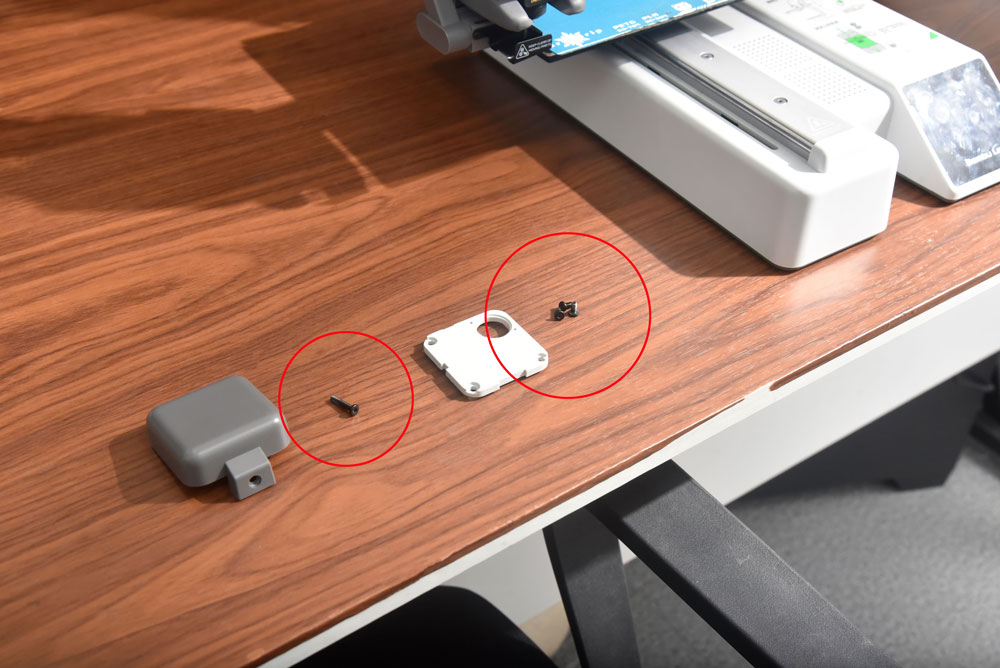
Step 2: Remove the White Cover
-
Use the H2.0 screwdriver to remove the three stock screws.
-
Remove the white cover.
-
Keep these screws — they will also be reused.
-
-
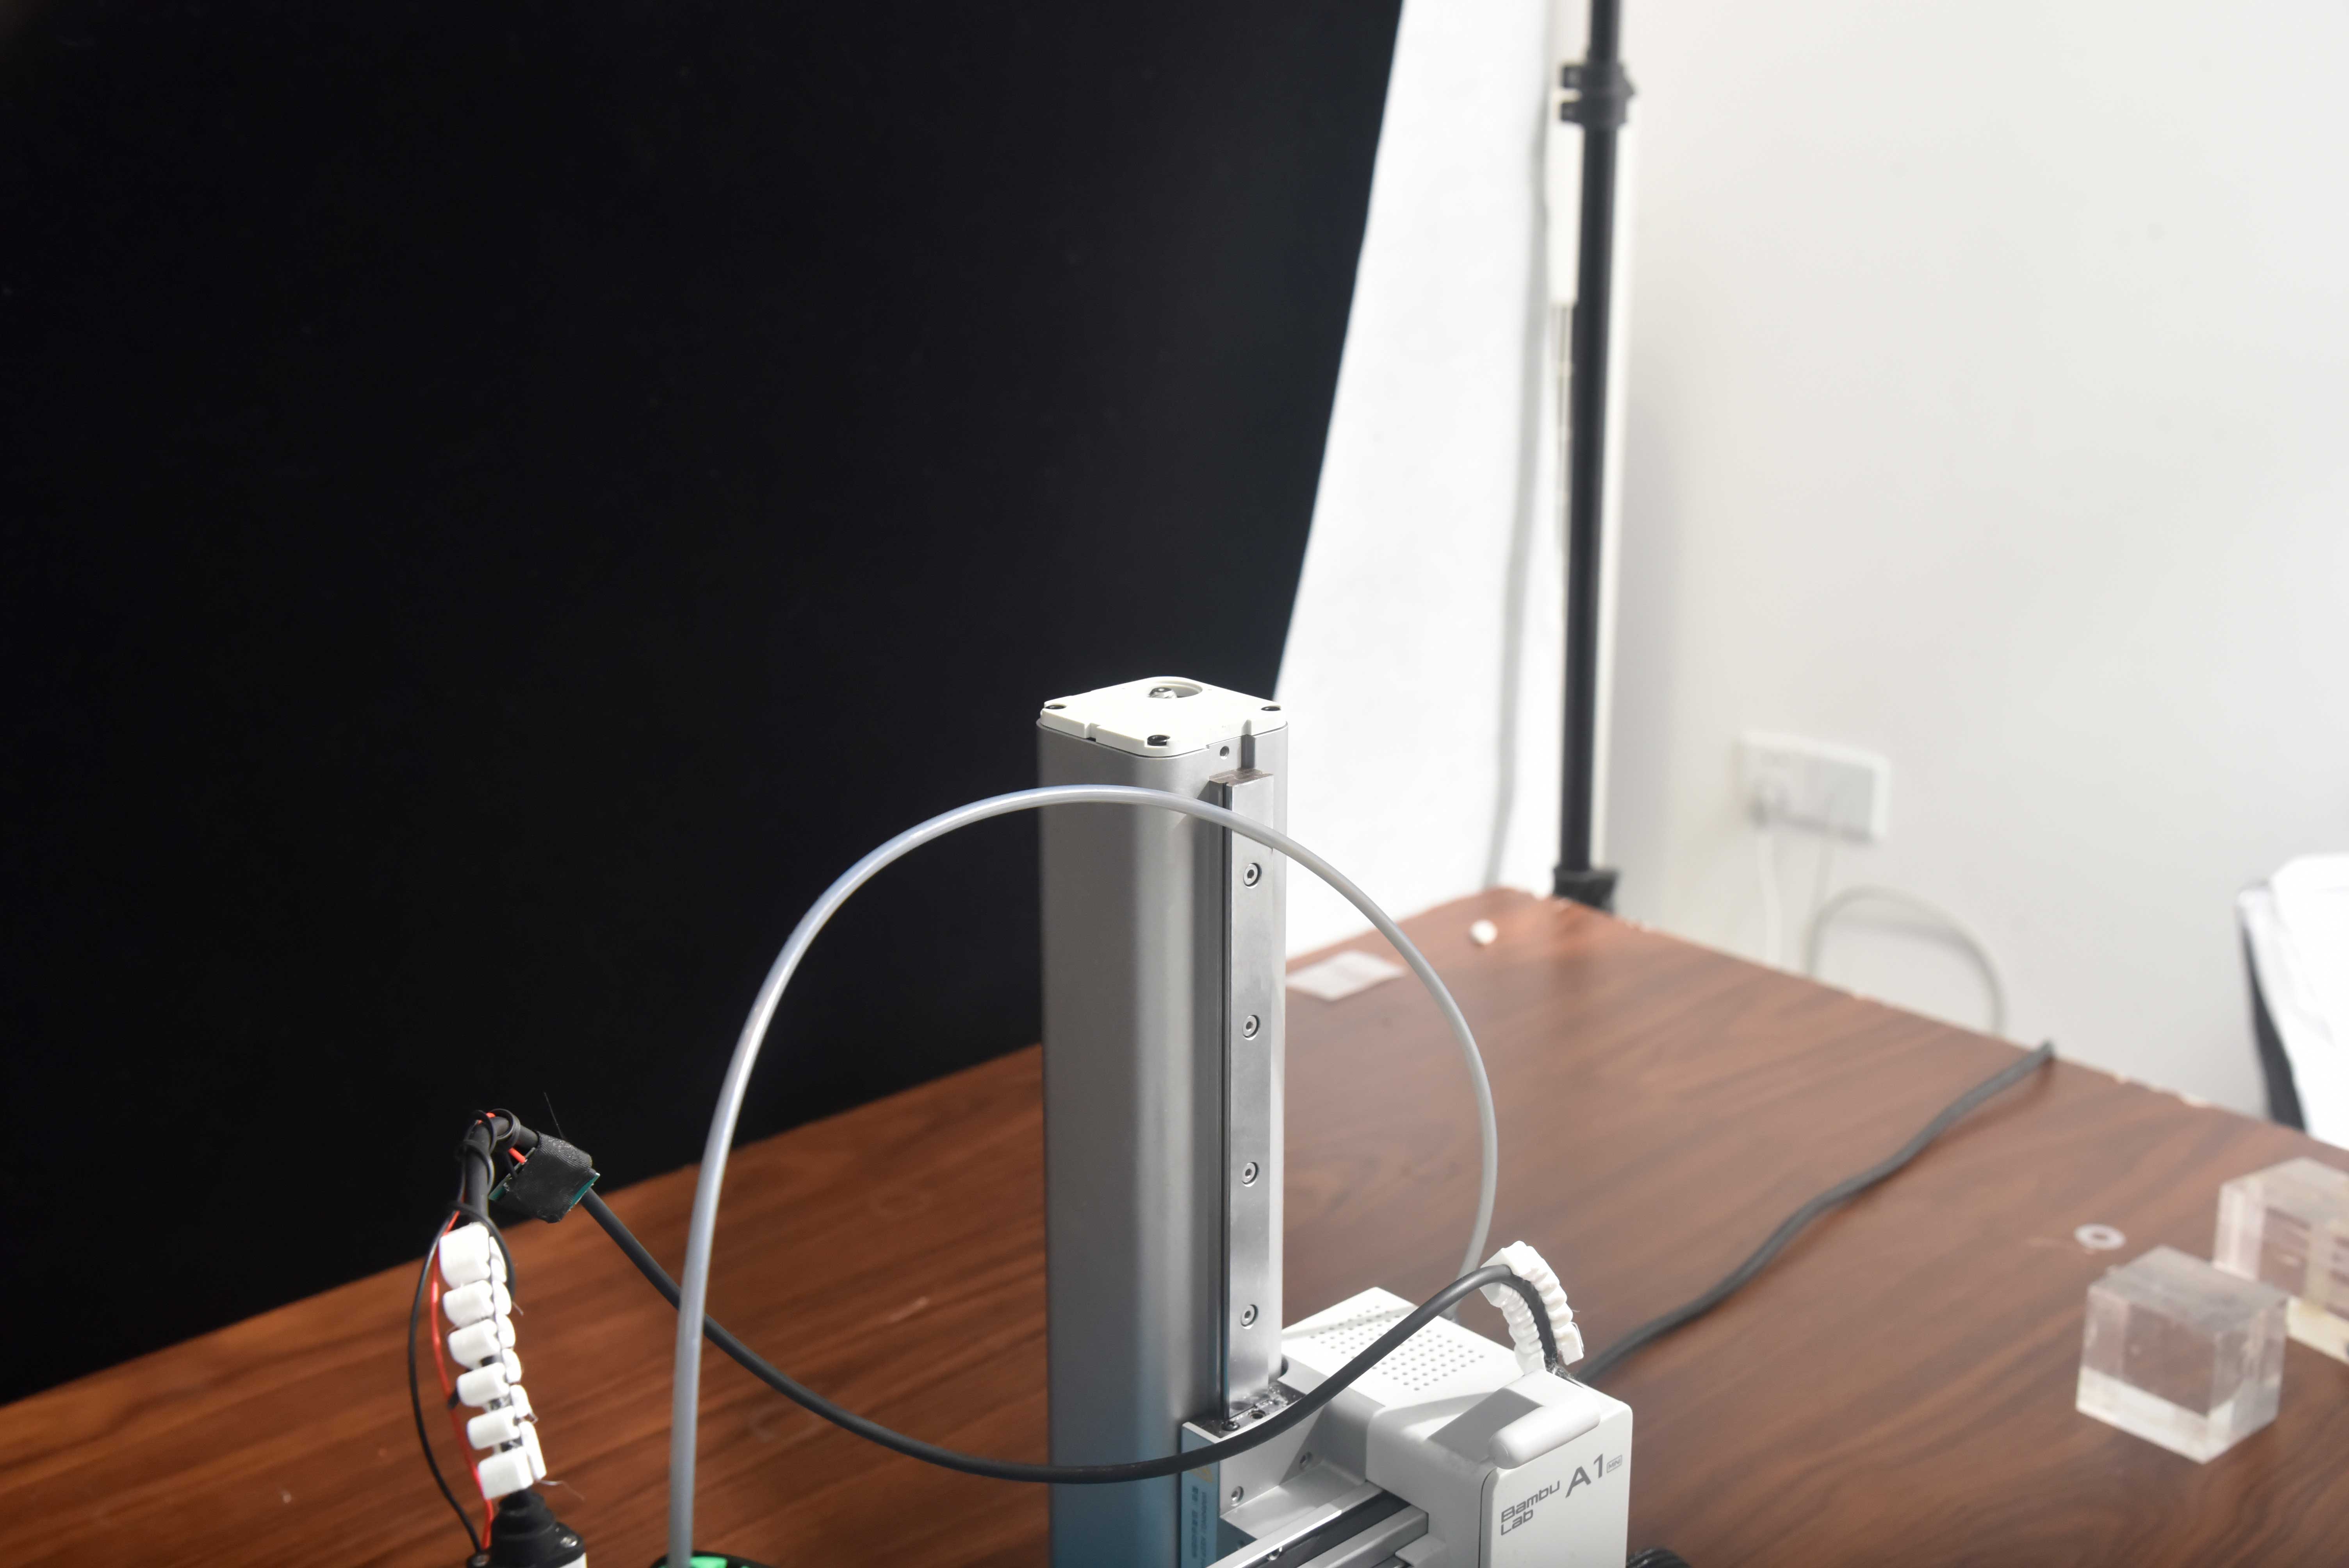
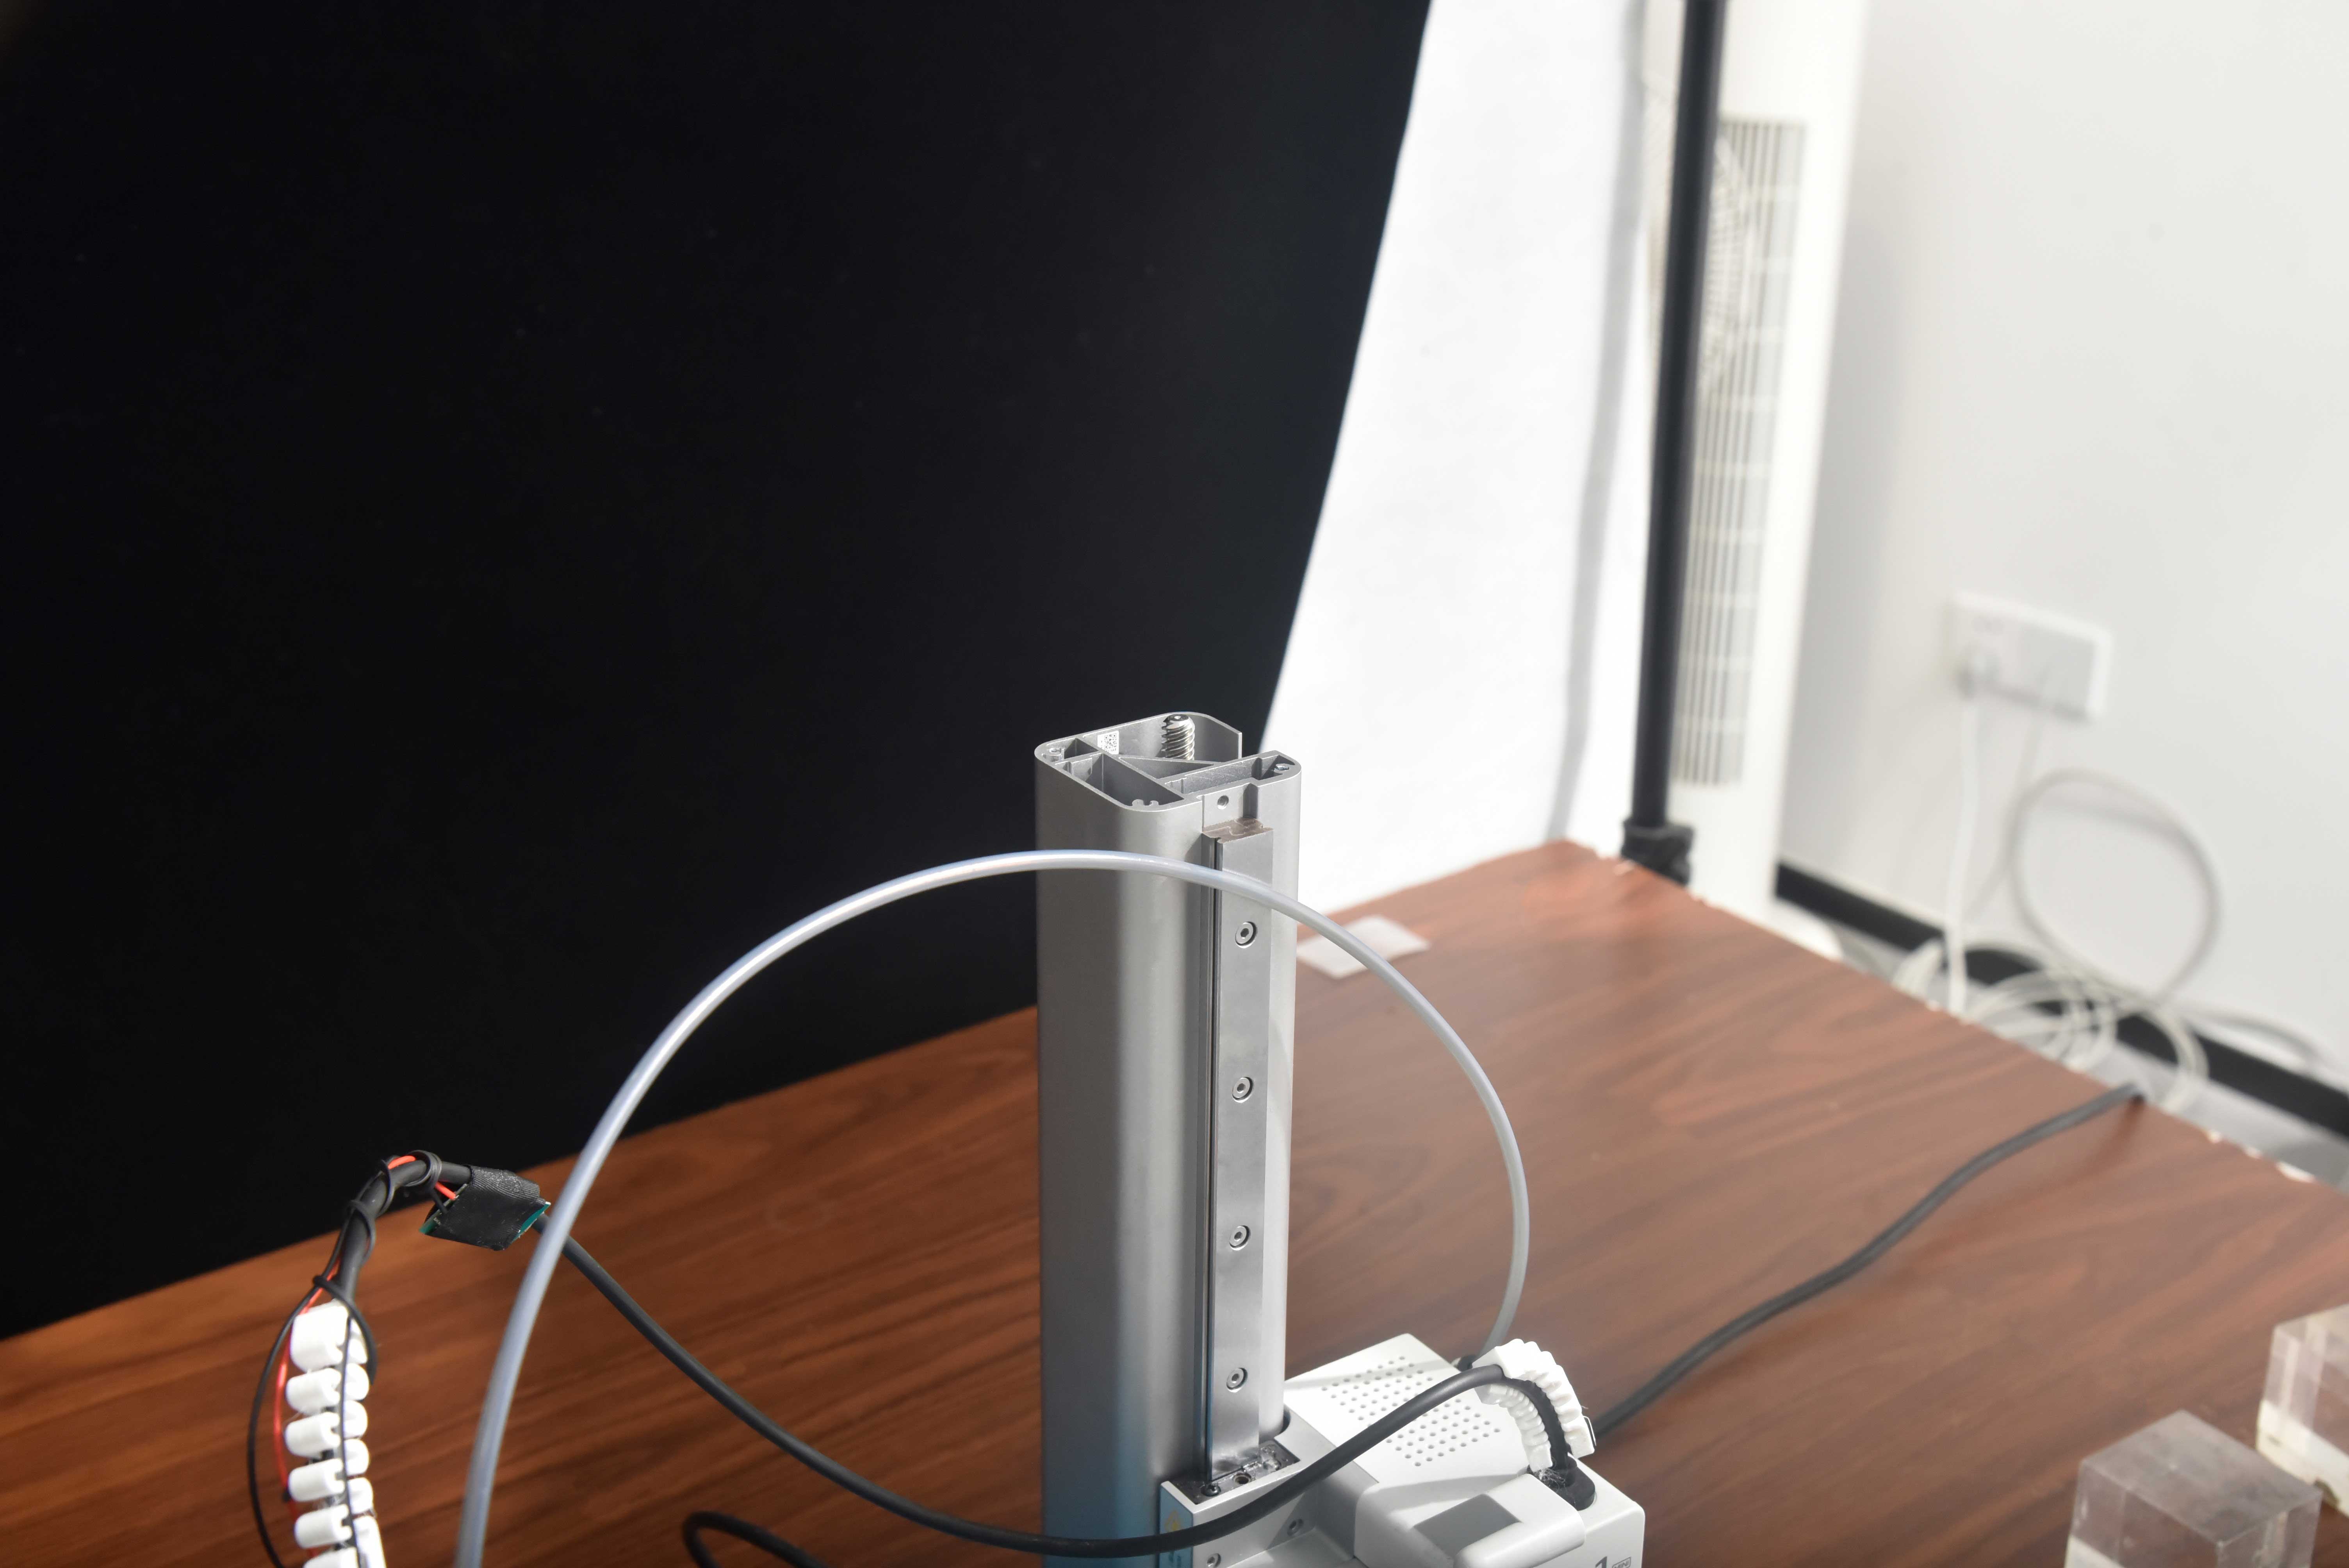
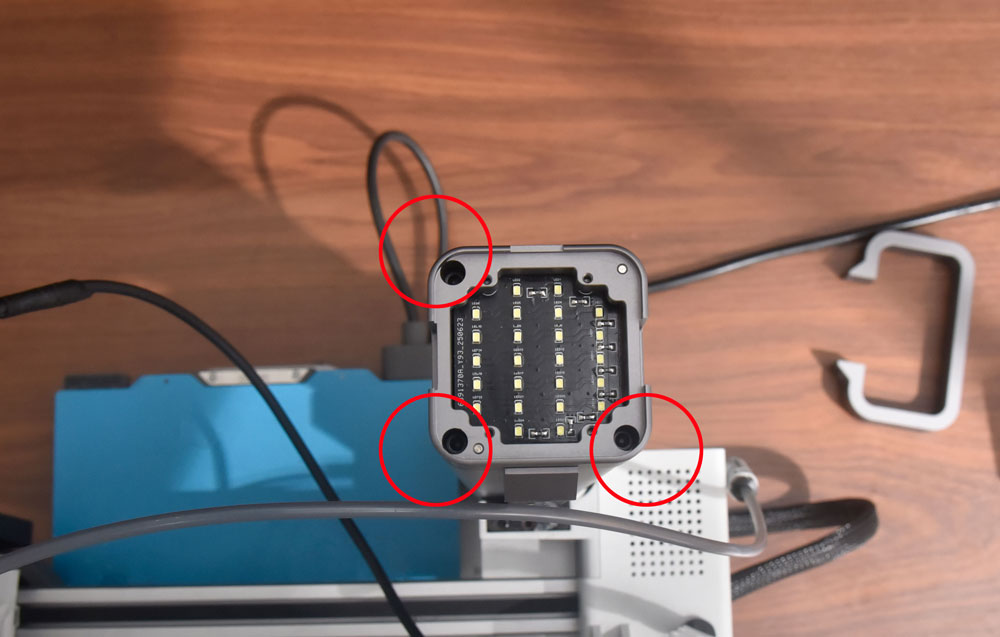
Step 3: Mount the Panda HUE OTG
-
Place the Panda HUE OTG onto the A1 mini printer’s Z-axis as shown in the images.
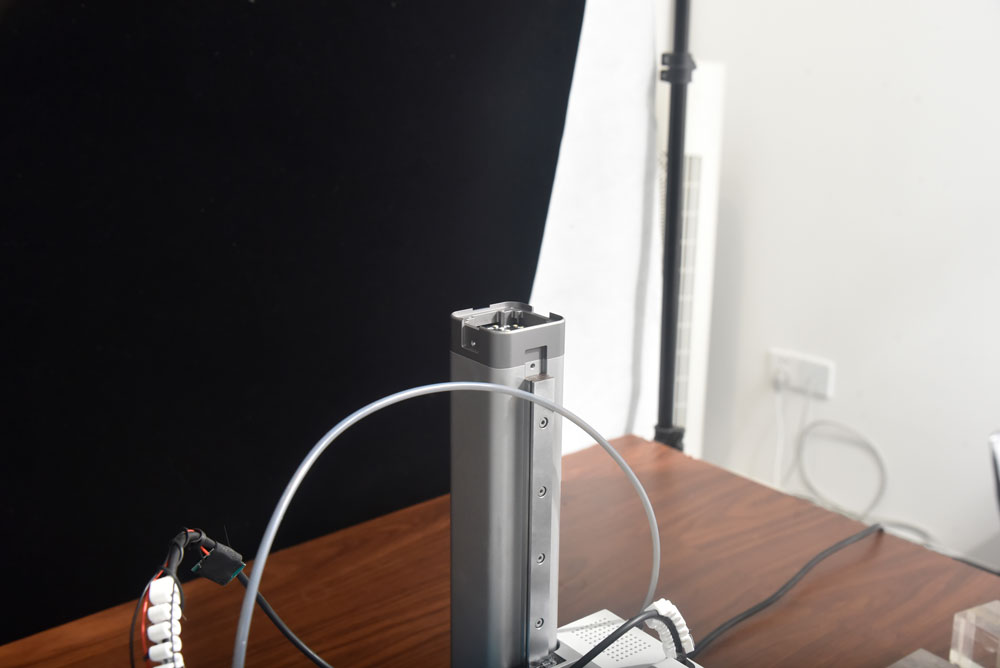
-
Secure it using the previously removed stock screws.
-
-
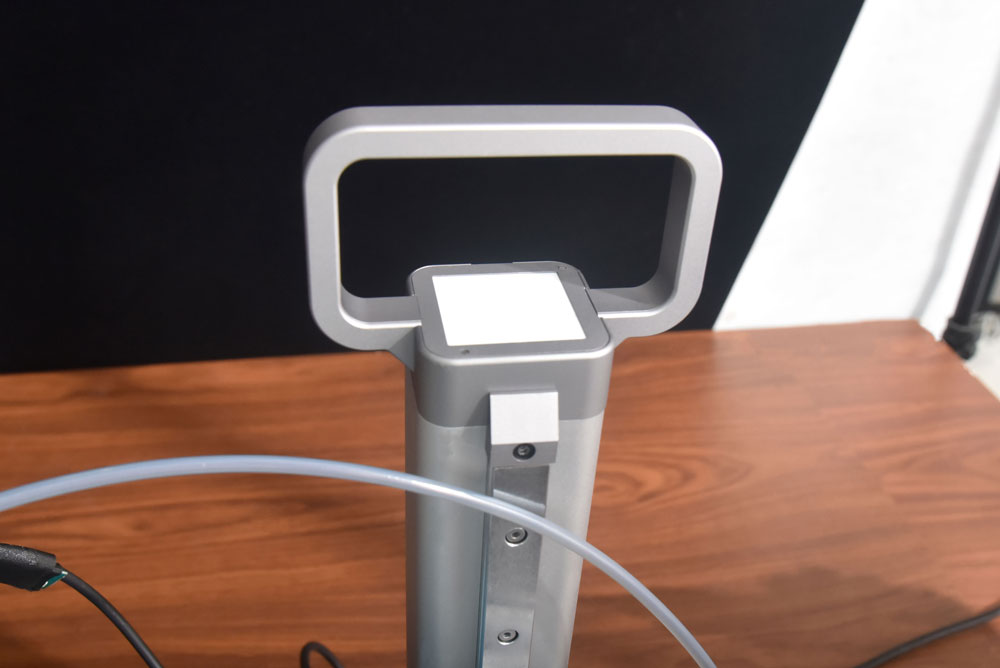
Step 4: Install the Lithophane, Frame, and Handle
-
Position the BIQU Lithophane, frame, and handle.
-
Secure them with the included screws.

Note: Swapping Custom Lithophane
To replace the lithophane at any time: * Power off the printer.
Remove the retaining screw(s) on the lithophane frame/handle assembly.
Lift out the installed lithophane and insert your custom lithophane.
Align it with the frame and reinstall the screw(s). Tighten until snug — do not overtighten.
Restore power and continue. -
-
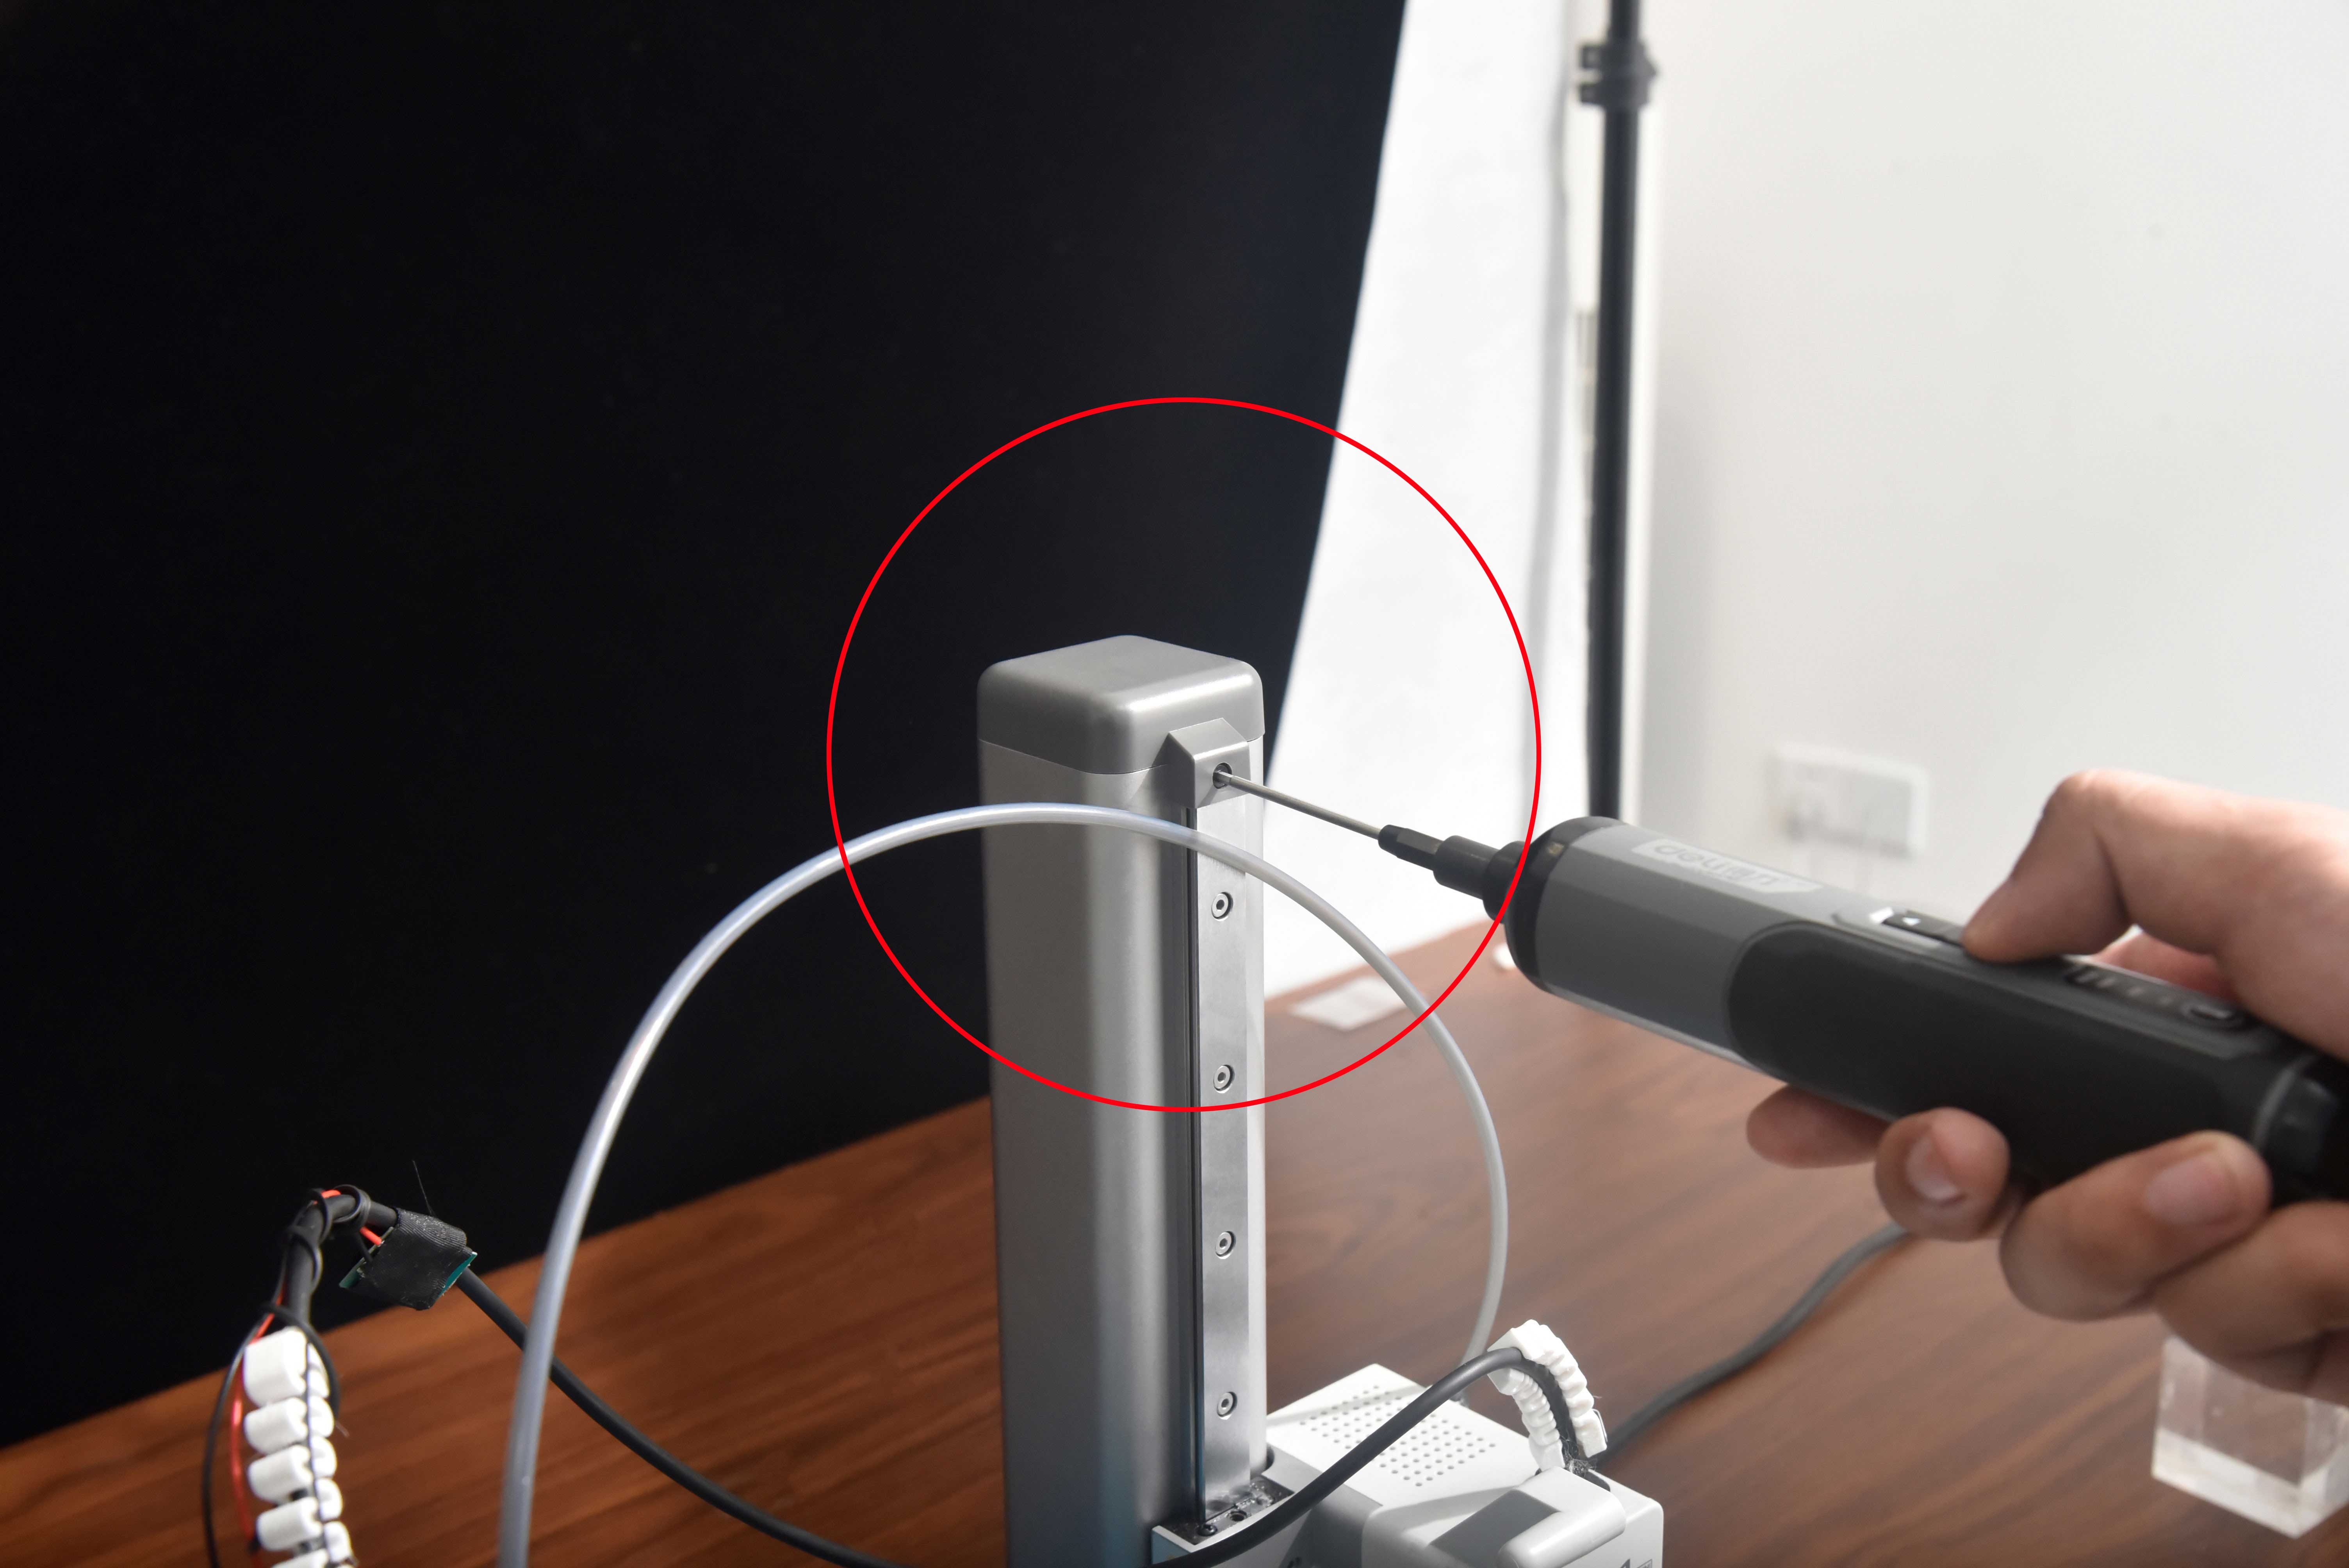
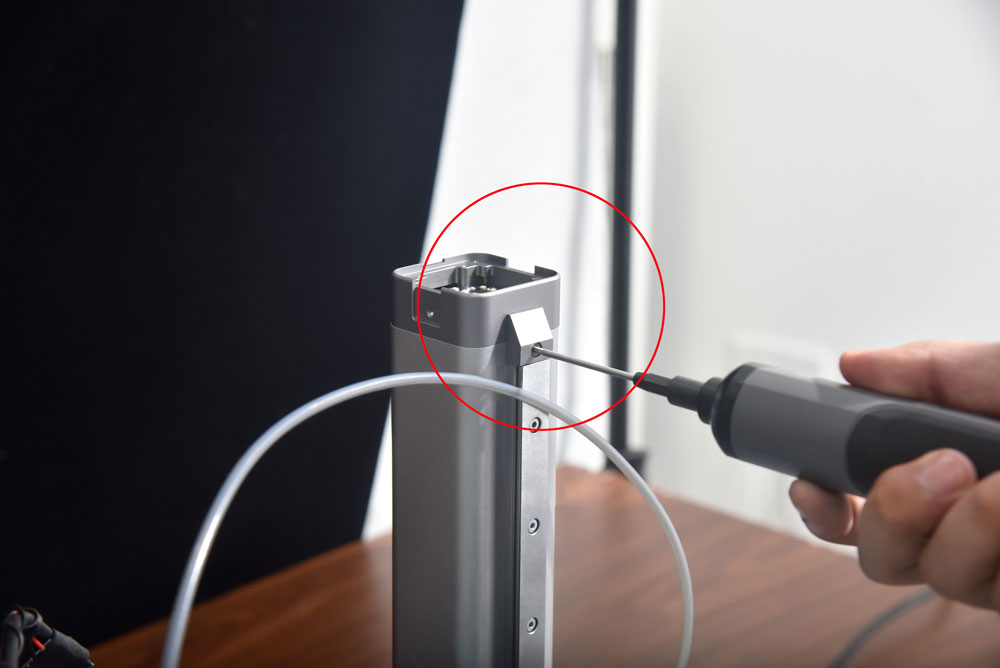
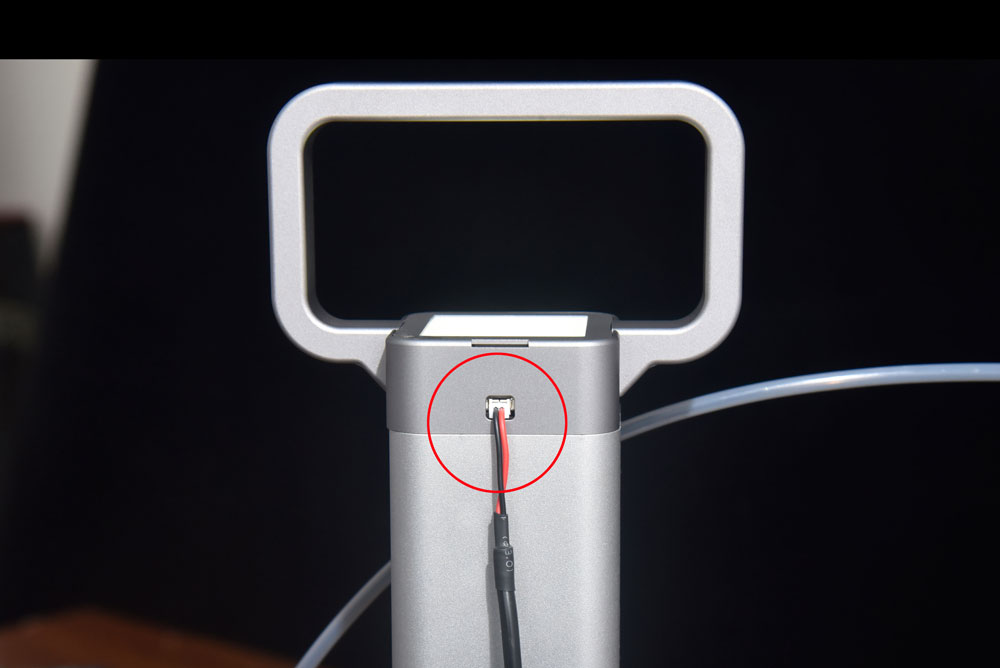
Step 5: Connect the Power Cables
-
Plug the power cable into the Panda HUE OTG first.
-
Then connect it to the printer AMS interface.

-
-
Completion
Your installation is now complete.
✅ Turn on the printer power.
✅ Enjoy effortless printer lifting.
✅ Showcase eye-catching CMYK Lithophane visuals.
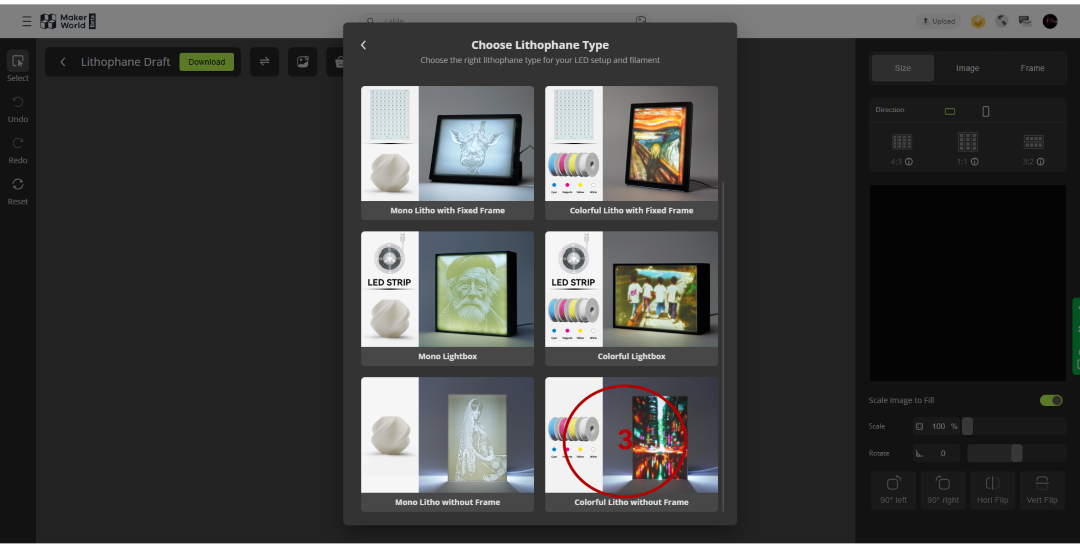
CMYK Lithophane Custom Printing Process
-
Open Bambu Studio/Maker World (using MakerWorld as an example), go to the homepage and click on MakerLab to select the Lithophane Generator.

-
Click to create a new project.

-
Click to select the "Colorful Litho without Frame" option.
-
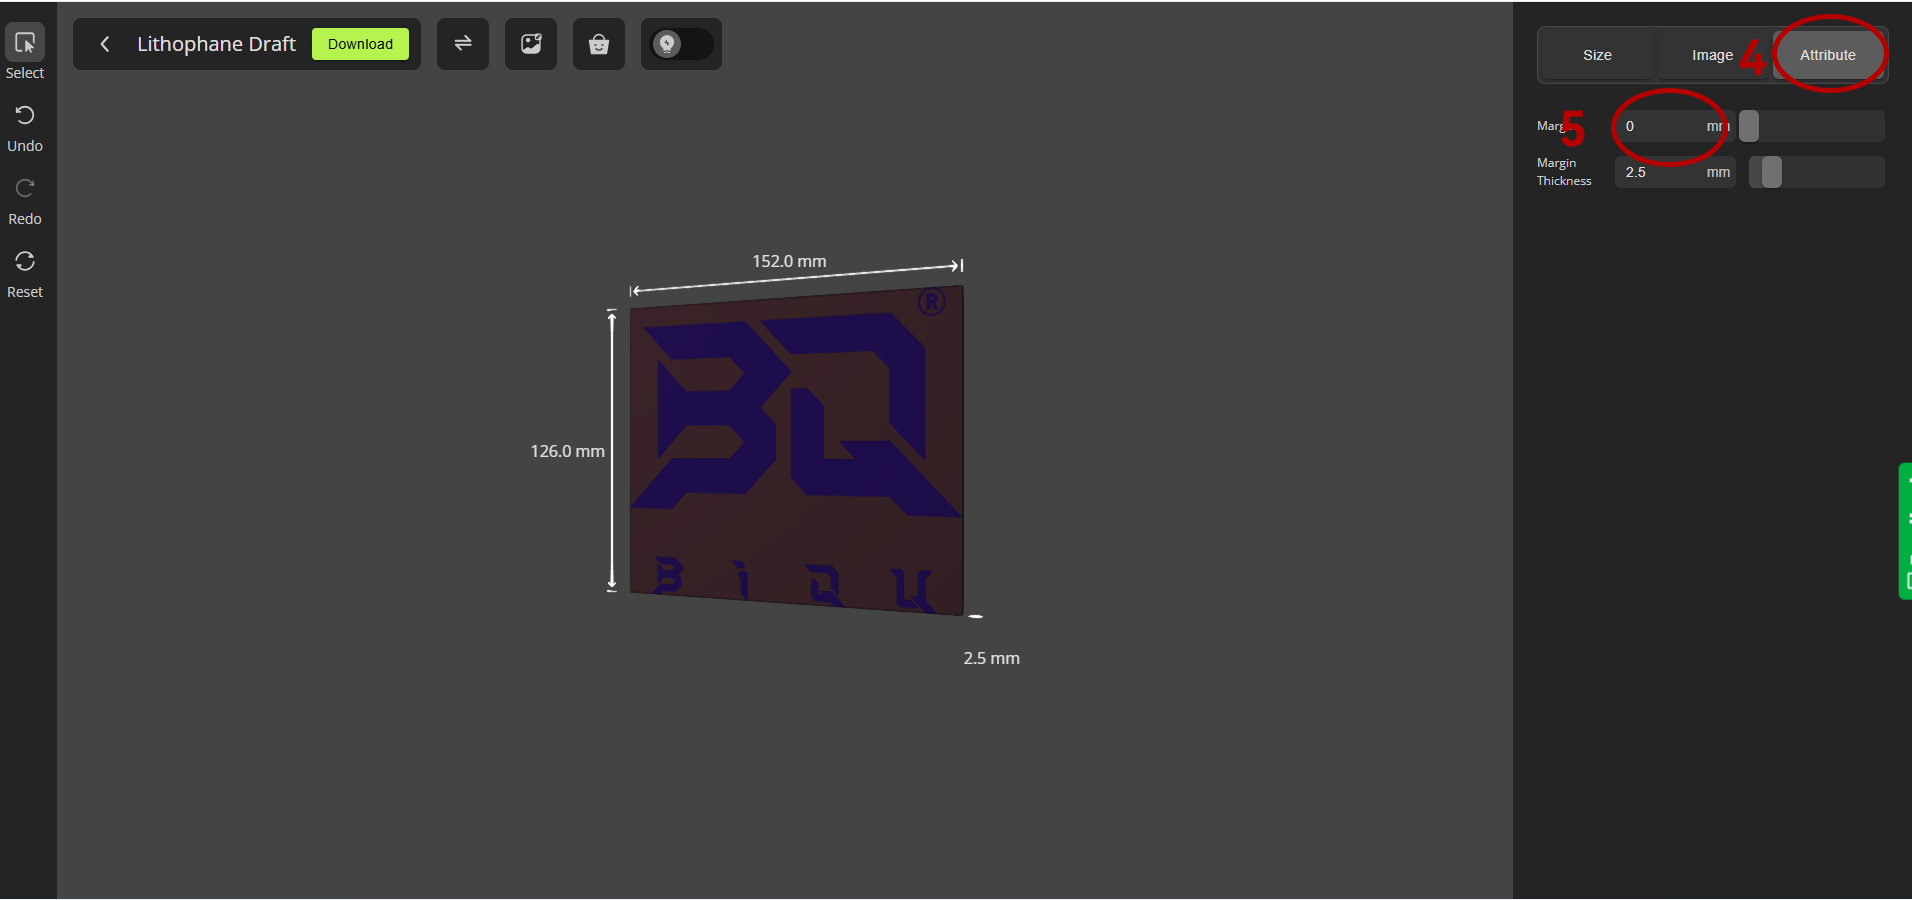
After importing the image, select the Attribute and set the Margin to 0.
-
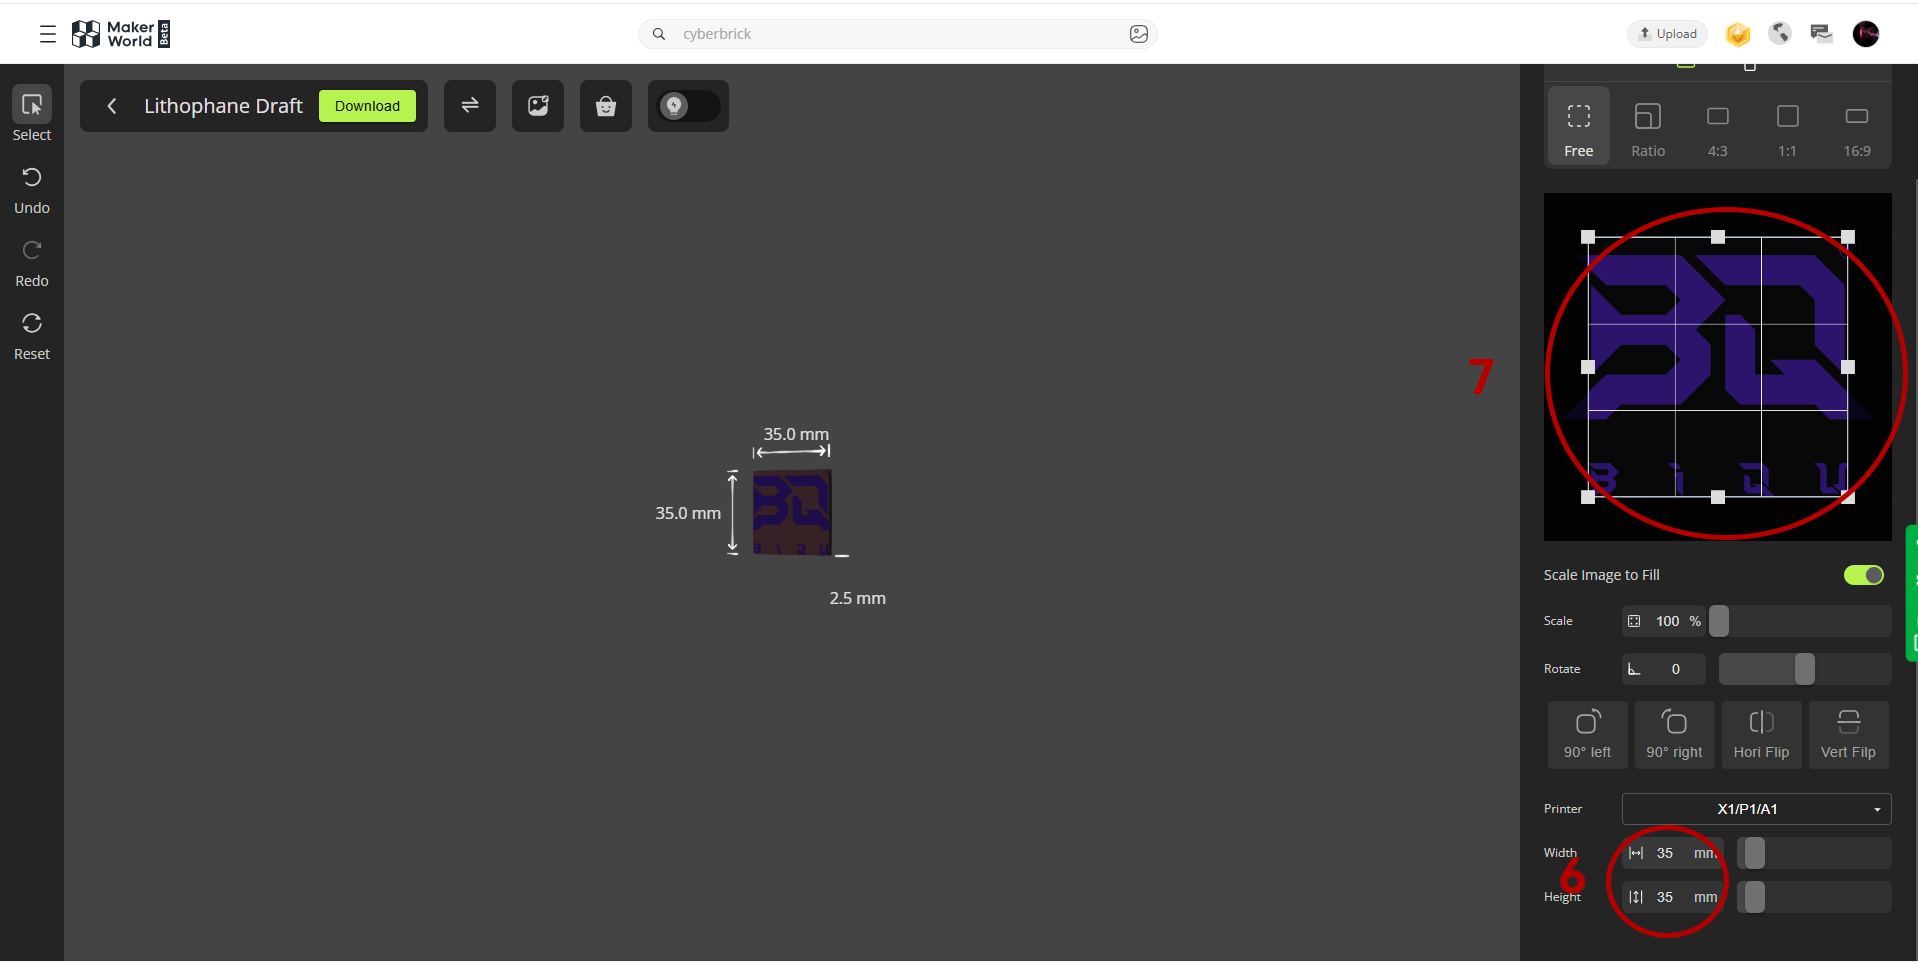
Then, return to the size options, set the width to 35mm, and manually adjust the frame until the height reaches 35mm.
-
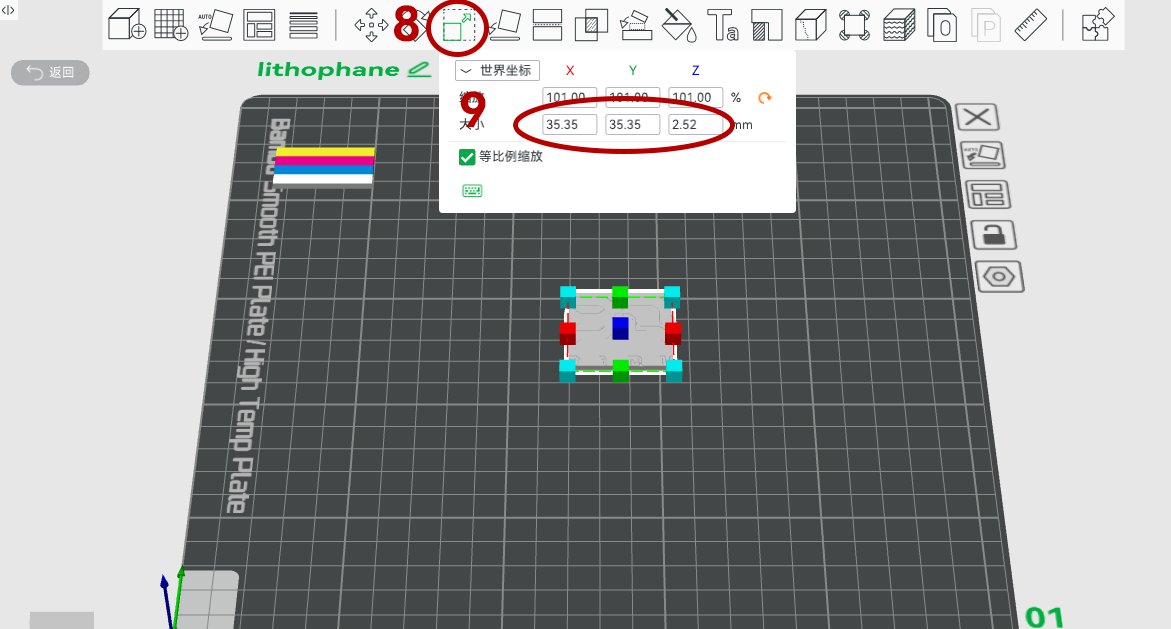
Click "Export to Bambu Studio," then select the size options and set the width and height to 35.35mm.
Support
If you encounter any issues, please submit a support ticket.