Panda Hub
Product Profile
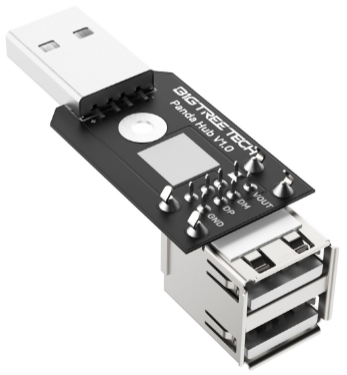
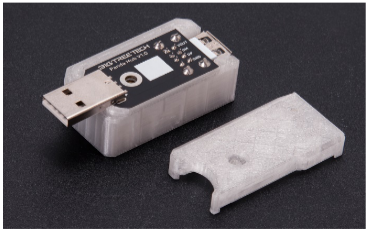
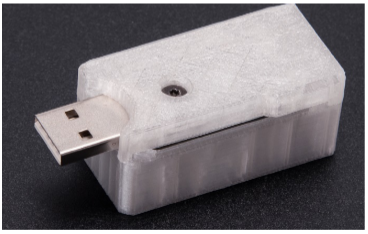
The BIGTREETECH Panda Hub is a compact device that turns one USB port into two, boosting USB connectivity. Designed for Bambu Lab P1P, P1S, it includes a printable mounting case that uses provided mounting hardware to secure and protect the original USB port, ensuring durability.
Feature Highlights
- The compact size of the Panda Hub enables seamless integration into various locations.
- Features a one-to-two port, effectively doubling your USB access.
- The included printable mounting case is designed for the P1P and P1S; it secures the Panda Hub with the provided mounting hardware, shielding the USB port from vibrations and wear to enhance durability.
Specifications
| Dimensions | 33mm x 20mm |
|---|---|
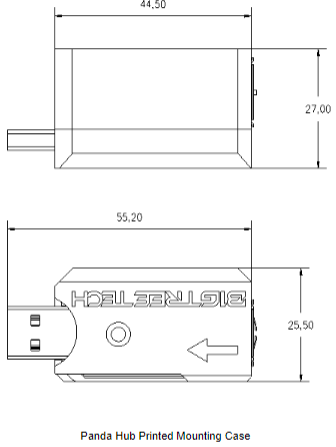
| Mounting Size | For details, please refer to BIGTREETECH Panda Hub V1.0-SIZE.pdf |
| Input Voltage | DC 5V |
| Logic Voltage | DC 5V |
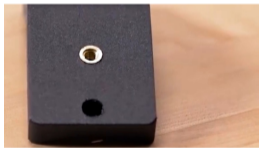
Dimensions
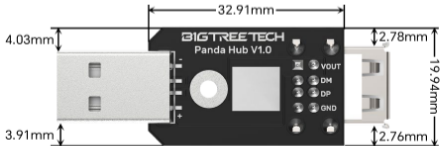
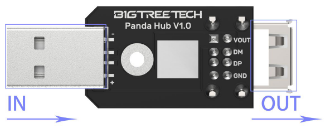
Interface Introduction
Interface Diagram
Important Notes
Total current must not exceed 5V 1.5A as per P1P and P1S port specifications.
The Panda Hub has been designed specifically for power supply and does not have standard USB communication functionality.
When using the Panda Touch with the P1P / P1S, ensure that any device connected to the other USB port of the Panda Hub draws a current below 0.2A.
Installation Guide
Preparation
-
Download and print the case: MakerWorld/@bigtreetech
-
Tool Required:
Included in the Accessory Pack:
- M2.5x8 heat-set inserts x2
- M2.5x8 screws x2
Not Included (Self-Provided):
- 2.0 hex key
- Soldering iron
Installation Steps
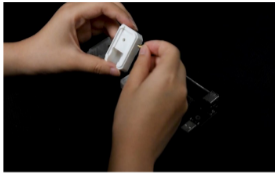
-
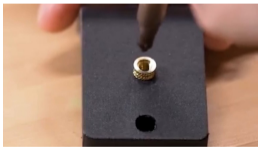
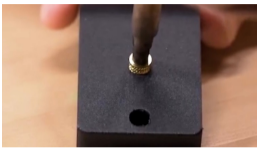
Embed Heat-Set Inserts
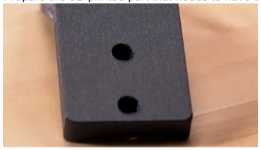
Insert the two M2.5x8 heat-set inserts into the pre-drilled holes on both sides of the case.
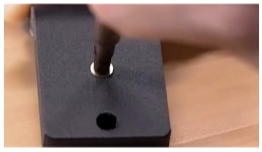
Using a soldering iron, embed the inserts into the case making sure that they are flush with the mounting surface. (For instructions on how to embed heat-set inserts using a soldering iron, refer to the end of this guide.)
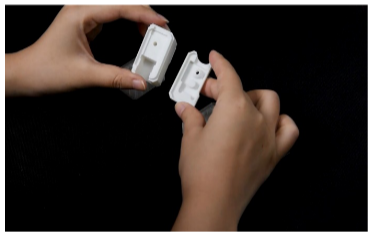
-
Install the Panda Hub
Place the Panda Hub inside the case.
Place on the top cover and secure it using the M2.5x8 screw and a 2.0mm screwdriver.

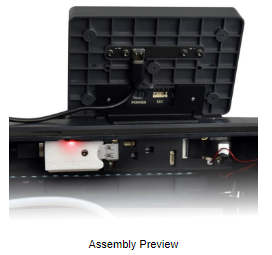
Connect the Assembled Panda Hub to the Printer.
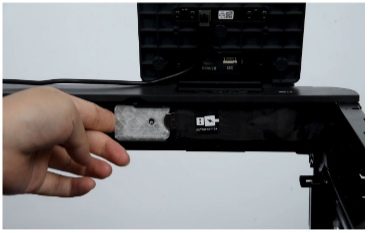
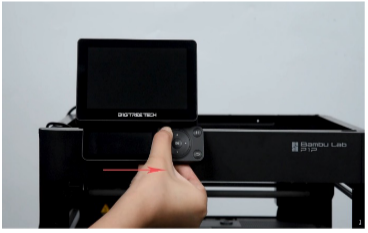
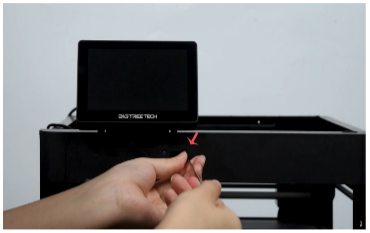
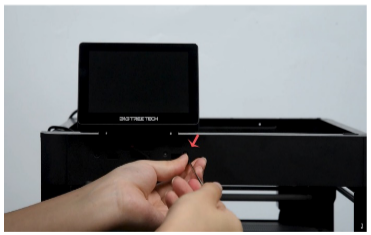
Remove the screen and unscrew the screws located below the screen using a 2.0mm hex screwdriver.
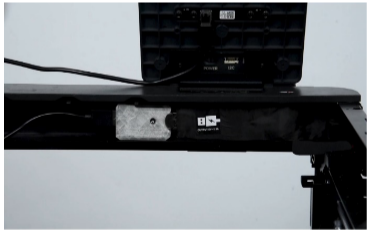
Align the threaded hole of the Panda Hub’s heat-set insert with the hole on the printer.
Secure the Panda Hub to the printer using M2.5x8 screw and a 2.0mm hex screwdriver.
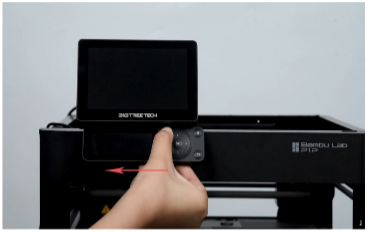
Reattach the screen to complete the installation.
Connect the Panda Touch USB Cable or USB Light Strip to the Panda Hub.
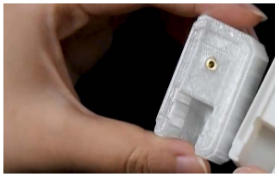
How to Embed Heat-Set Inserts Using a Soldering Iron
Prepare the 3D printed part that needs to have the heat-set insert embedded.
Place the heat-set insert on top of the 3D printed part, aligned with the cavity designed for it.

Heat the soldering iron and apply gentle pressure. Ensure you push in a direction perpendicular to the surface where the insert will go.
Allow the heat-set insert to slowly melt into the part. Be patient; the slower the insert melts in, the stronger the bond between the metal and plastic will be.
Once the top of the insert is flush with the part, pull the iron back out and let it cool down.
Finished!
Important Notes
Use caution when handling a heated soldering iron to avoid burns. Perform the melting process slowly for optimal results.
Product Link: BIGTREETECH Official Website
Printing Parts Link: