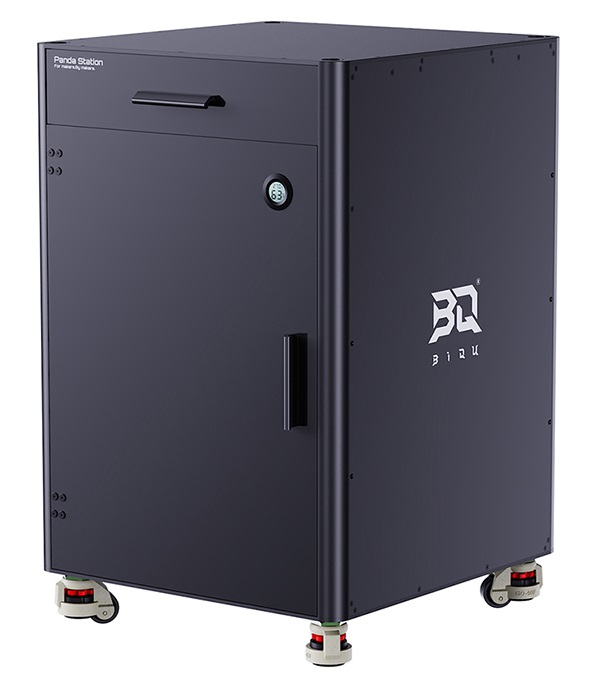
Panda Station
You can download the print files from GitHub or MakerWorld:
- The RGB light strip fixture
- Panda RGB Controller external mounting shell
- Tray filament holder, 256*256 build plate storage rack
- H2 series steel plate storage rack
- Tool drawer Gridfinity adapter chassis, and related storage components.
Revision History
| Version | Date | Update Content |
|---|---|---|
| v1.00 | September 12, 2025 | Initial Version |
Product Overview
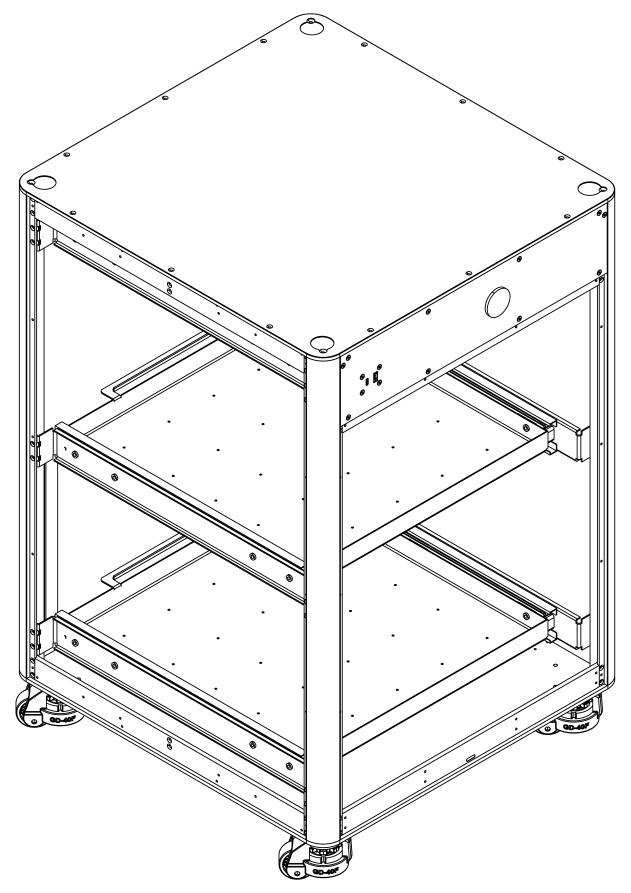
Panda Station is a stackable storage solution designed for Bambu Lab printers users. It not only makes moving the printer easier but also stores AMS, filaments, and VVD. Additionally, it supports RGB light kit installation, combining personalized style with practical functionality, making it the perfect blend of functionality and decoration for your printer.
Features
-
Enclosed Storage
Covered with PC panel to delay humidity increase. (This product is available in both enclosed-Panda Station and frame versions-Naked Panda Station; the PC panel is only available in the enclosed version.)
-
High-strength Materials
Made with aluminum profile, strong bearing capacity, and durable.
-
Supports RGB Kit Expansion
Various lighting effects, controllable via Web UI and BQ App.
-
Built-in LED Lighting
Illuminates and supports automatic on/off when opening and closing the door for easier access.
-
Compatible with Multiple Models
Fits all devices with outer dimensions within 490*510mm.
Specifications
-
Product Name: BIQU Panda Station
-
Material: Aluminum, PC, Steel
-
Compatibility: Suitable for all devices with outer dimensions within 490*510mm

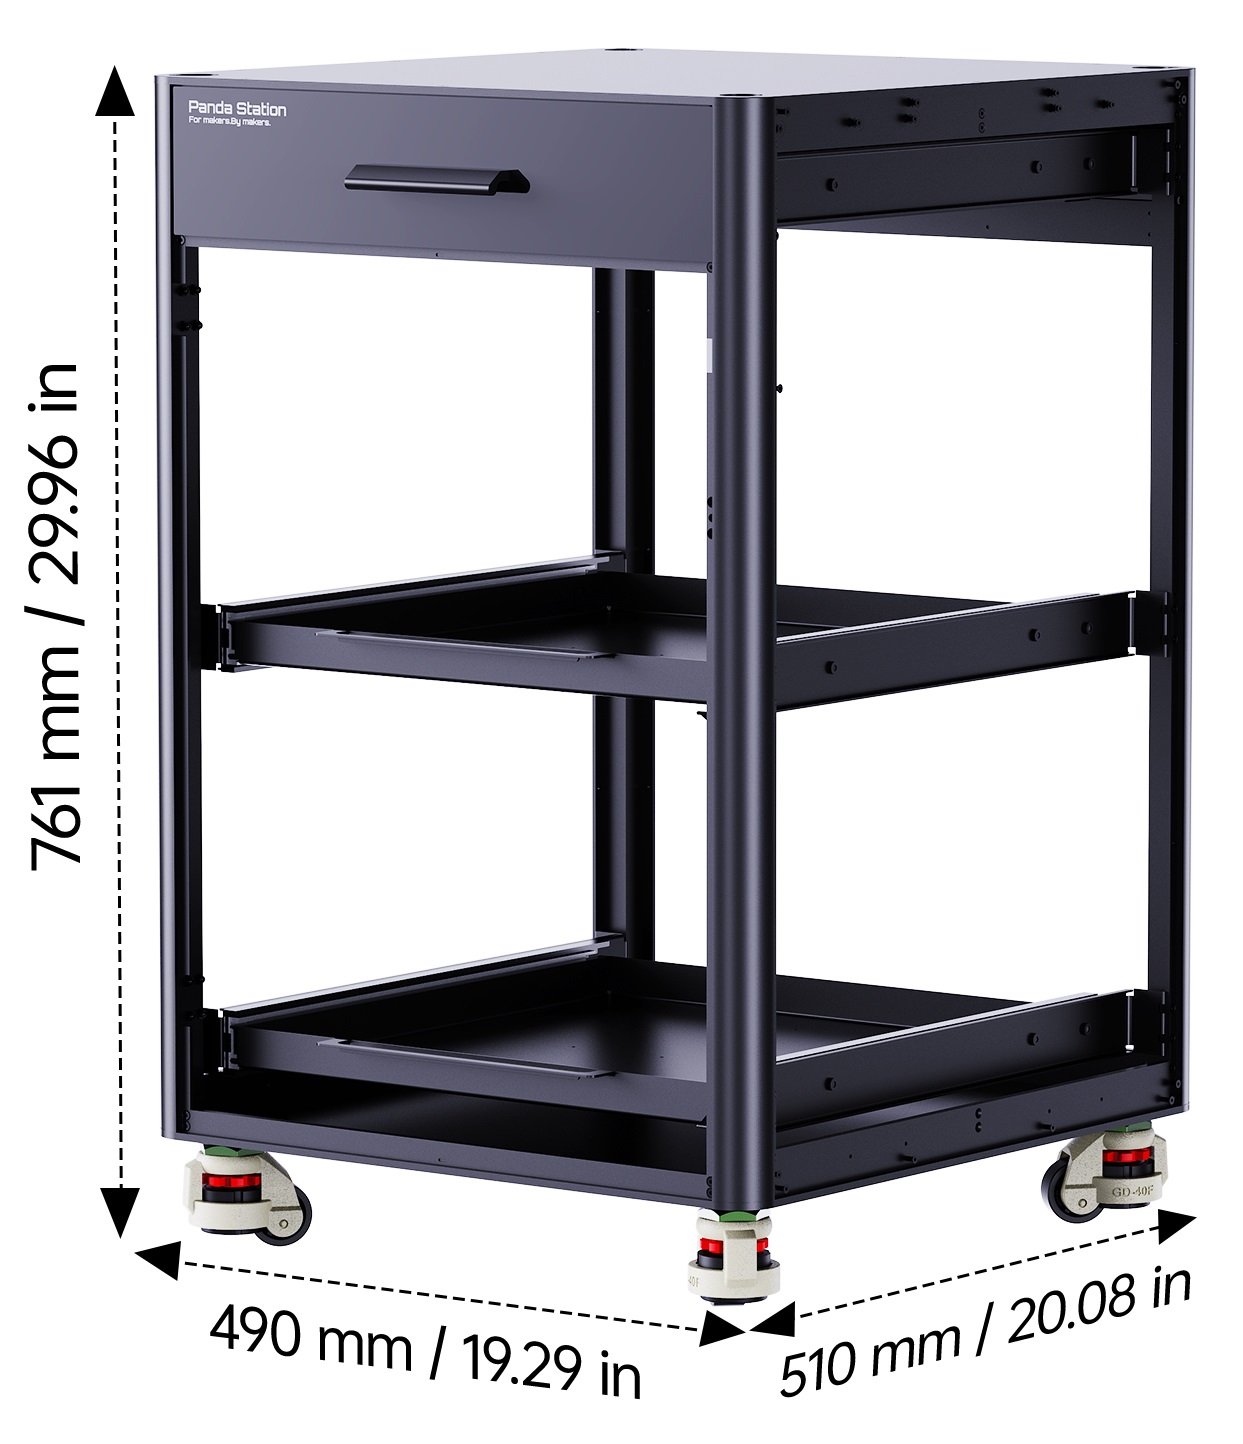
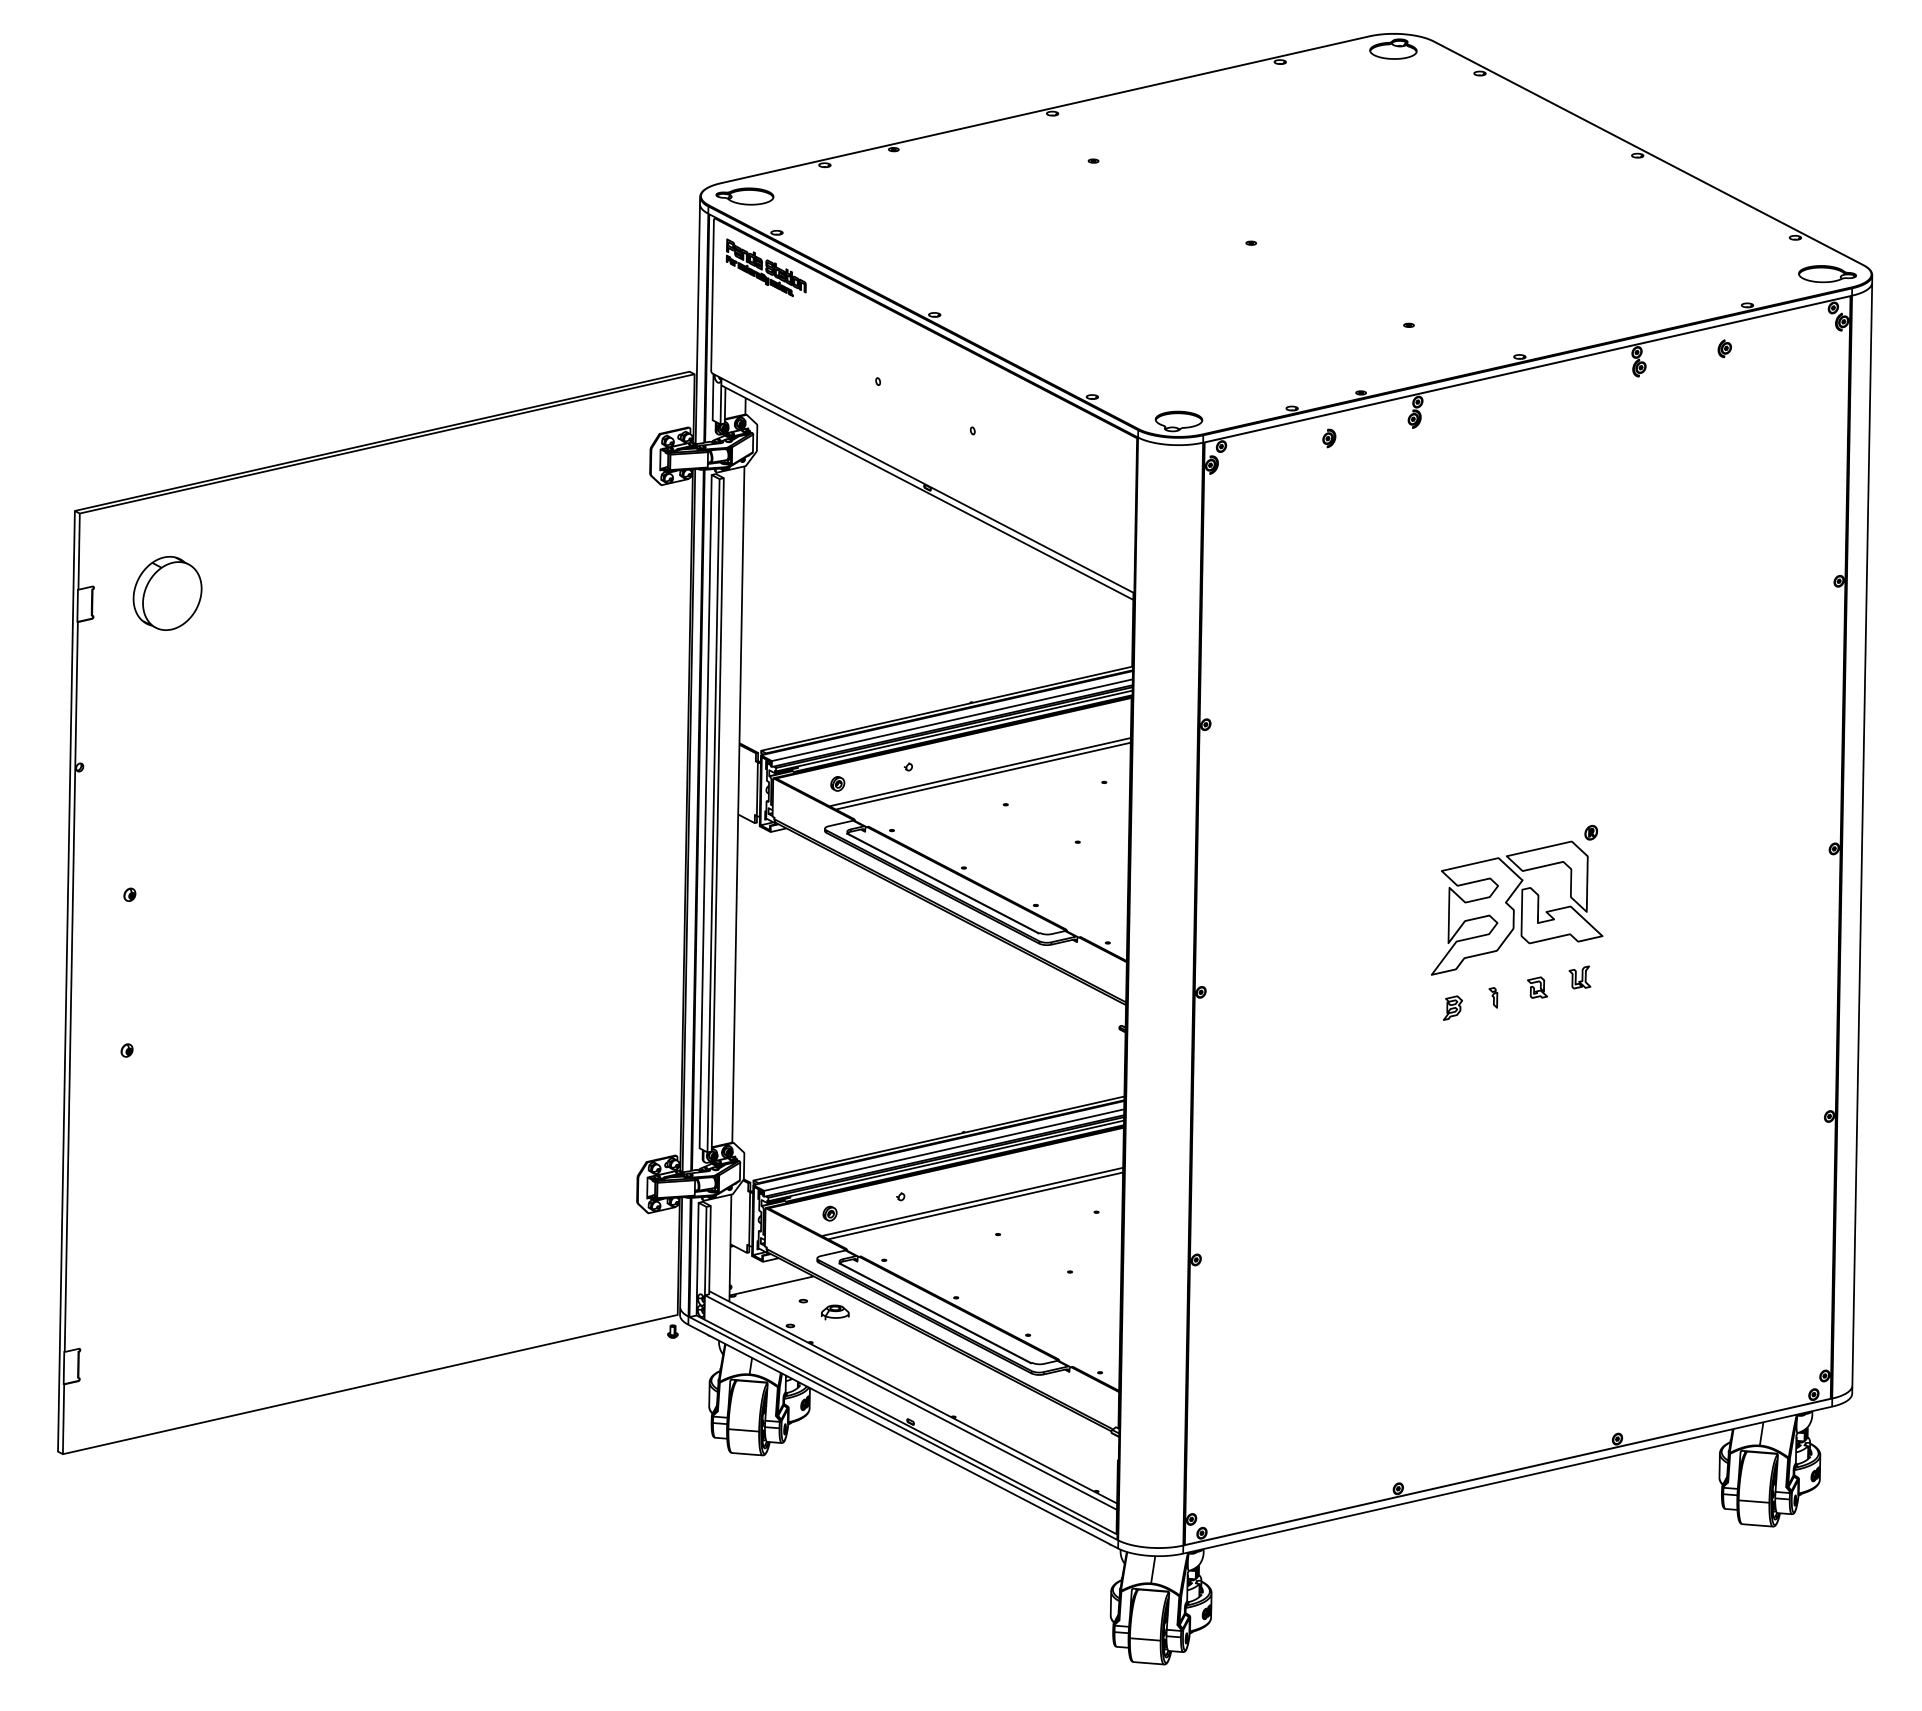
Panda Station Installation Guide
-
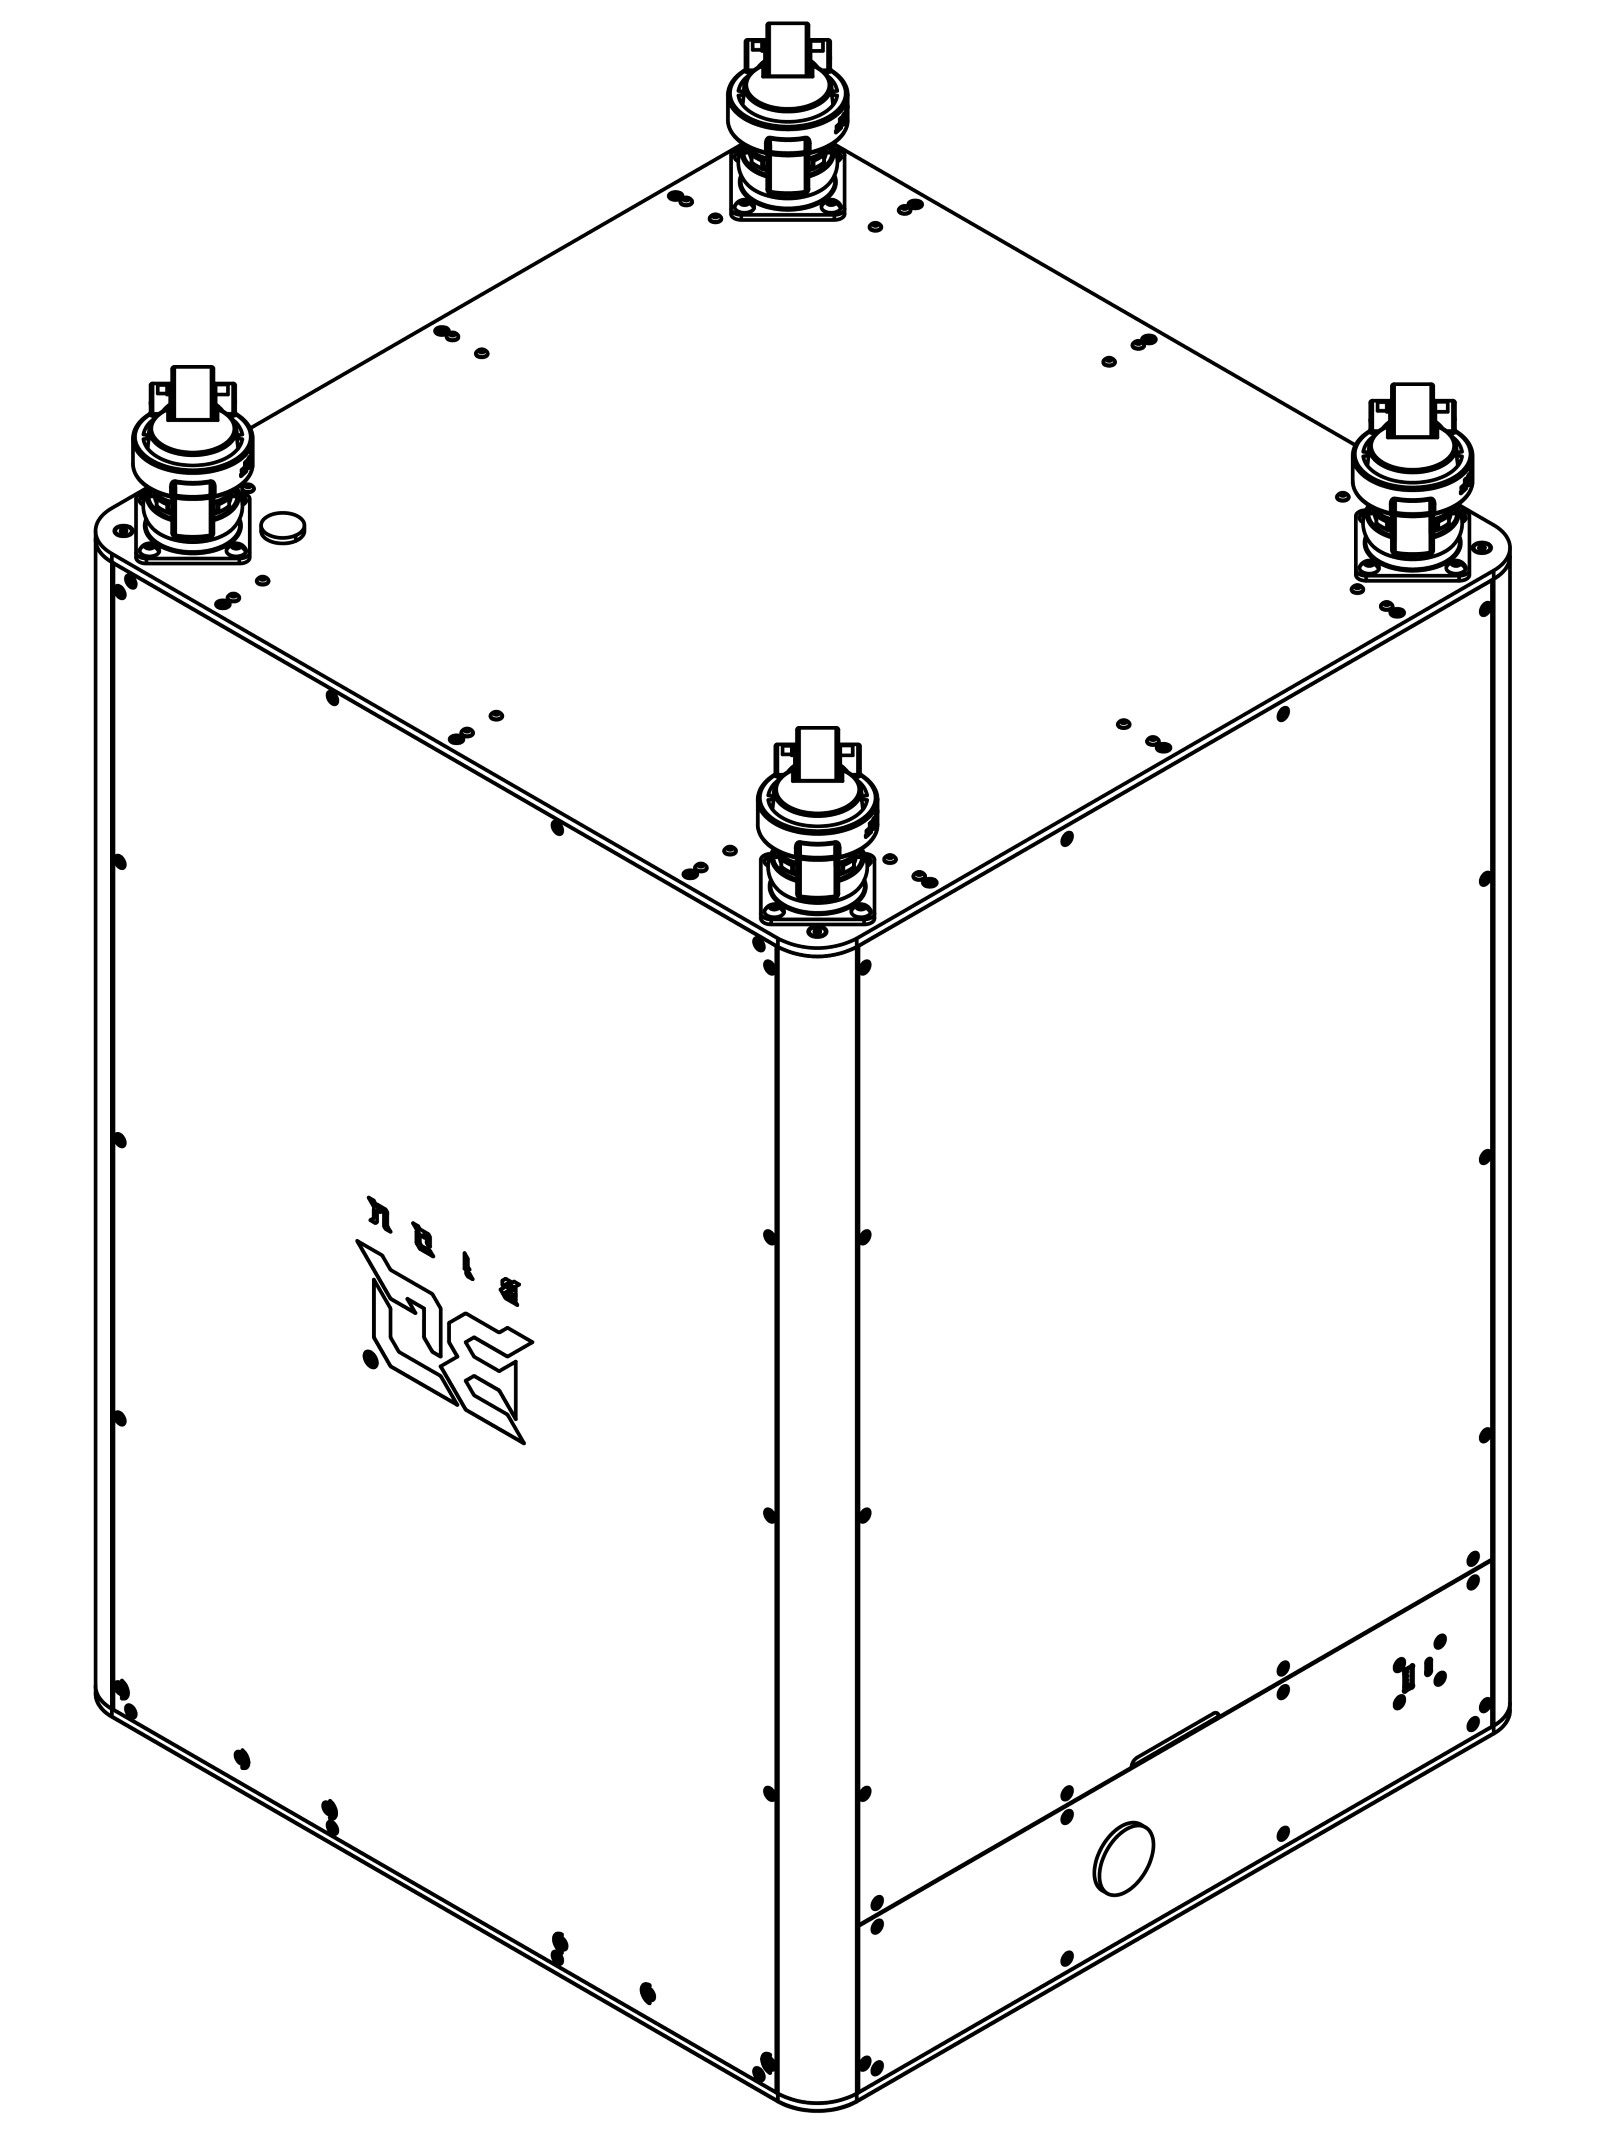
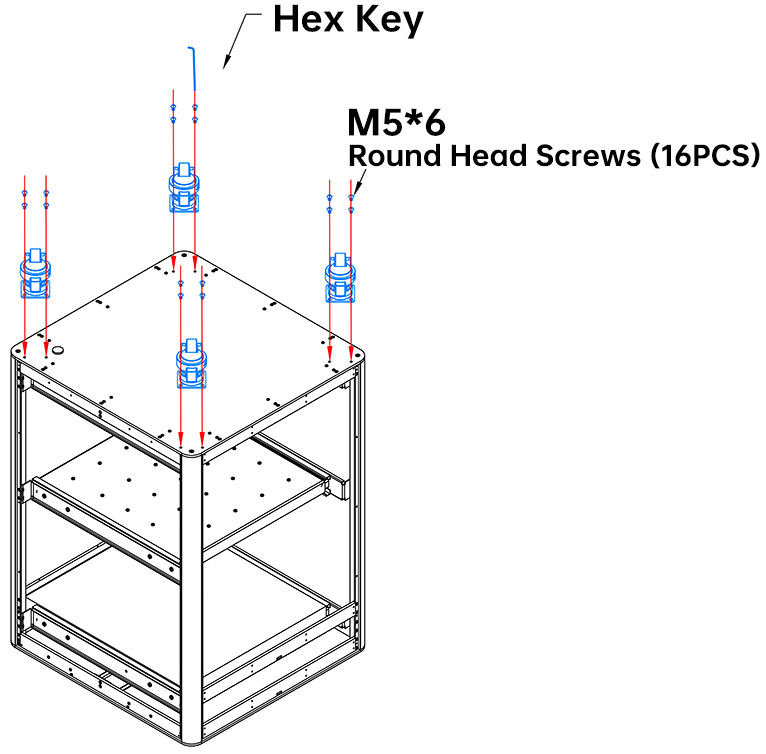
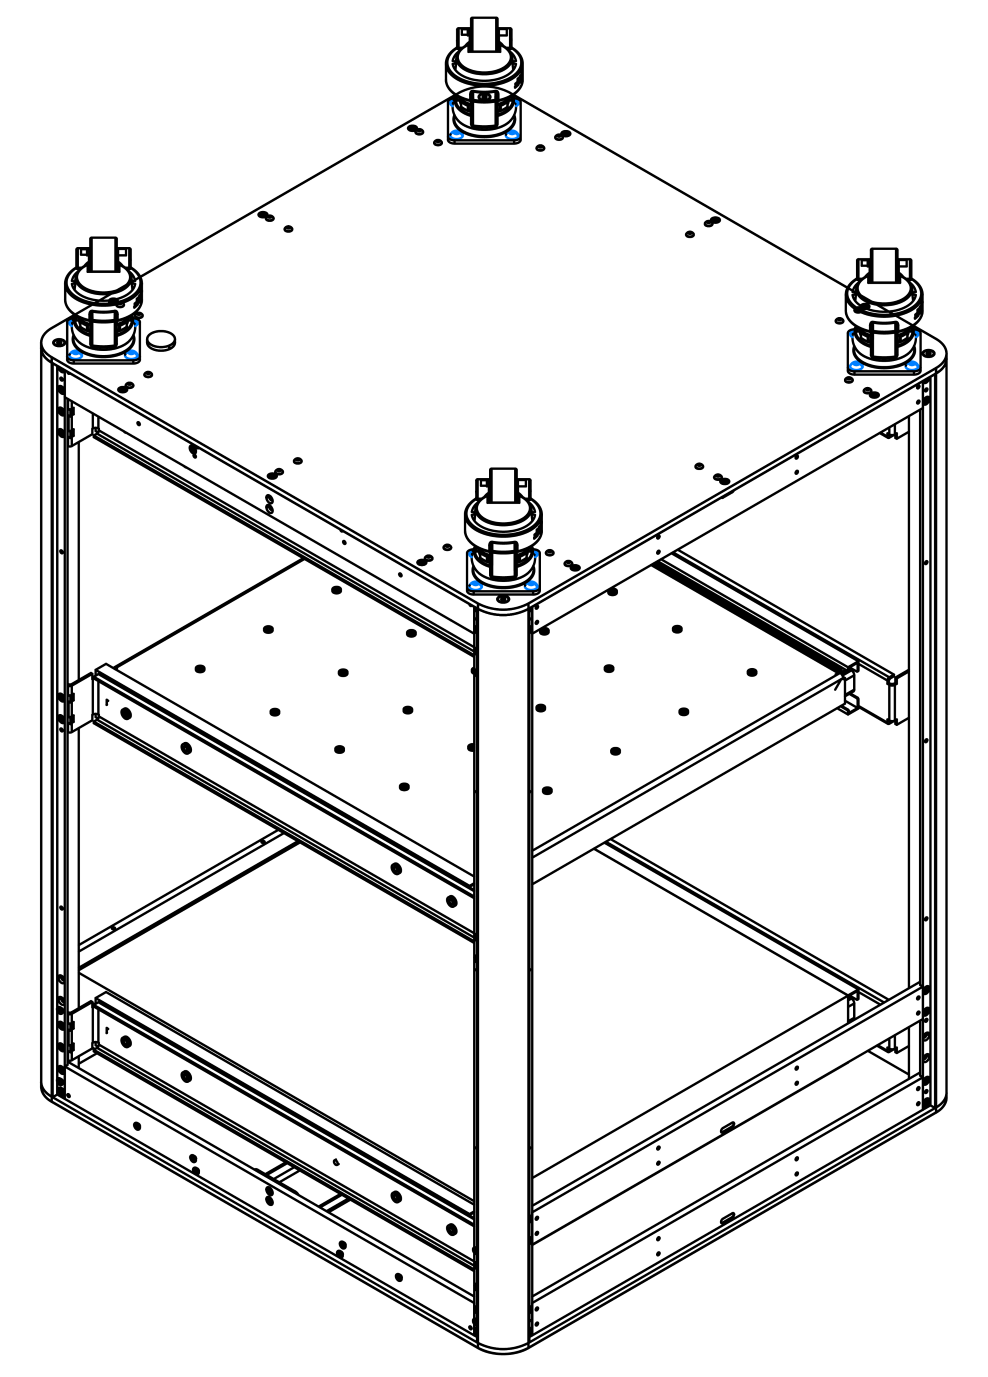
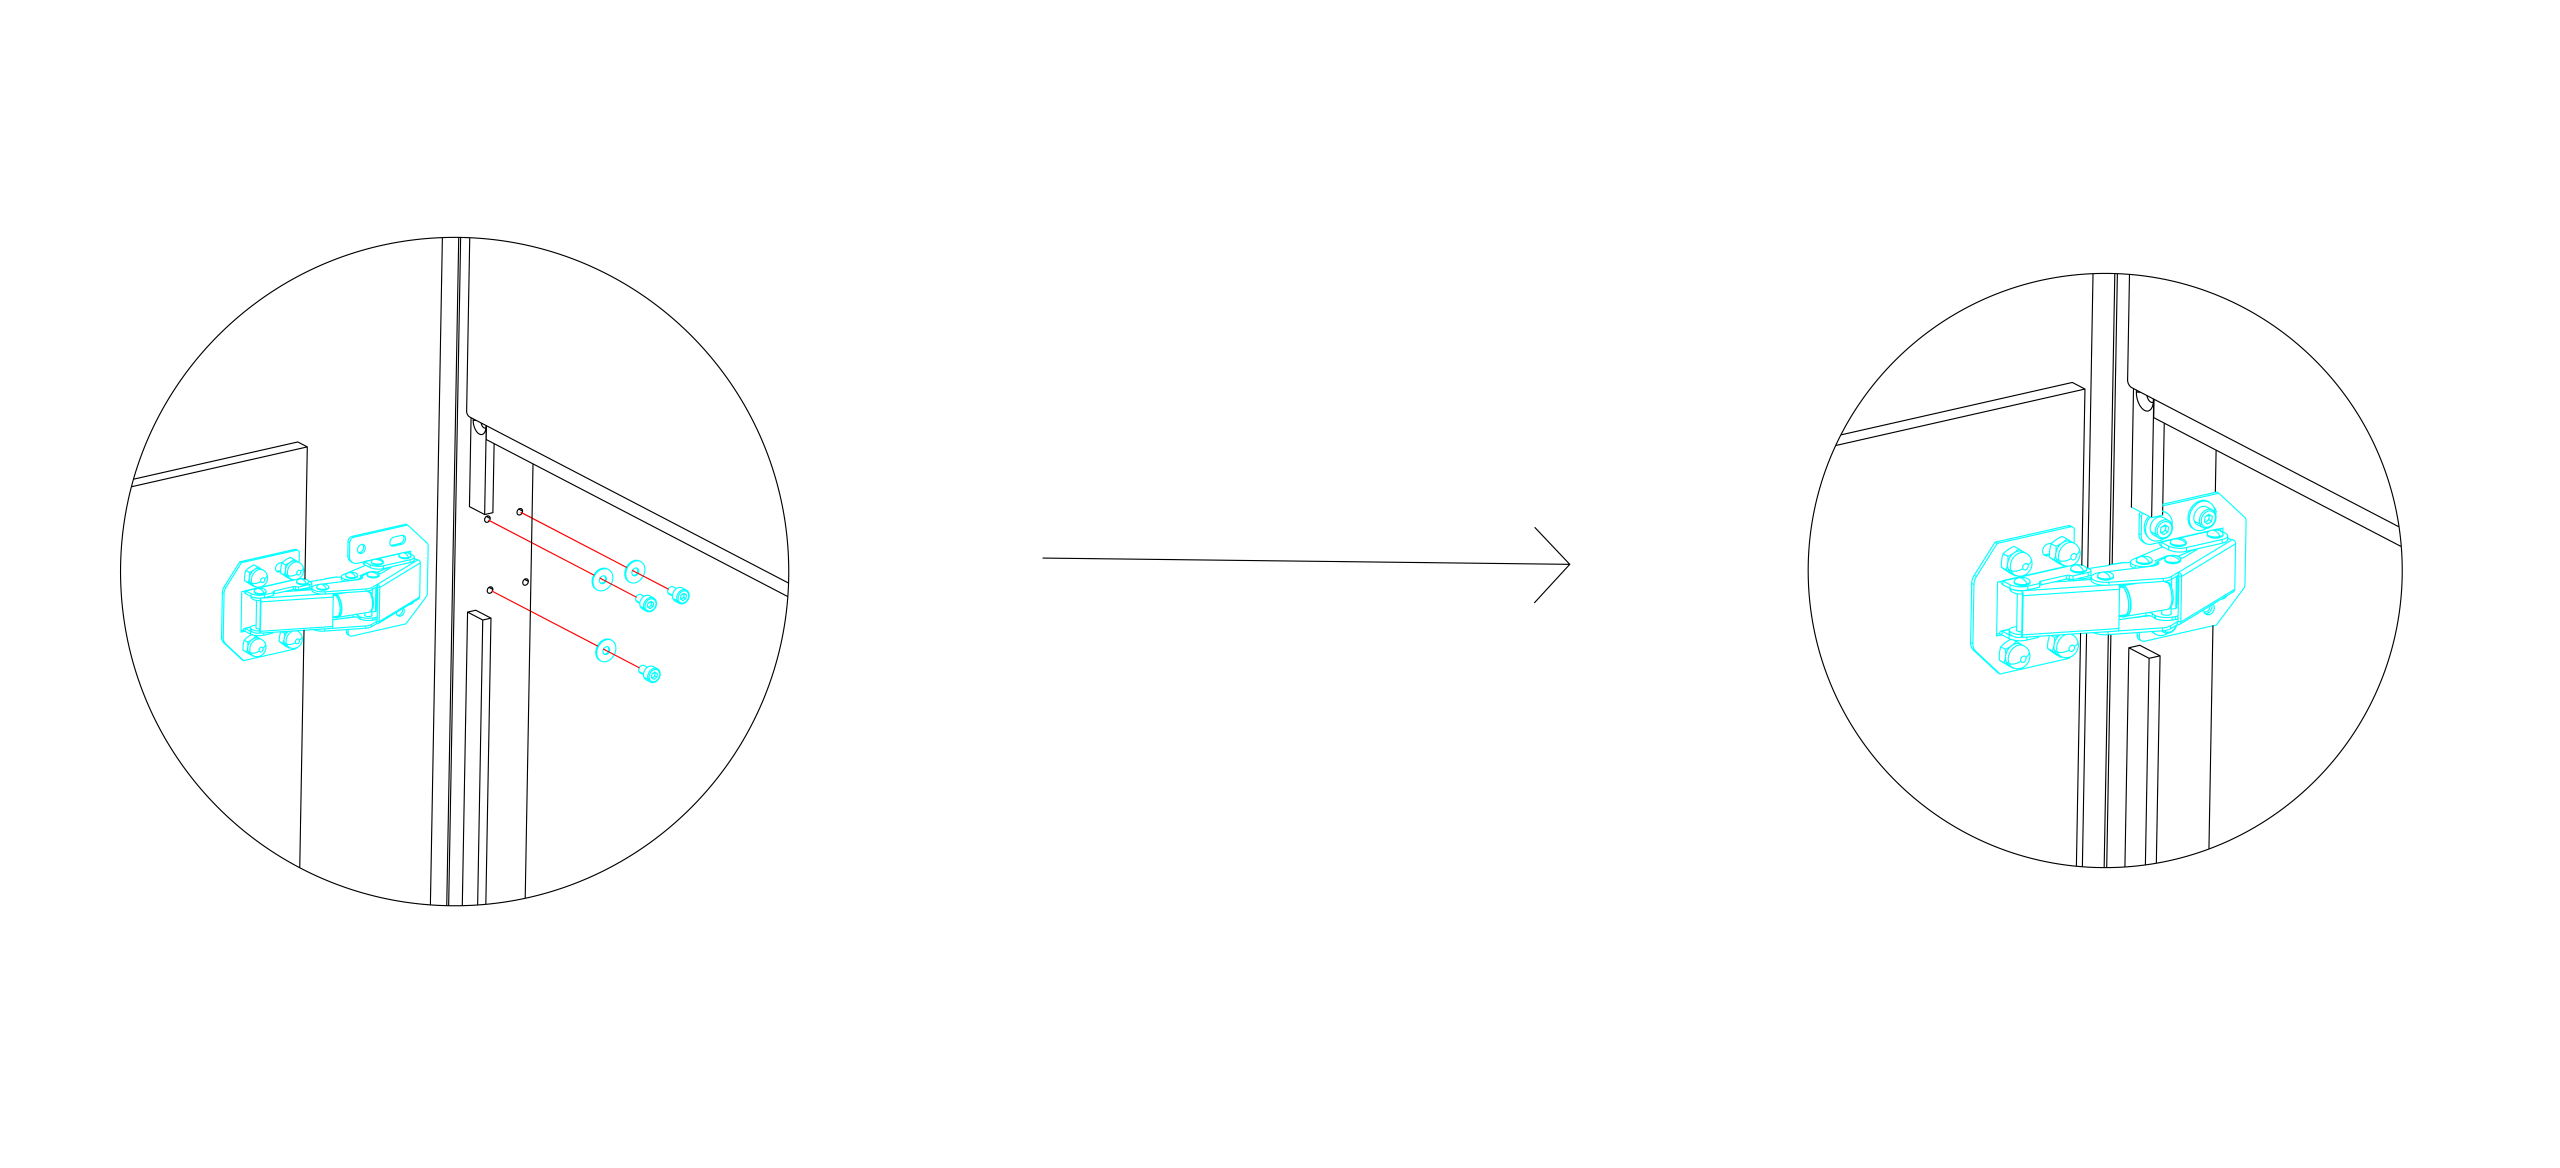
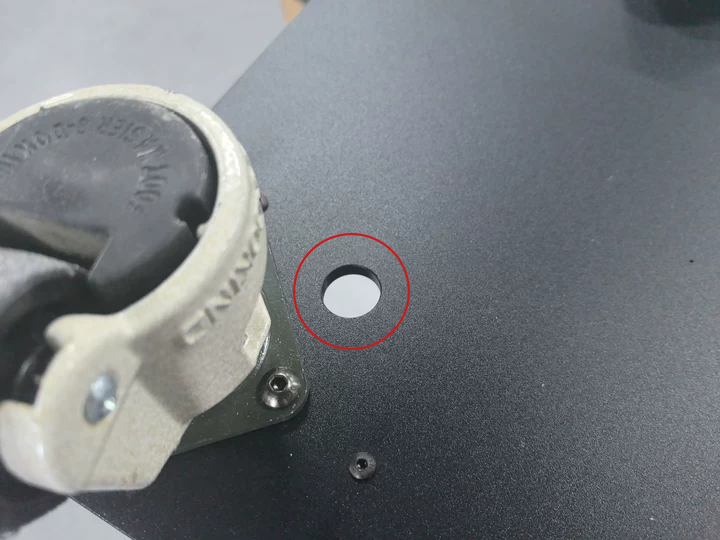
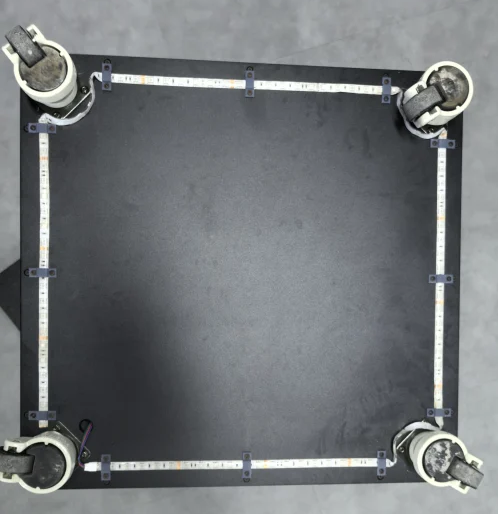
Step 1: Install the caster wheels at the bottom.
After unpacking, remove the foam from the packaging and place it under the bottom of the Panda Station to prevent damage. Remove the internal accessories of the Panda Station, then flip the Panda Station over and install the caster wheels.

Use a hex key to fix the 16 M5X6 round head screws as shown to attach the caster wheels.

Finished installation effect.
-
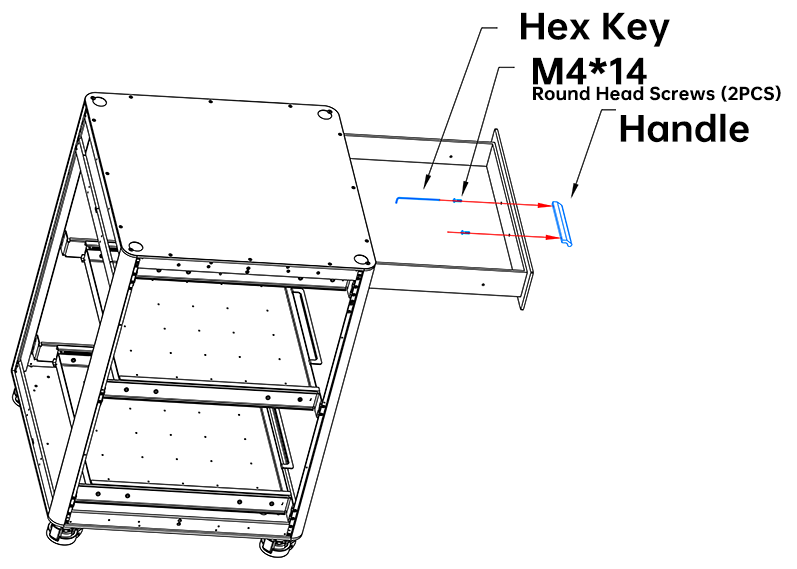
Step 2: Install the handles.
Use a hex key to fix the 2 M4*14 round head screws to secure the drawer handle.

Use a hex key to fix the 2 M4*8 round head screws to secure the door handle.
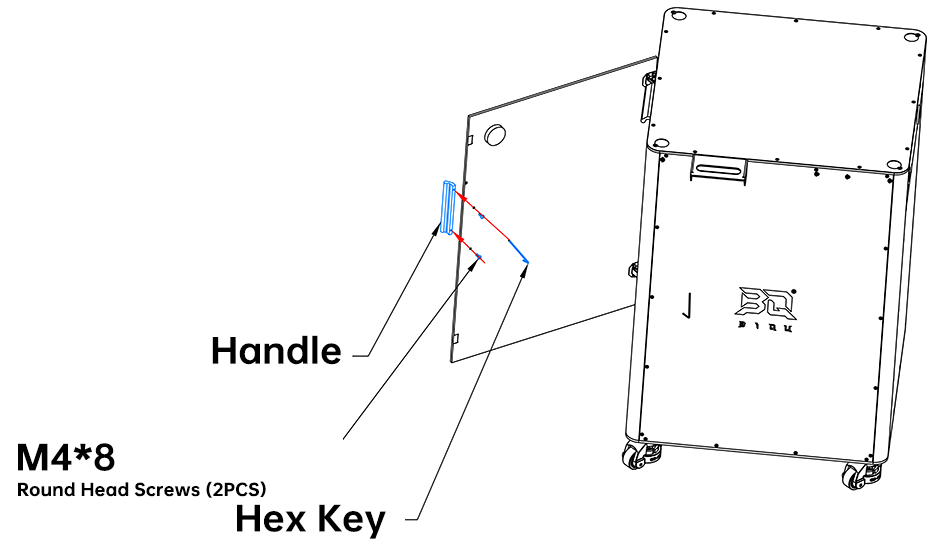
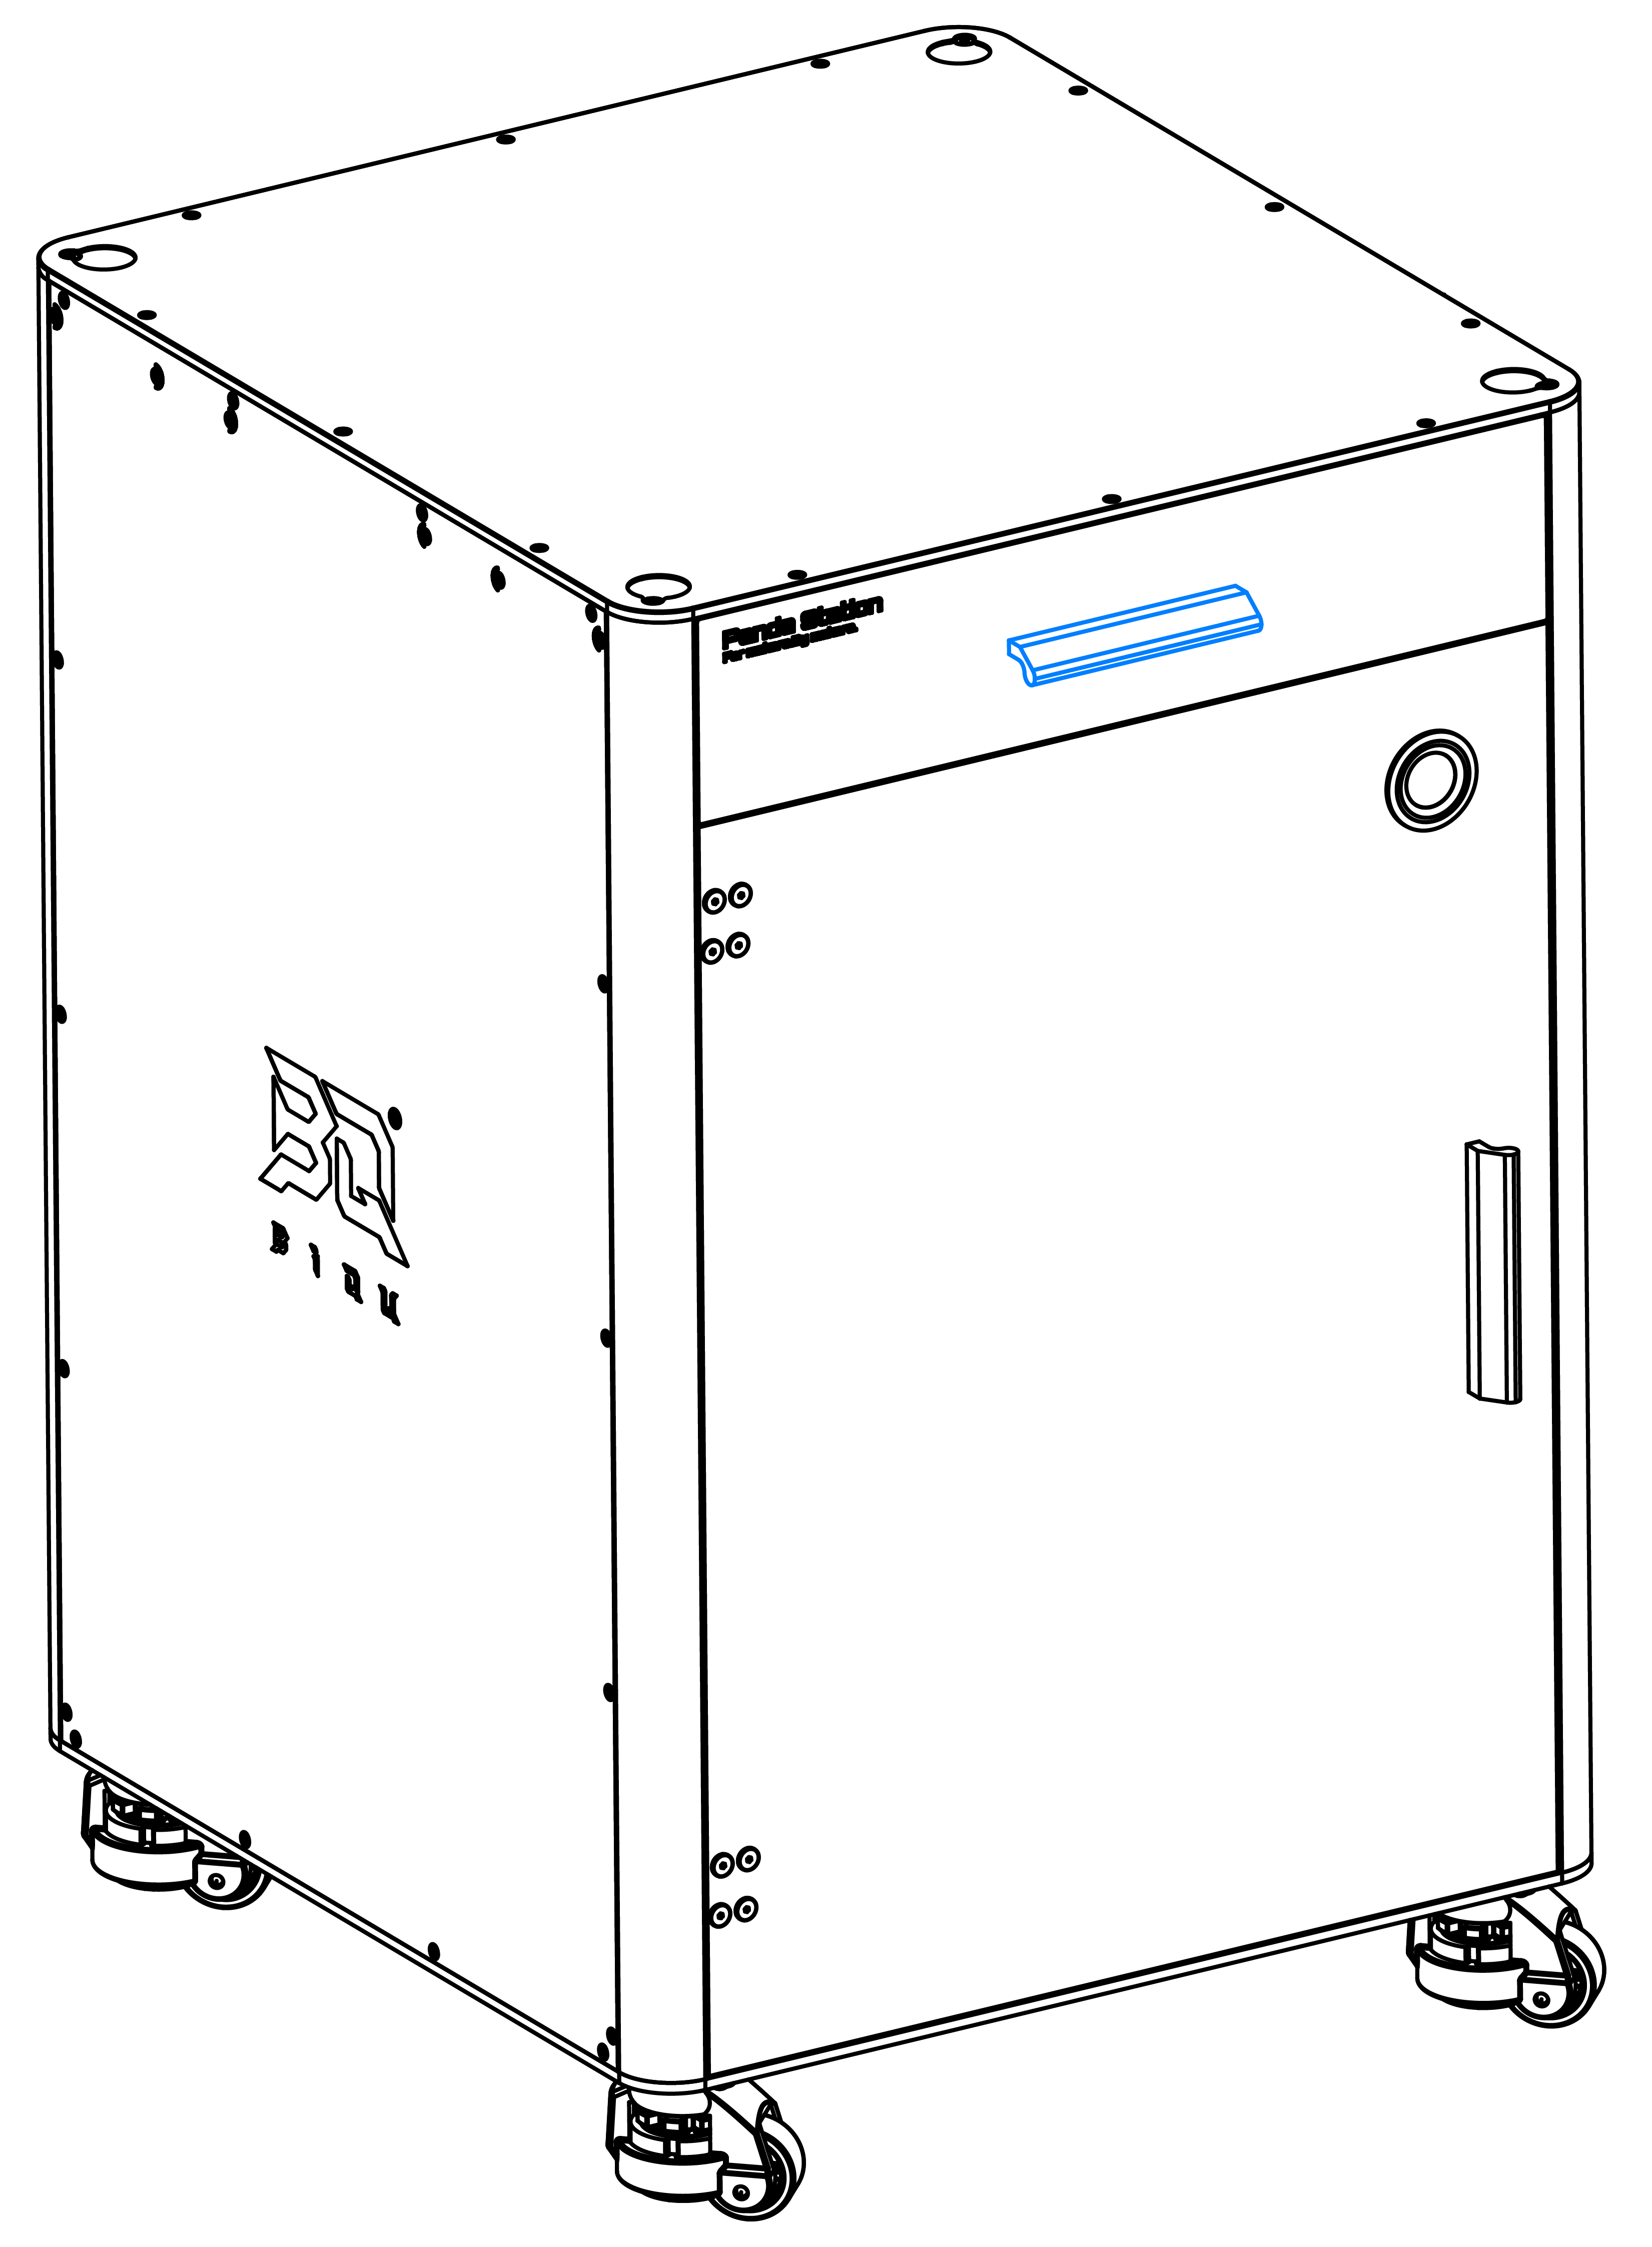
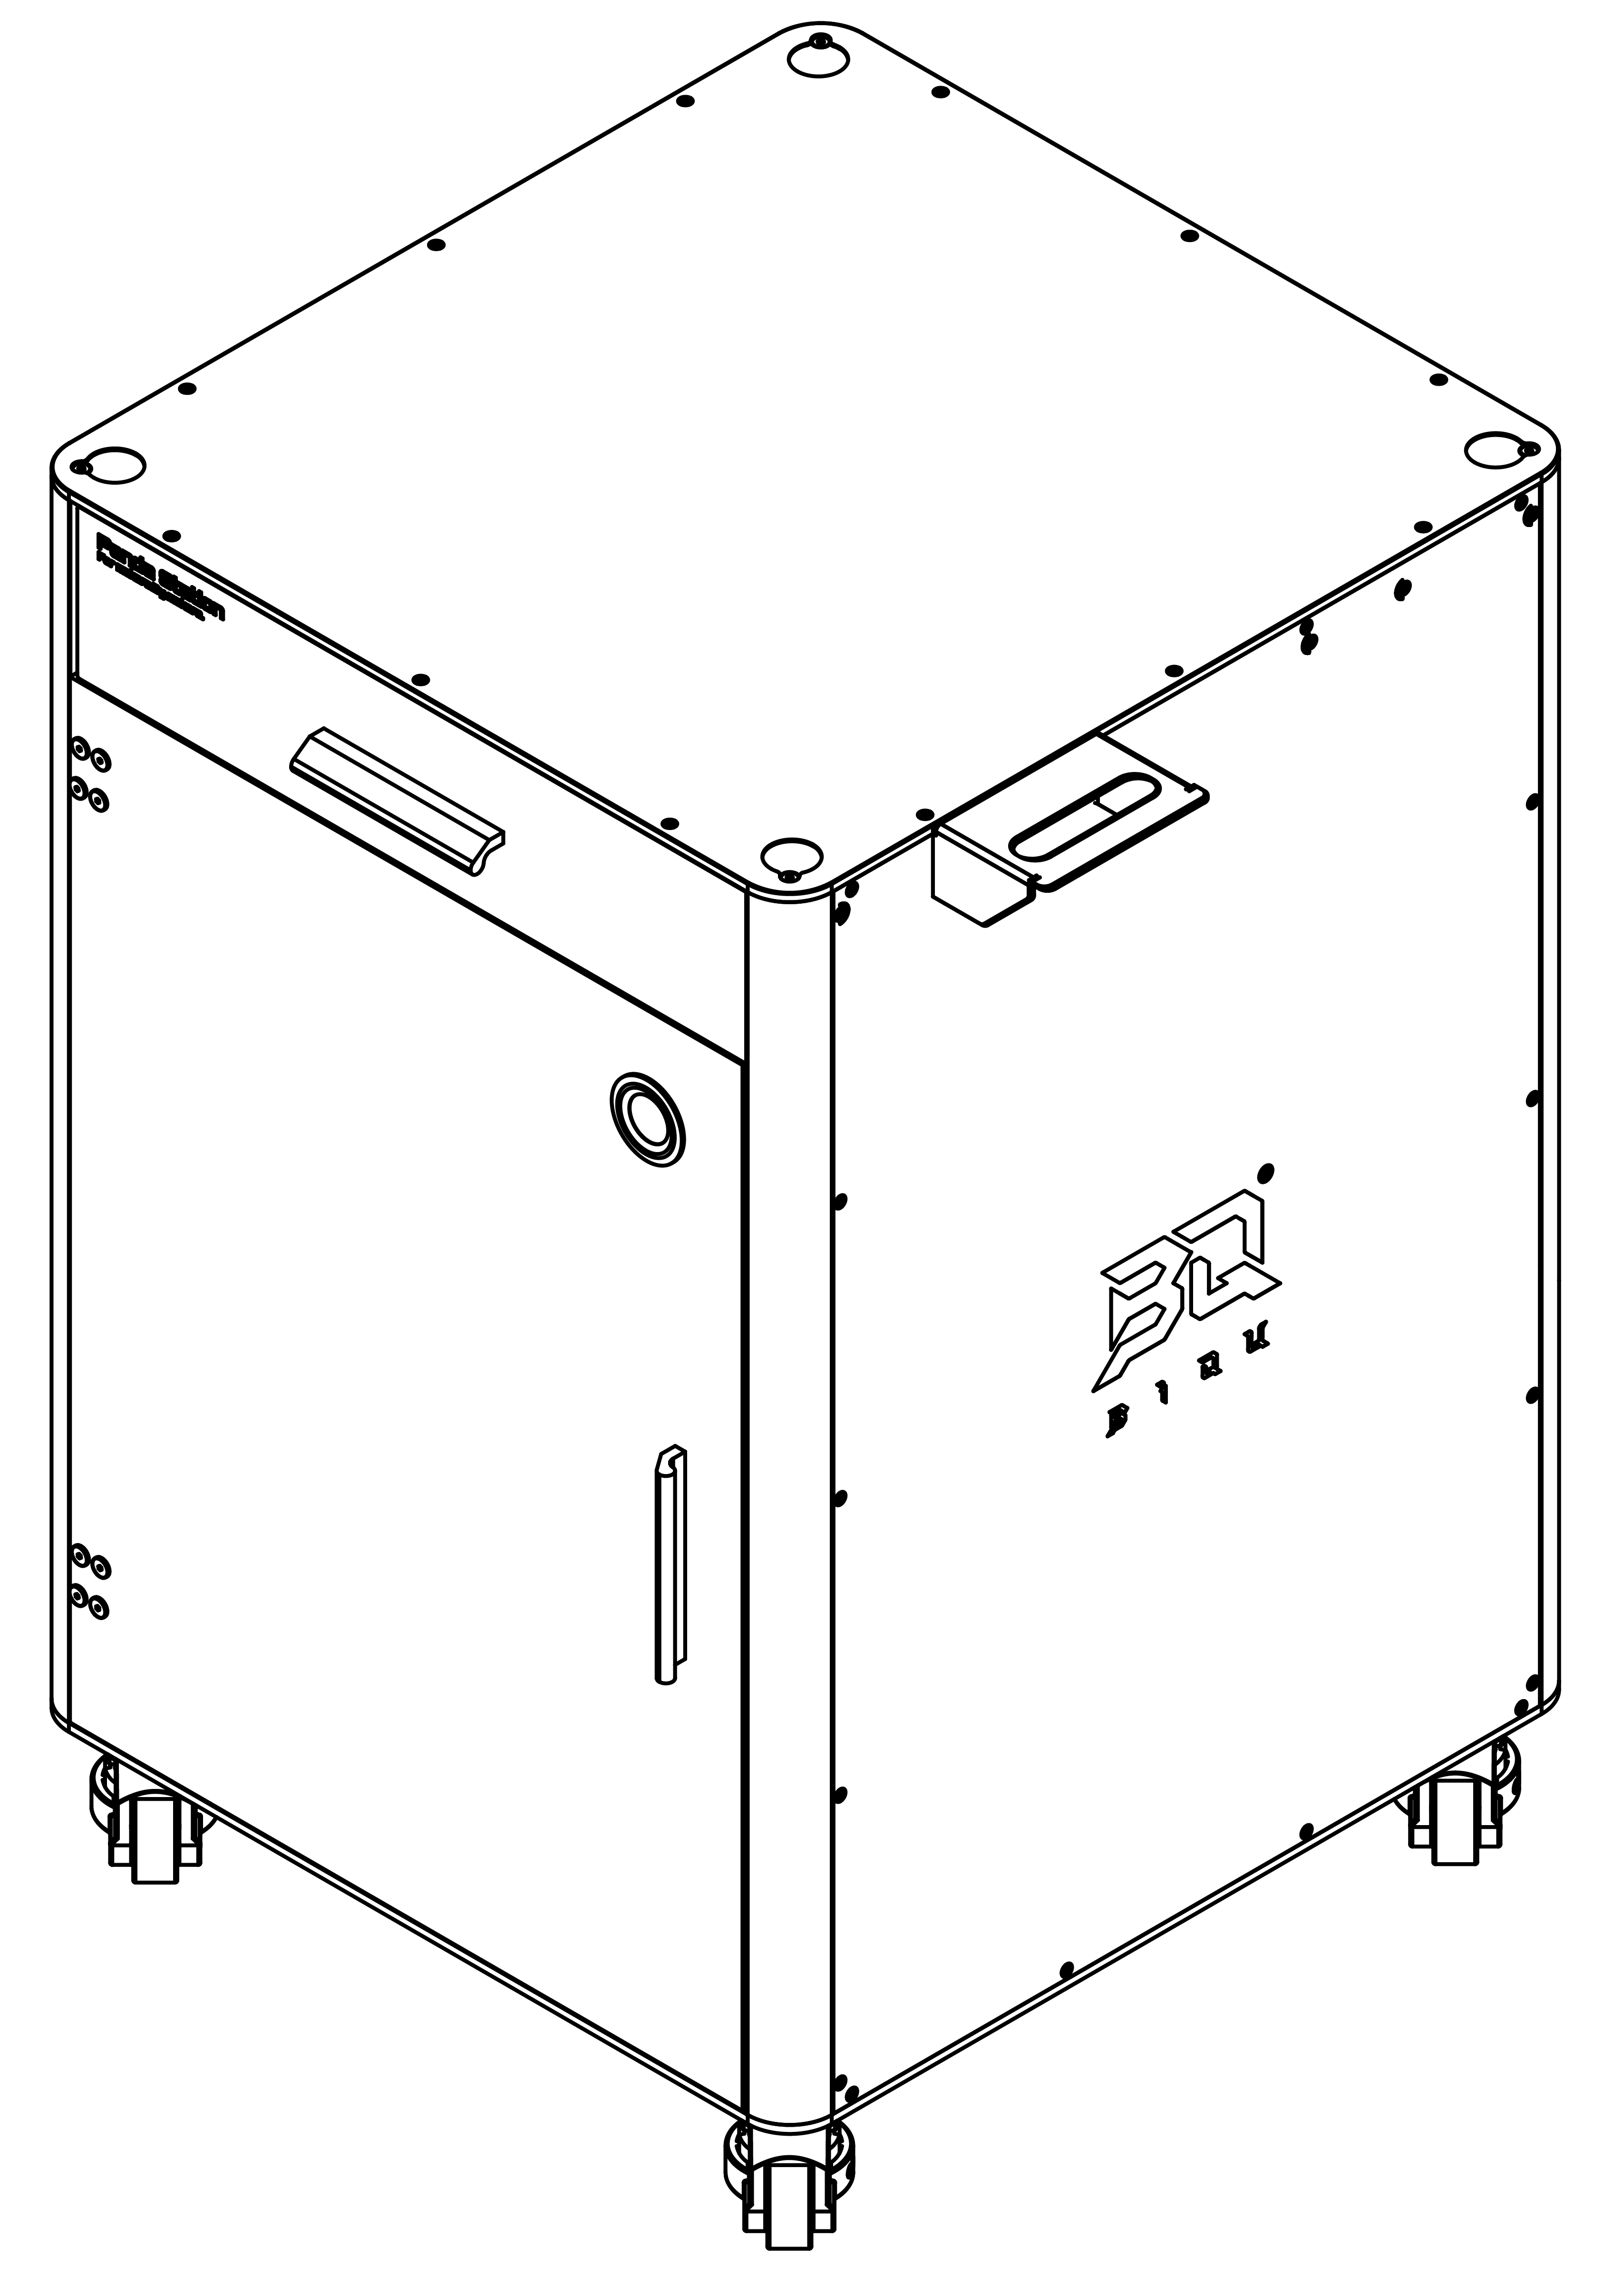
Finished installation effect.
-
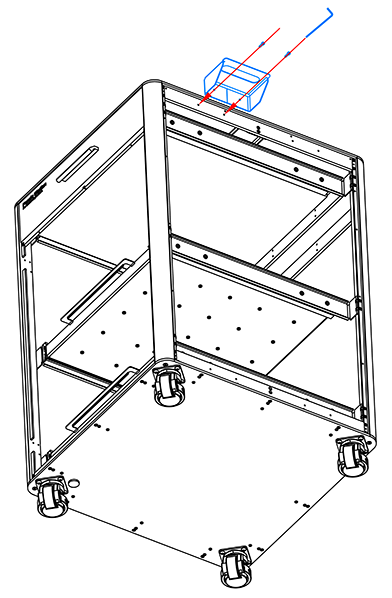
Step 3: For H2D compatibility, install the emergency stop bracket.
Use a hex key to remove the 2 countersunk screws as shown.

Use a hex key to secure the 2 M3*10 screws to fix the emergency stop bracket.

Finished effect.
Naked Panda Station Installation Guide
-
Step 1: Install the caster wheels at the bottom.
After unpacking, remove the foam from the packaging and place it under the bottom of the Naked Panda Station to prevent damage. Remove the internal accessories of the Naked Panda Station, then flip the Naked Panda Station over and install the caster wheels.
Use a hex key to fix the 16 M5X6 round head screws as shown to attach the caster wheels.
Finished installation effect.
-
Step 2: Install the handles.
Use a hex key to fix the 2 M4*14 round head screws to secure the drawer handle.
Finished installation effect.

-
Step 3: For H2D compatibility, install the emergency stop button bracket.
Use a hex key to secure the 2 M3*10 round head screws to fix the emergency stop button bracket.
Finished effect.

Panda Station Enclosure Kit Installation Guide
Note: This kit is used to upgrade Naked Panda Station to Panda Station.
-
Step 1: Assemble the rear upper panel.

-
Step 2: Install the rear upper panel to the frame.
Finished installation effect.
-
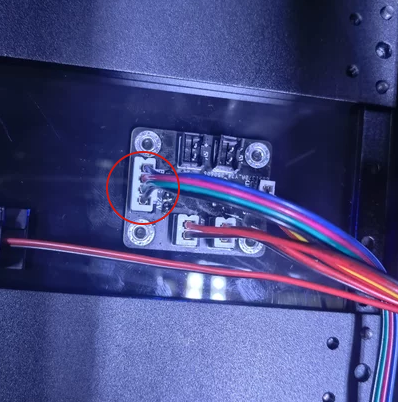
Step 3: Install the internal lighting door detection Hall board.
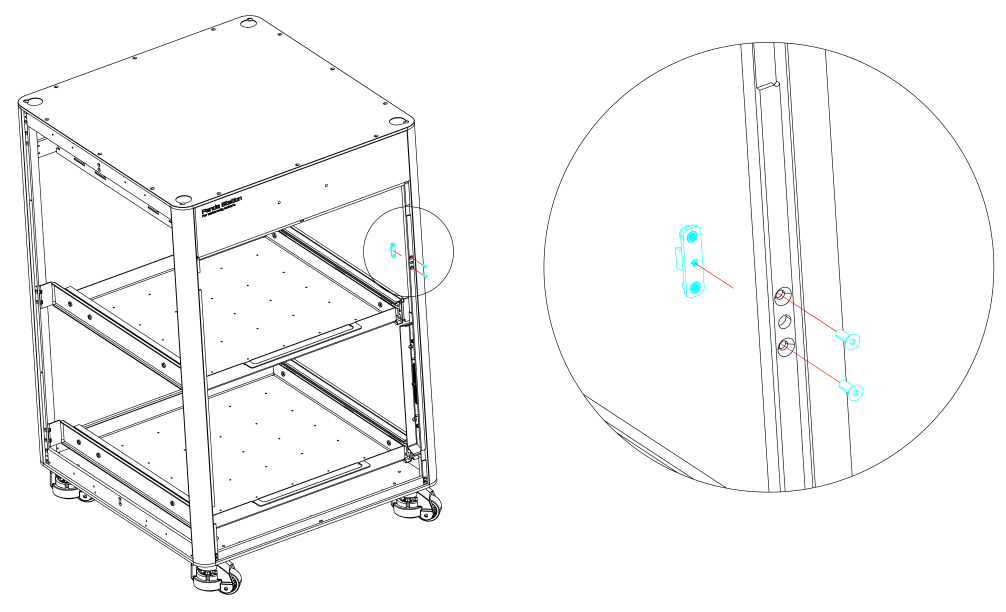
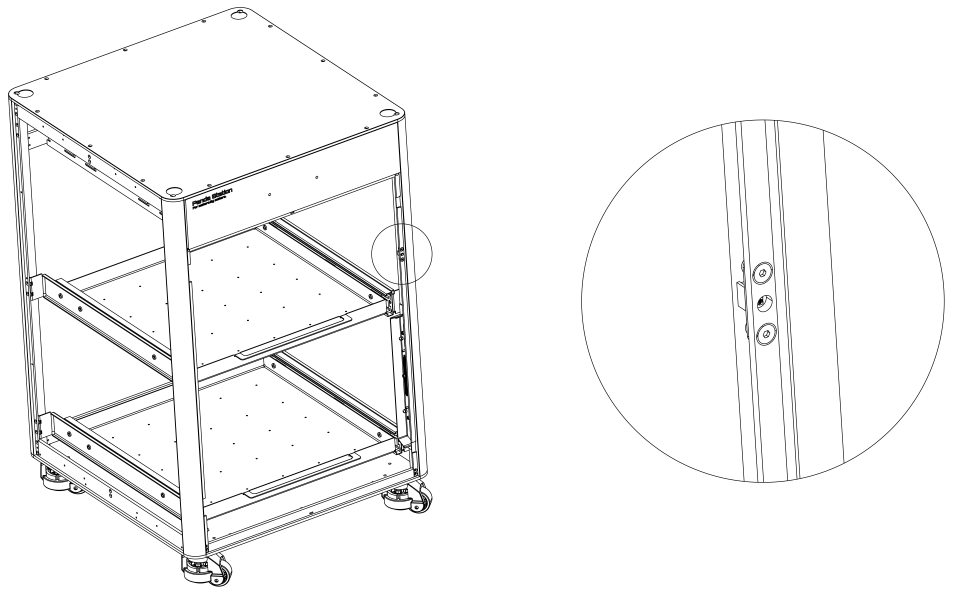
Finished installation effect.
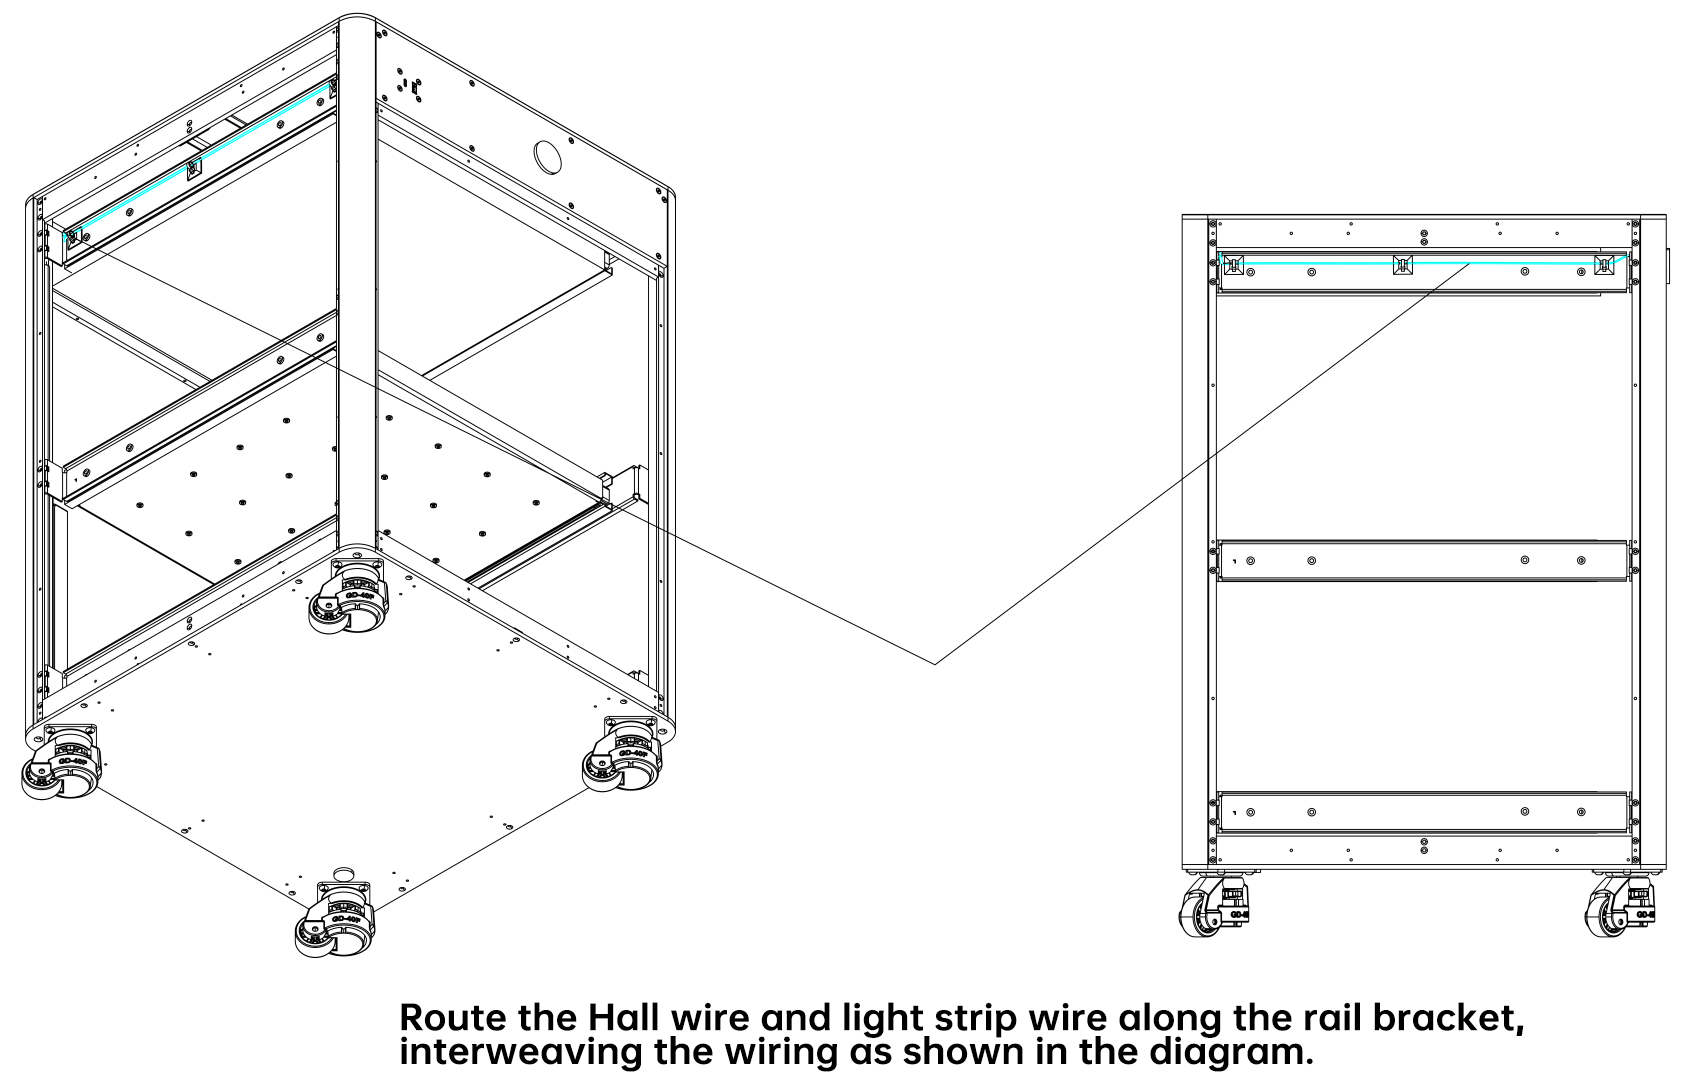
Apply cable management clips (quantity can be adjusted as needed) to the left and right rail brackets.

Insert the 3-pin Hall board connection cable.
-
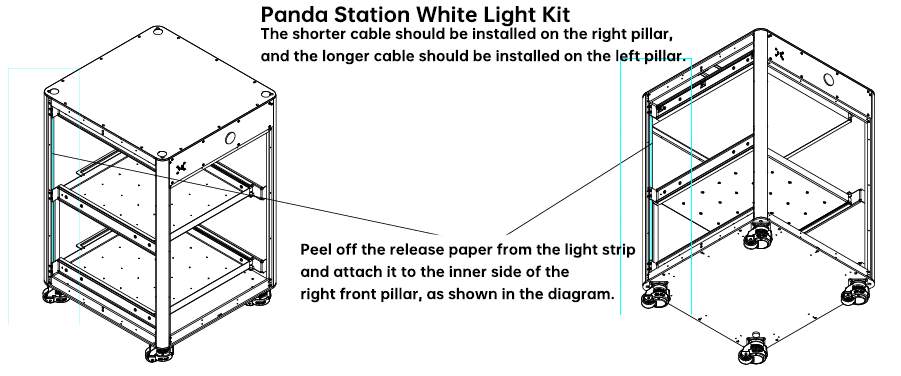
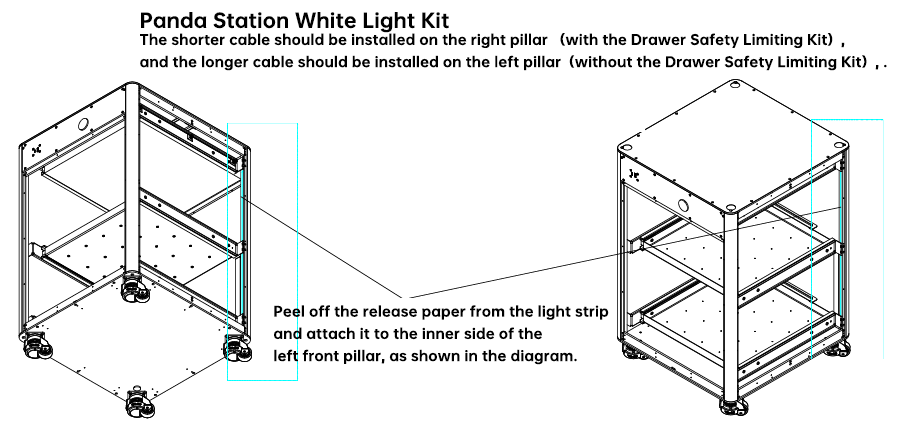
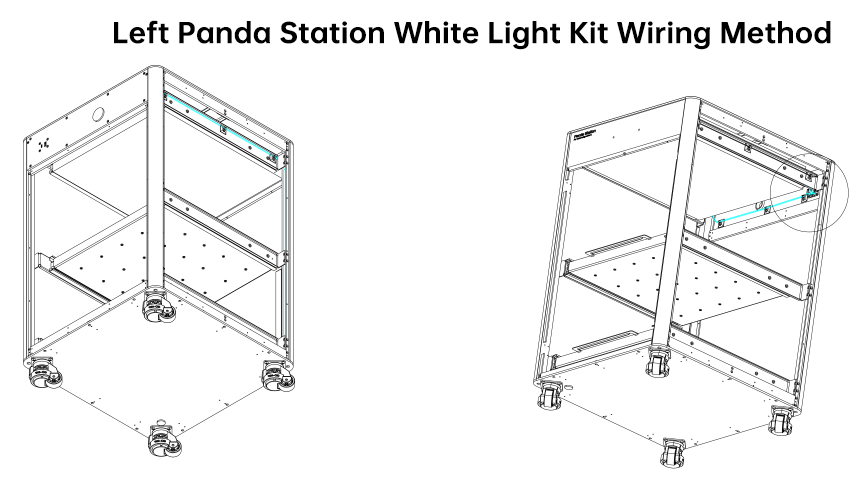
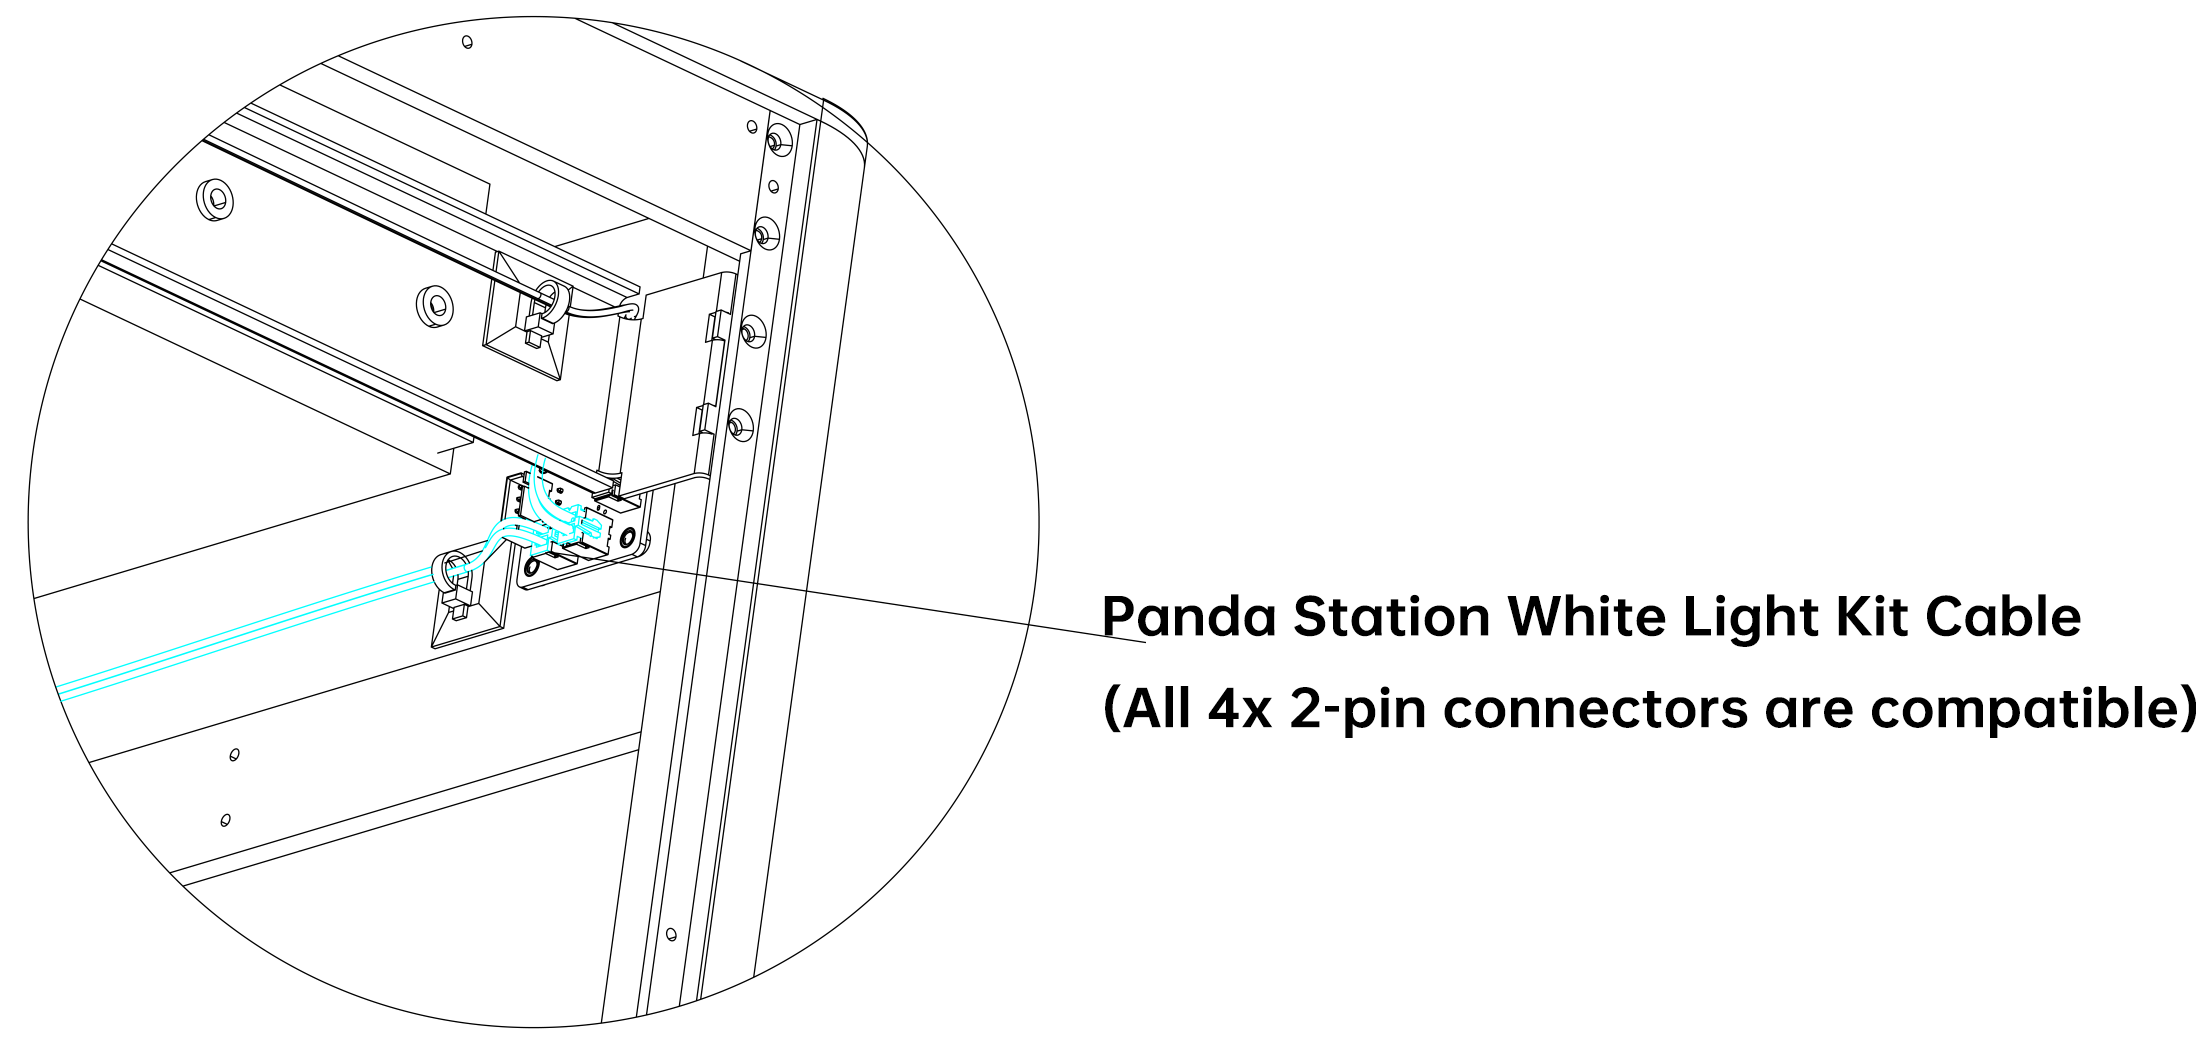
Step 4: Install the Panda Station White Light Kit.

-
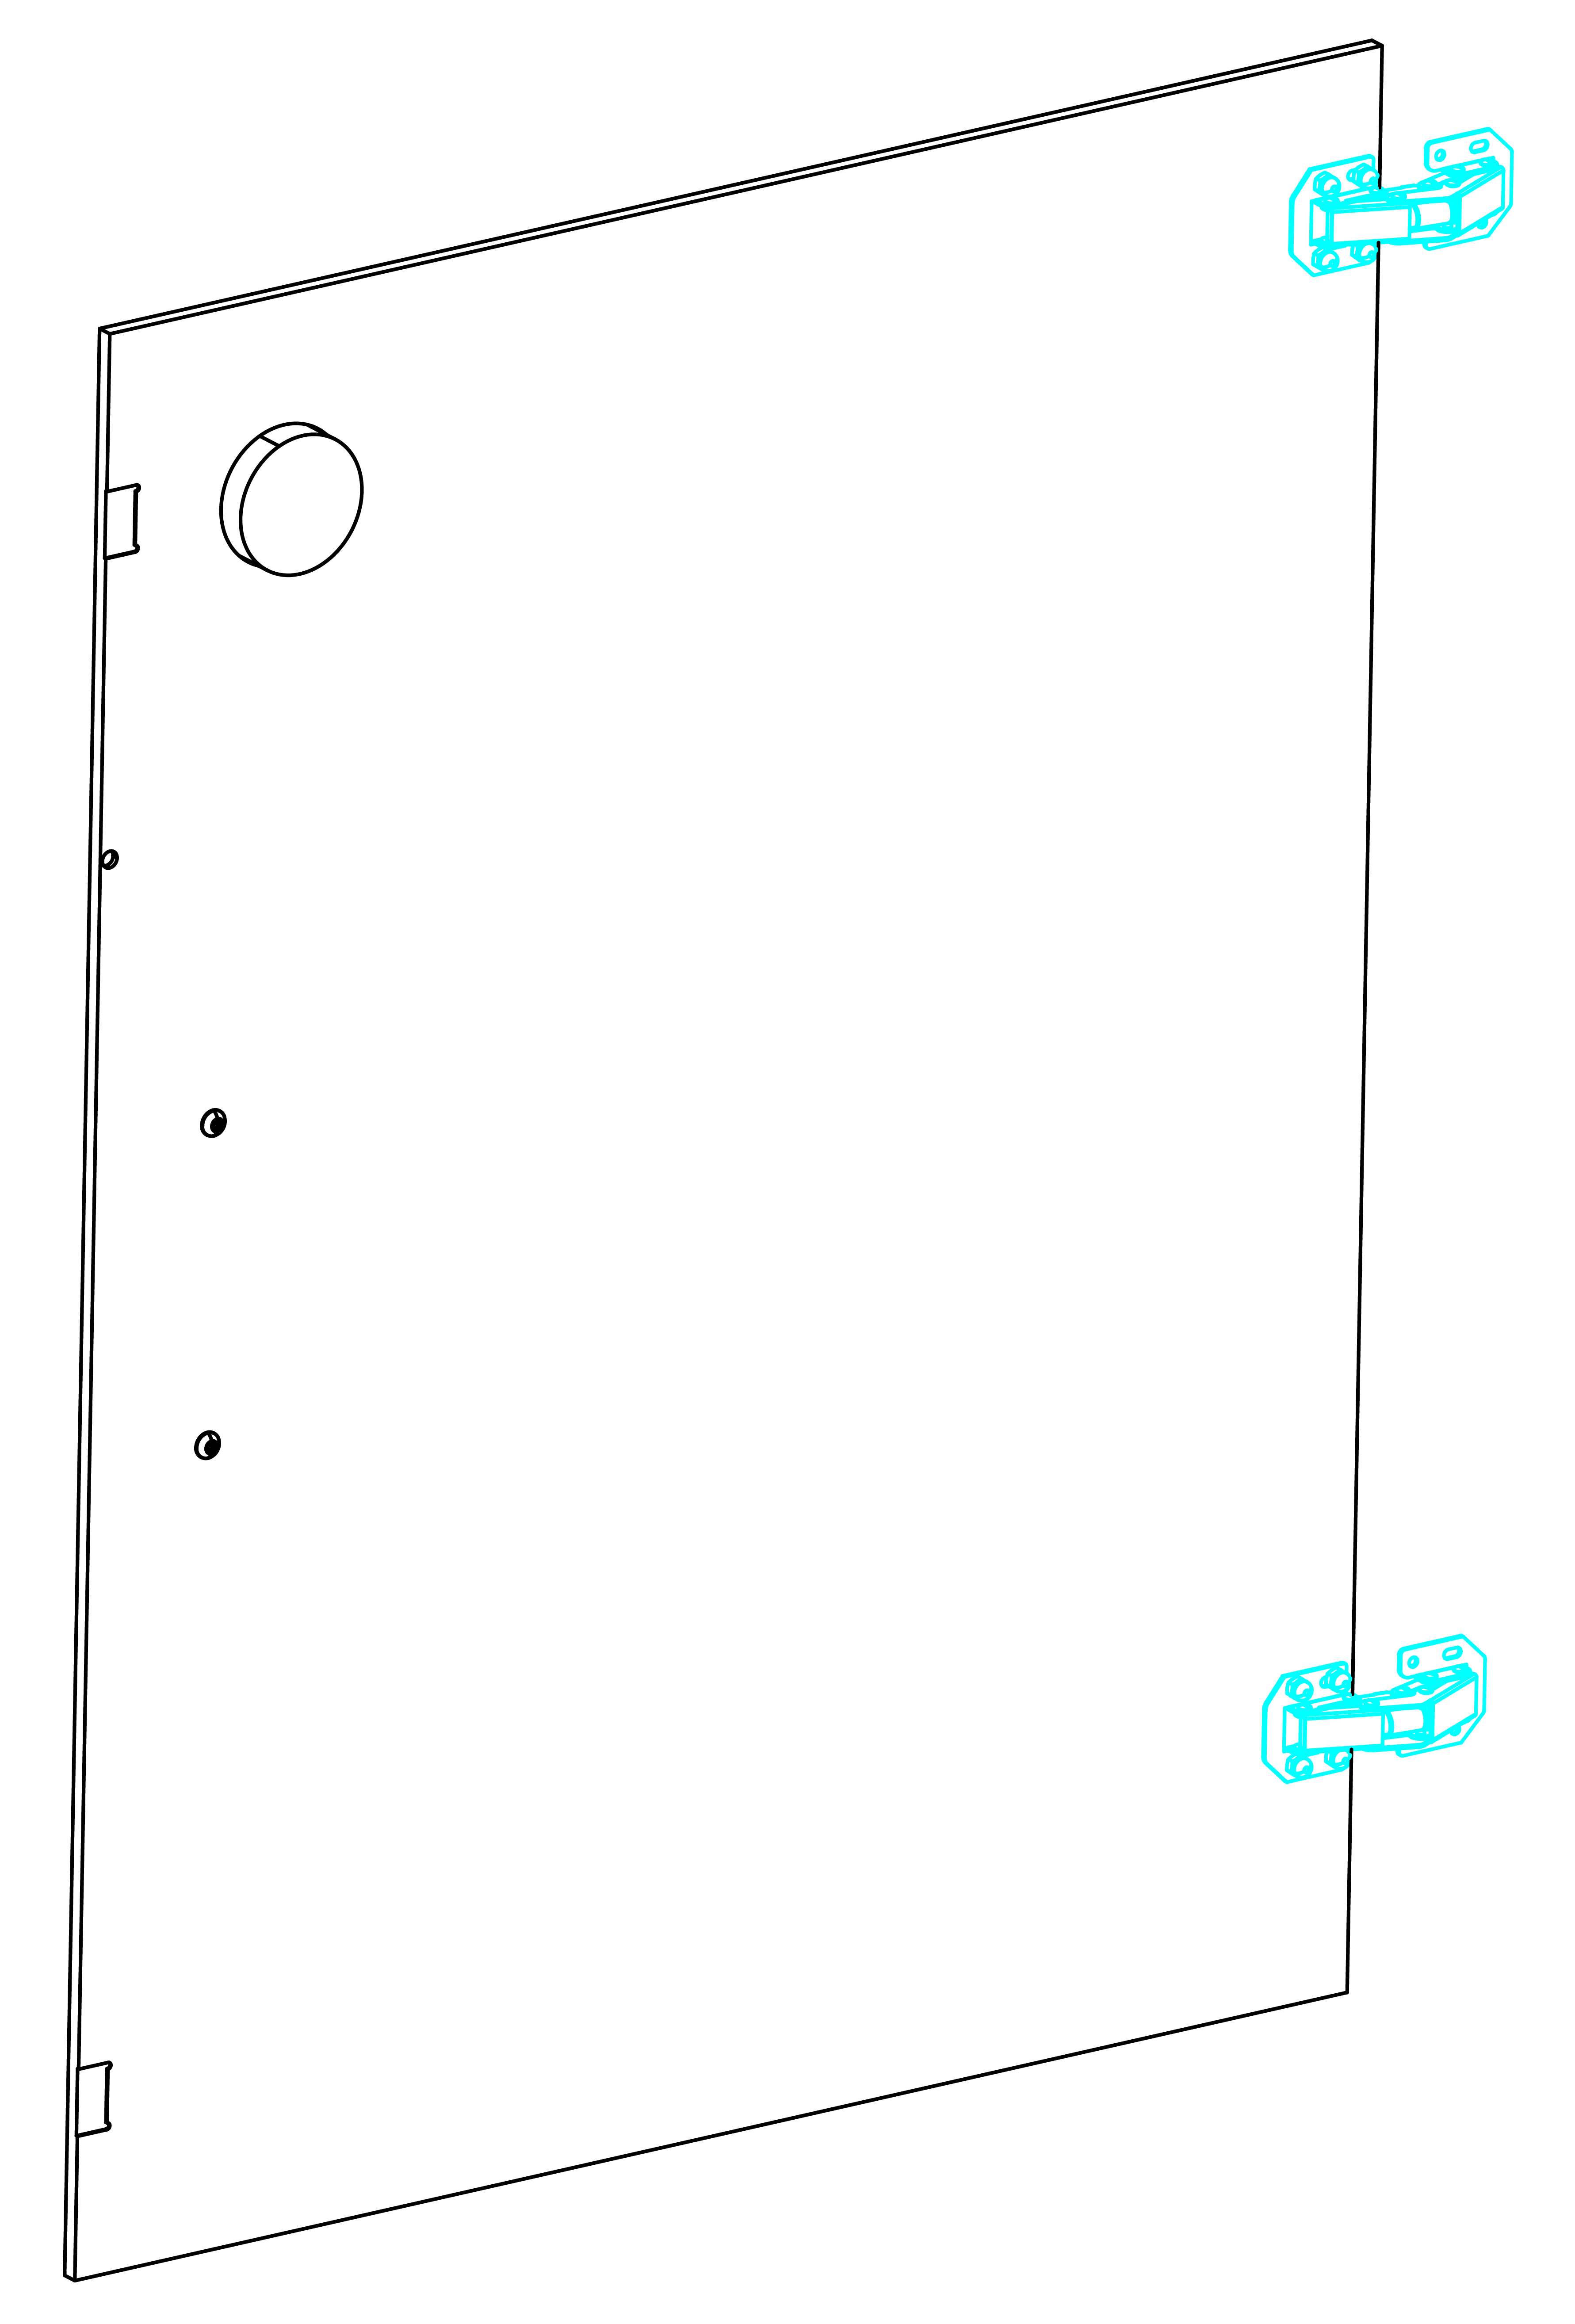
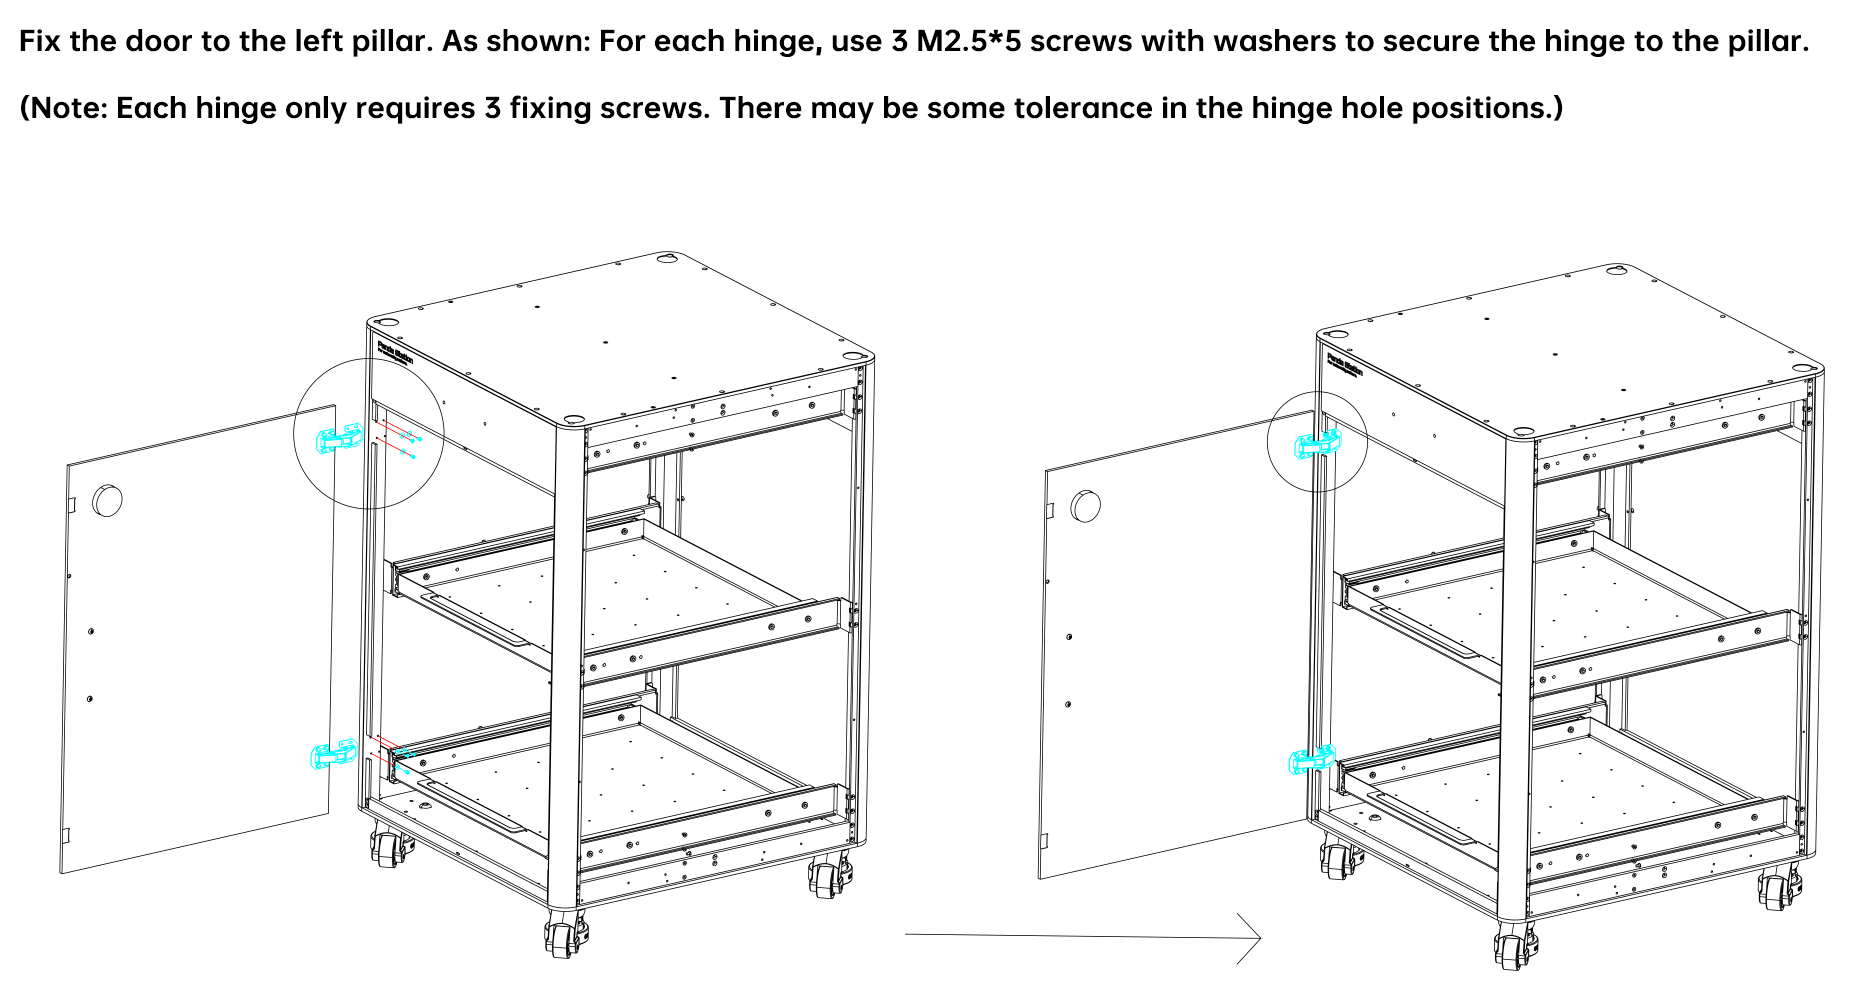
Step 5: Install the front door assembly.
As shown in the diagram: Attach the temperature and humidity meter.
Use a 2.5 screwdriver to fix the handle to the door with M4*8 screws through the door panel.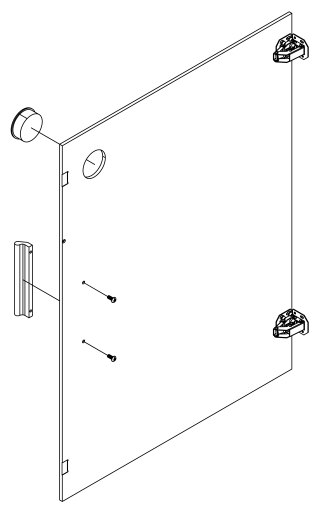
Open the hinge.
-
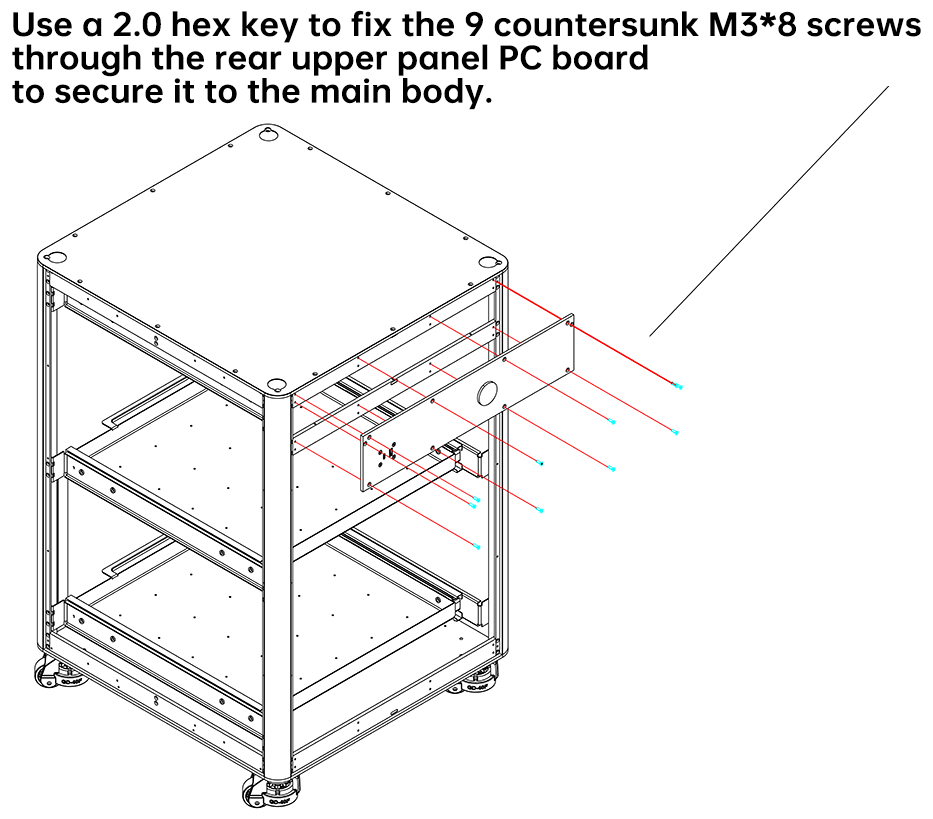
Step 6: Install the left, right, and rear panels.
As shown in the diagram: Use a 2.0 hex key and M3*8 screws to secure the panels to the main body.

The installation is complete as shown below.
RGB Ambient Light Installation Guide
Must be used with Panda RGB Controller, click to view detailed RGB installation instructions
The following steps should be done after installing the bottom caster wheels.
-
Step 1: Print the fixture for securing the light strip.

-
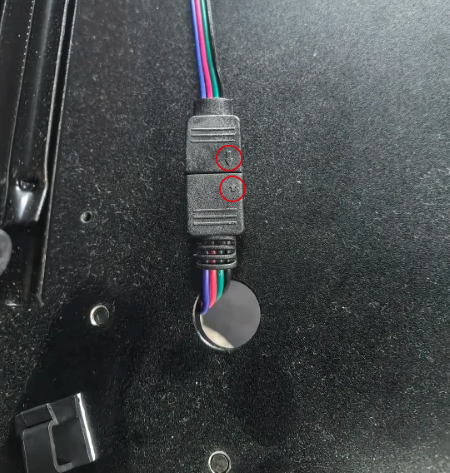
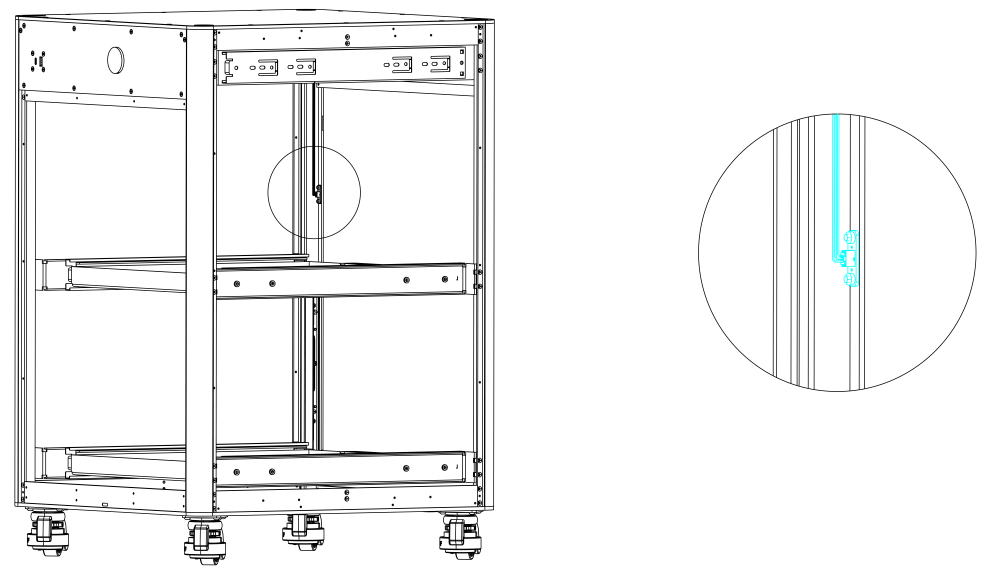
Step 2: Remove the silicone plug from the wiring hole (only available in the enclosed version). Use the printed fixture to secure the wiring end of the light strip near the wiring hole's fixing hole, and insert the connector into the hole. Follow the diagram to attach the light strip around and fix it with the printed fixture.


-
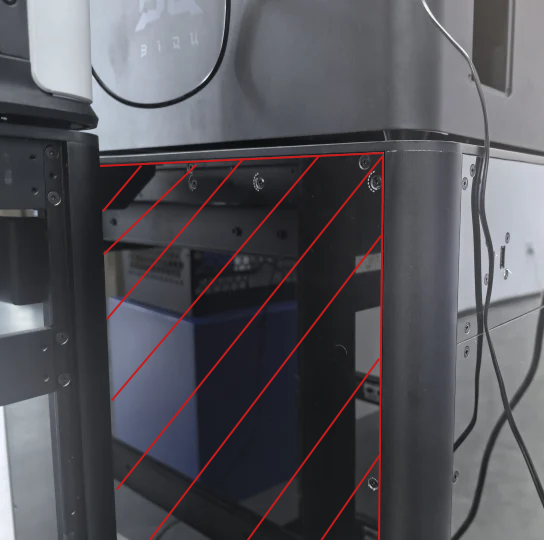
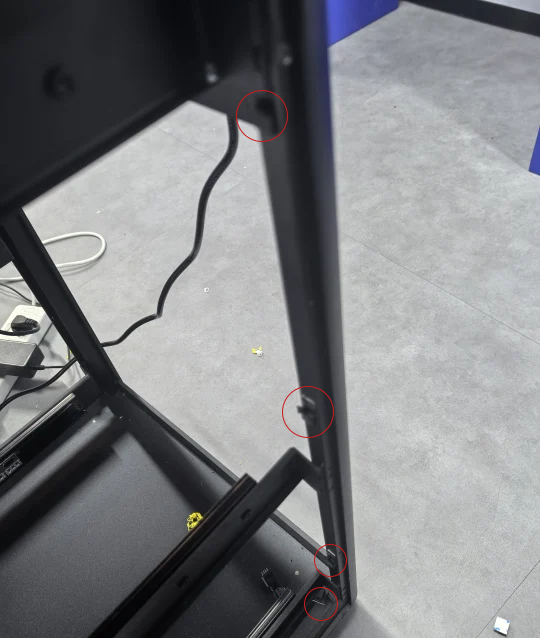
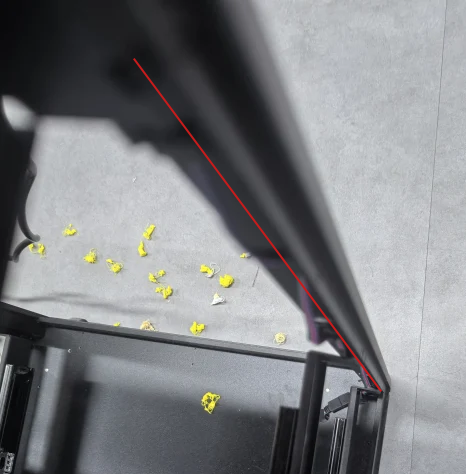
Step 3: For Panda Station, remove the side panel within the red line as shown (this step can be skipped for Naked Panda Station), then apply the appropriate number of cable management clips to the pillar sides. Insert the longer 4-pin cable inside the package box into the light strip's connector (make sure the arrow on the connector aligns), then follow the diagram to route the cable and insert it into the upper connector on the back panel. (Naked Panda Station does not have this connector board, it needs to be purchased separately as part of the Panda Station Enclosure Kit or Panda Station Lighting Kit, and the Panda Station Lighting Kit must be used with the printed fixture.)