Creator PWR
Product Link: BIGTREETECH Official Website
Important Usage Information
- Store the product in a dry environment. Do not use it in humid conditions.
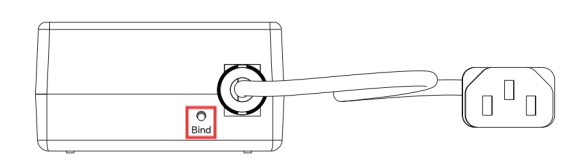
- When connecting a 220 VAC input, always connect the input wires to the PWR module first, then plug the cable into the wall outlet.
- The TYPE-C port is for input only.
- The USB-A port is for output only.
FCC Warning
This device complies with Part 15 of the FCC Rules. Operation is subject to the following two conditions: (1) This device may not cause harmful interference; and (2) This device must accept any interference received, including interference that may cause undesired operation. Any changes or modifications not officially approved will void your warranty and your authority to operate the equipment.
Note: This equipment has been tested and found to comply with the limits for a Class B digital device pursuant to part 15 of the FCC Rules. These limits are designed to provide reasonable protection against harmful interference in a residential installation. This equipment generates, uses and can radiate radio frequency energy and, if not installed and used in accordance with the instructions, may cause harmful interference to radio communications. However, there is no guarantee that interference will not occur in a particular installation. If this equipment does cause harmful interference to radio or television reception, try to correct the interference by one or more of the following measures:
- Reorient or relocate the receiving antenna.
- Increase the separation between the equipment and receiver.
- Connect the equipment into an outlet on a circuit different from that to which the receiver is connected.
- Consult the dealer or an experienced radio/TV technician for help.
To comply with FCC RF exposure requirements, maintain a minimum distance of 20 cm (8 inches) between the transmitter and your body during installation and operation. Use only the antenna supplied with the device.
Technical Specifications
| Wi-Fi Module | ESP8684-MINI-1-H4 |
|---|---|
| Memory | RAM - 272KB, Flash - 4MB |
| Connectivity | 2.4G Wi-Fi (IEEE 802.11 b/g/n) |
| Operating Temperature | −10 °C ~ 60 °C |
Package Contents

Operating Instructions
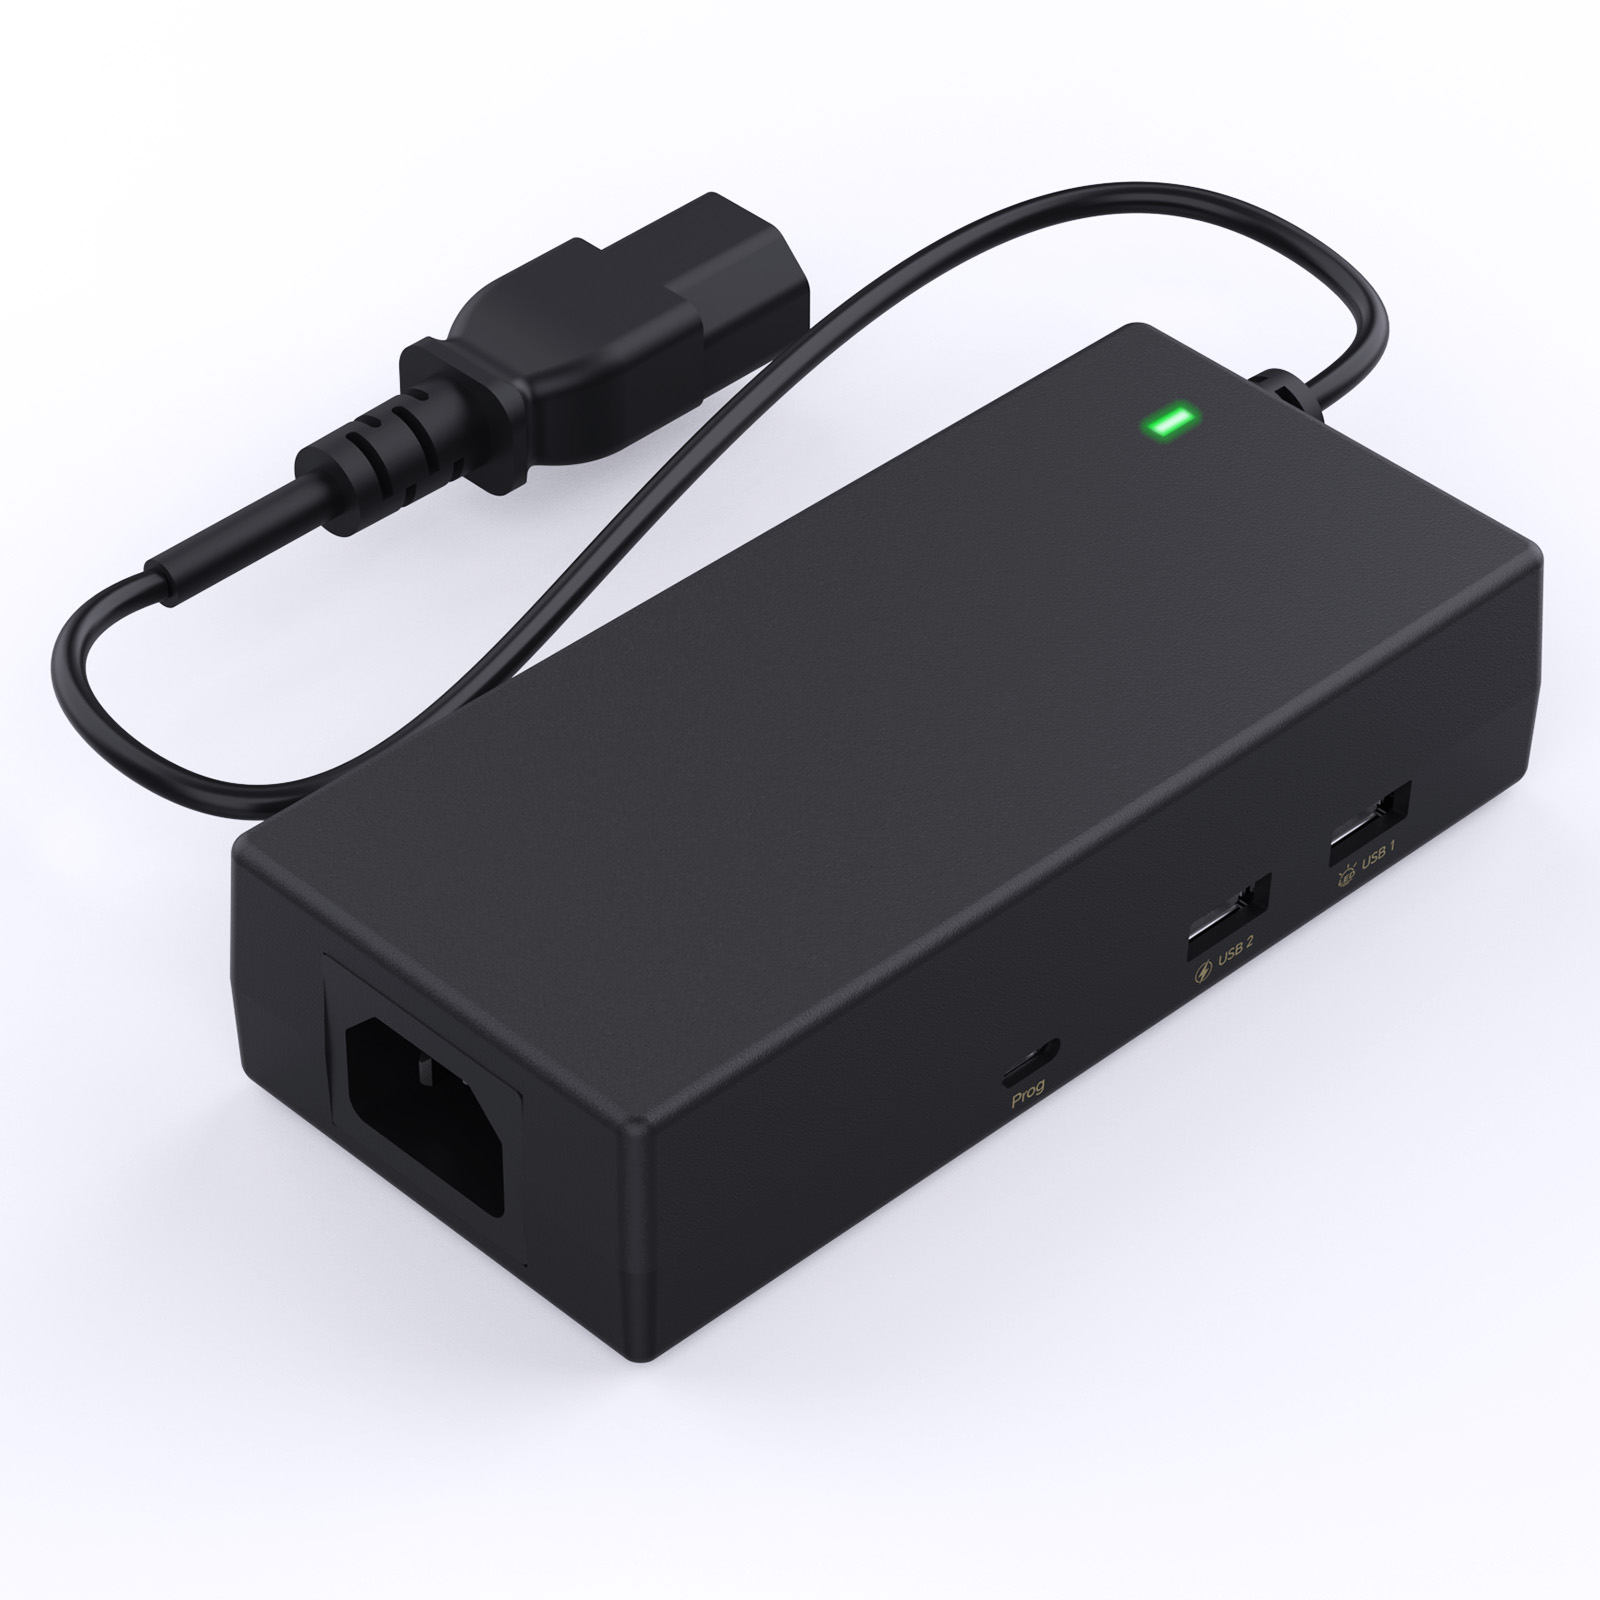
Interface Overview
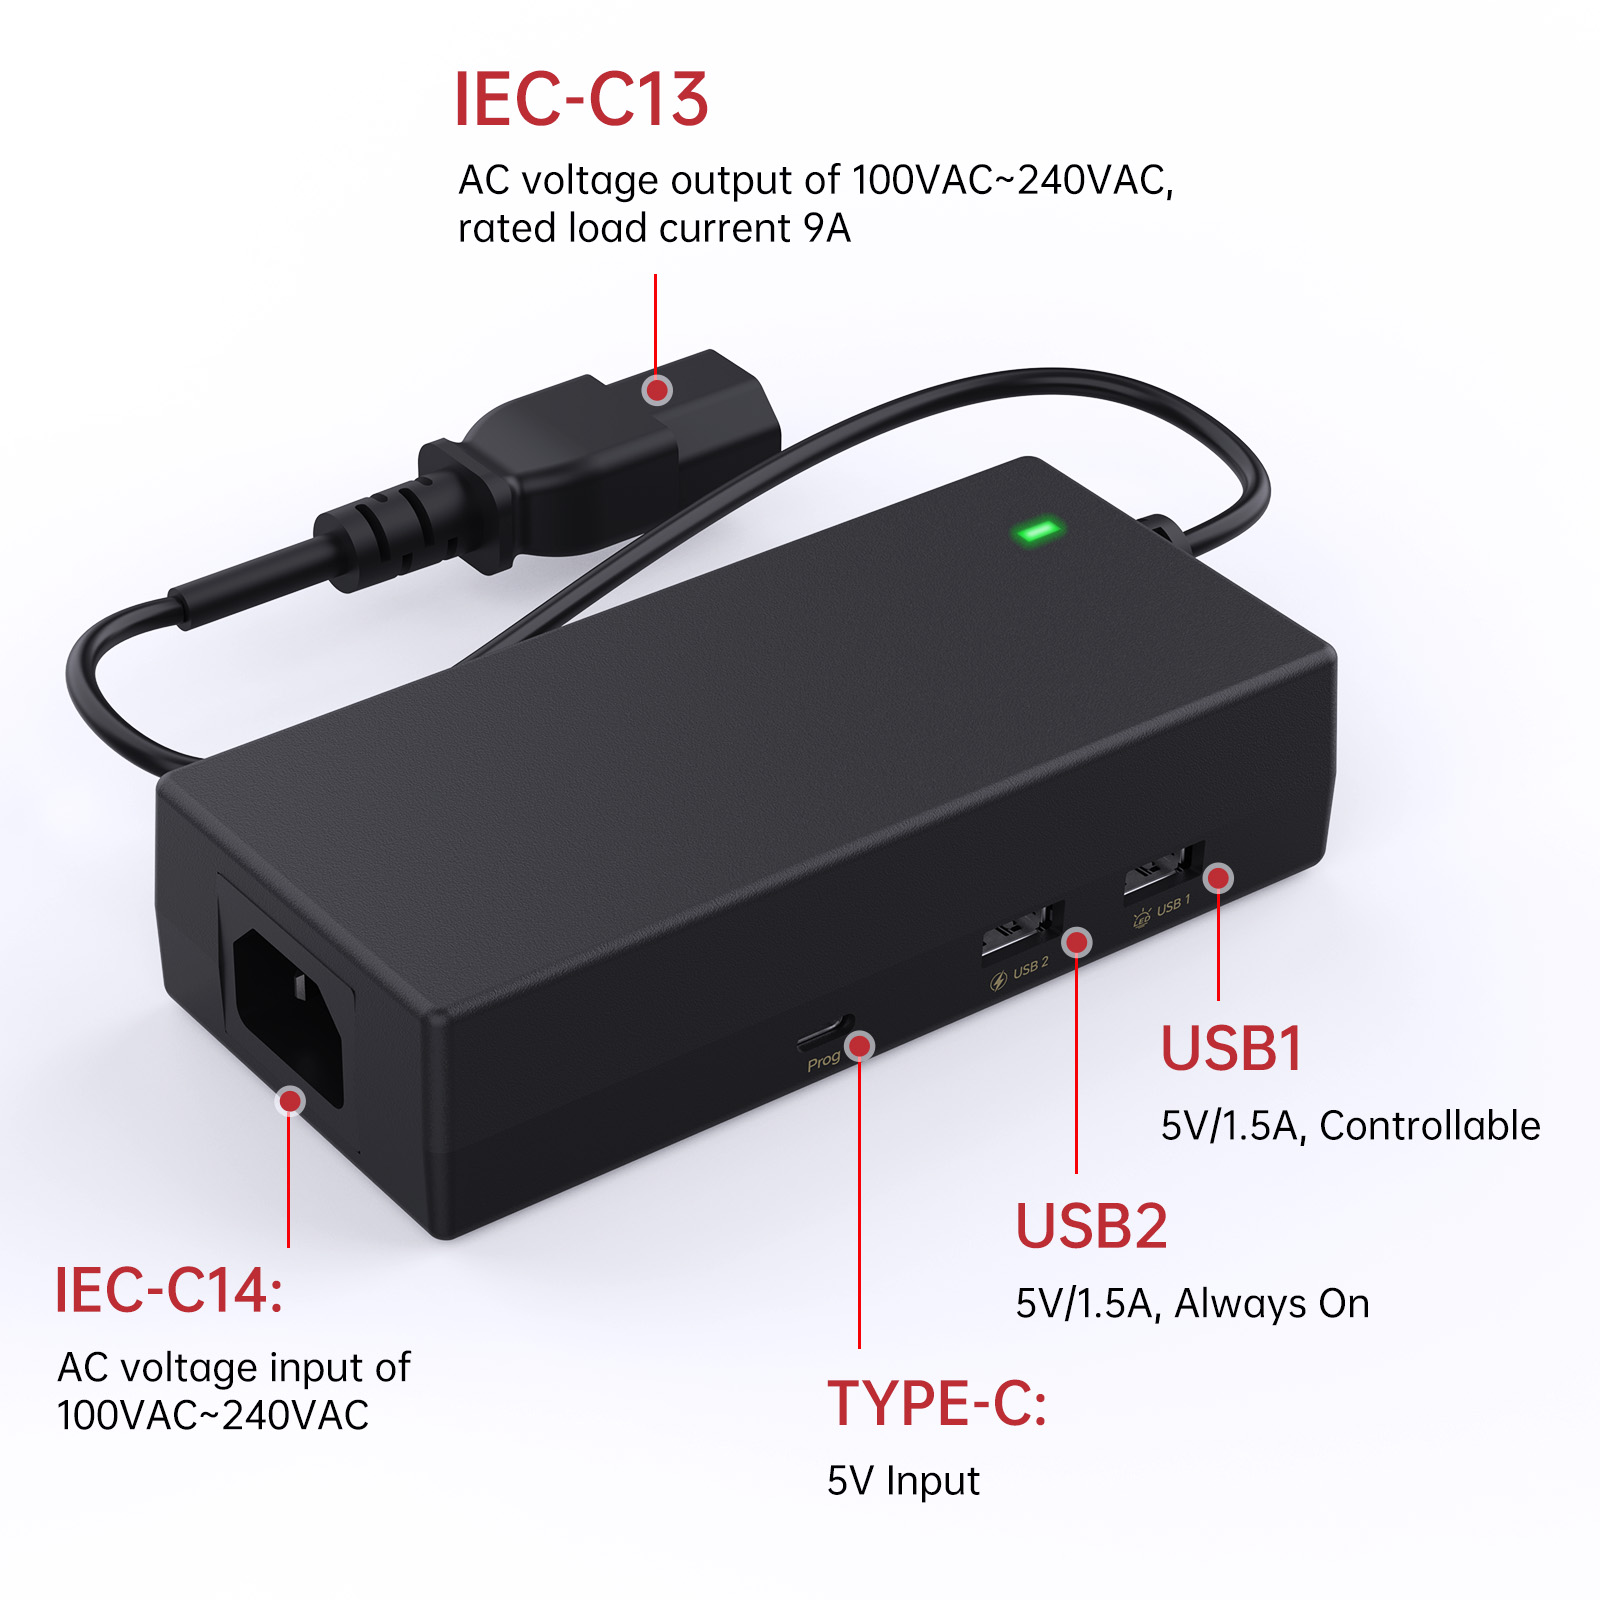
USB Ports
-
USB1
5 V controllable output; suitable for devices requiring power control (e.g., USB light strips). -
USB2
5 V fixed output (always on). -
TYPE-C
For firmware updates and factory reset.
Bind Button Functions
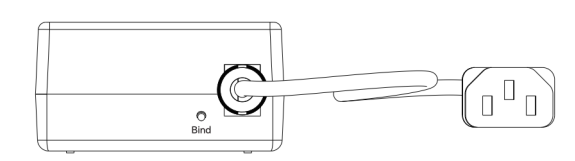
-
Countdown Function:
Press and hold for 1 second to enable or disable countdown mode. -
Toggle 220 V Output:
Double-click the Bind button. -
Restore Factory Settings:
Press and hold for approximately 8 seconds until the indicator flashes red.
Indicator Light Description
- Green (steady): Power on
- Blue (breathing): Countdown active
- Red (breathing): Factory reset in progress
Initial Connection
WiFi Connection Guide
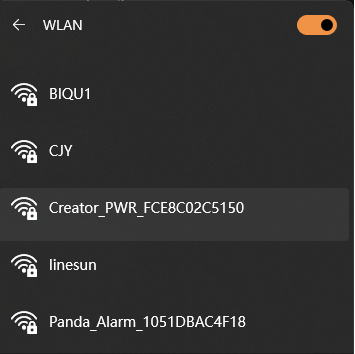
1.Connect to Creator PWR's hotspot using your mobile phone or computer.
Default credentials:
SSID: Creator_PWR_xxxxxxxxxxxx
Password: 987654321
2.After connecting, the Web UI should open automatically. If it doesn’t open within 10–20 seconds, access 192.168.254.1 manually in your browser.

3.Select your language and tap "Next".

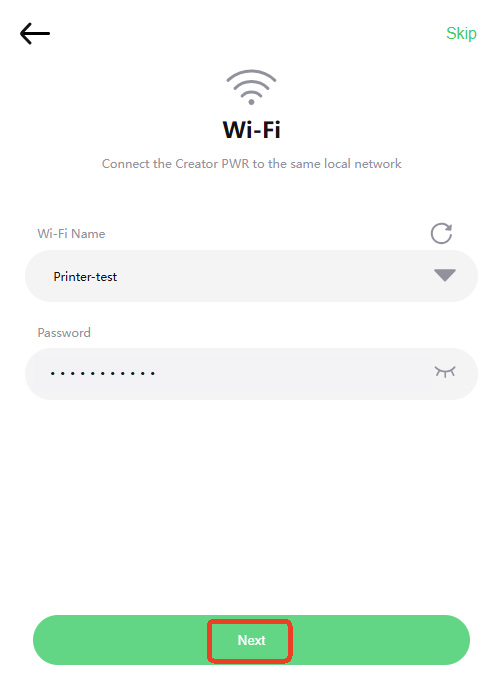
4.The interface will display available Wi-Fi networks. Choose the same Wi-Fi your printer uses. If your network isn’t listed, tap "Scan" to refresh.
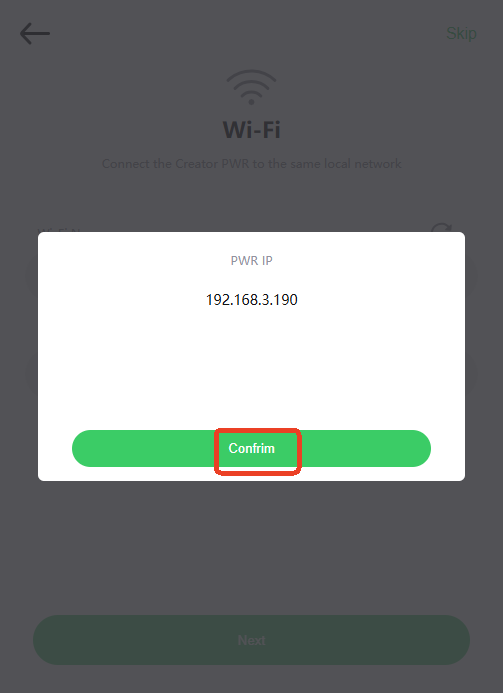
5.Once connected, an IP confirmation popup will appear, tap "Confirm".
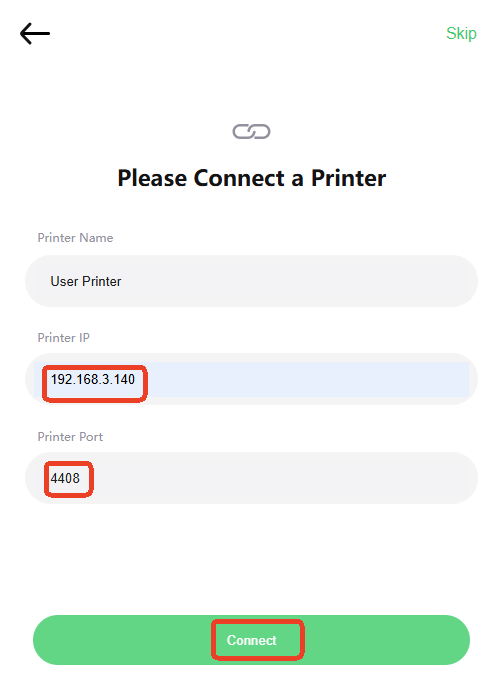
6.Enter your preferred printer name, printer IP address, and port 4408, then tap "Connect". When Connection Successful appears, tap "OK".
Web UI Operation Guide 
Power Control
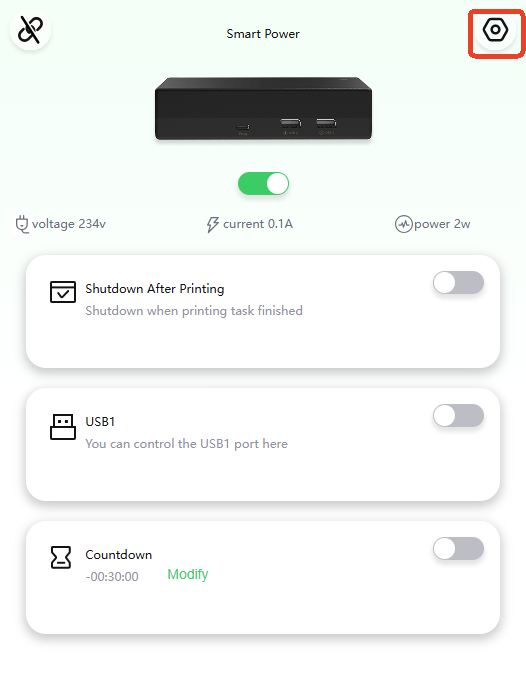
Basic Control
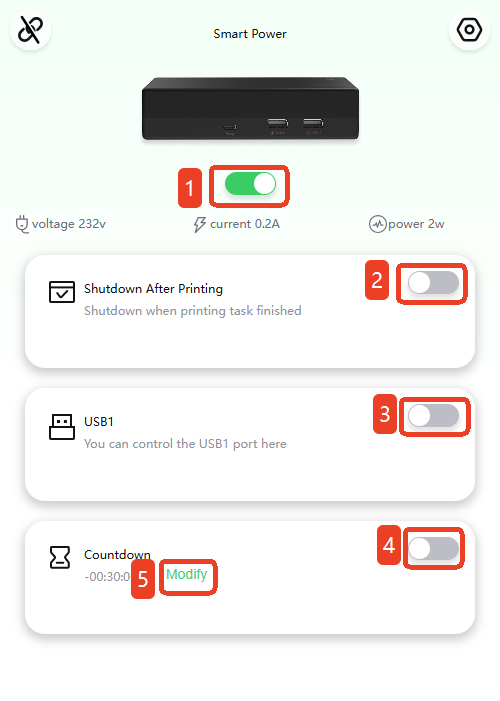
- 1.Turn the 220 V output on or off.
- 2.Toggle Auto Power-Off After Print Completion — when enabled, the printer powers off automatically after printing is done (the toggle resets afterward).
- 3.Turn USB1 output on or off.
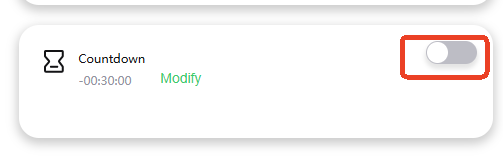
- 4.Enable or disable the Countdown function.
- 5.Set the Countdown Duration.
Power Parameters
Displays real-time voltage, current, and power supplied to external devices.

Countdown Settings
Tap "Modify" to open the timer popup. Set your desired time and tap "Save".
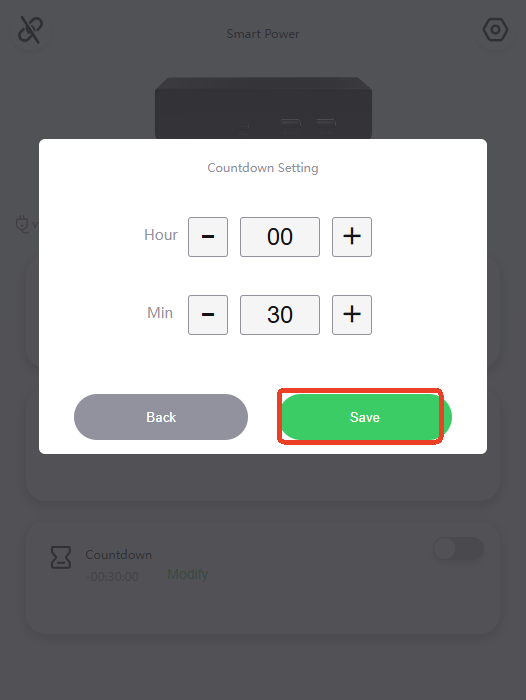
Your configured time will appear on the main interface.
Accessing the Settings Page
Tap the "settings icon" in the top-right corner of the Power Control page.
Safe Power Configuration
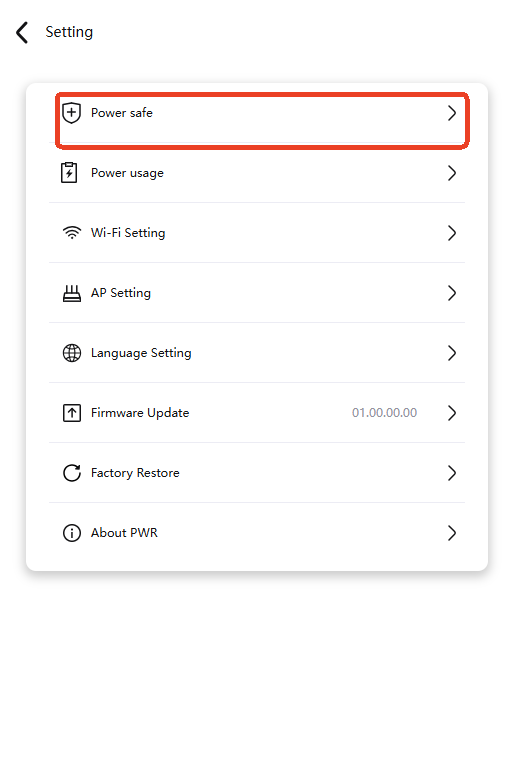
Enter maximum and minimum power limits.
Enable the toggle switches to activate protection.
When power exceeds or drops below these thresholds, the 220 V supply automatically shuts off.

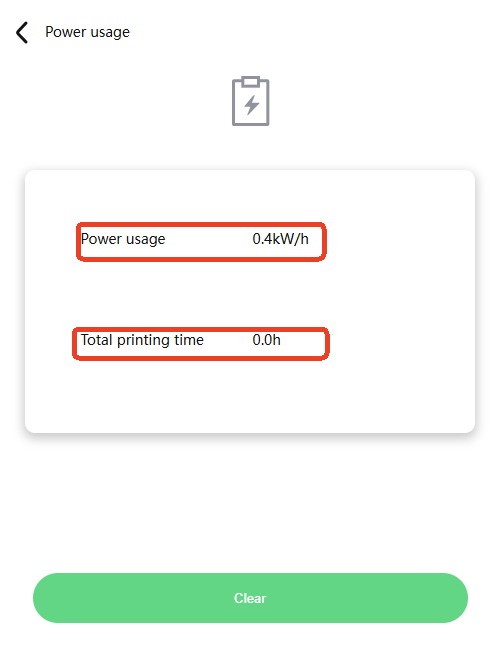
Power Usage Records
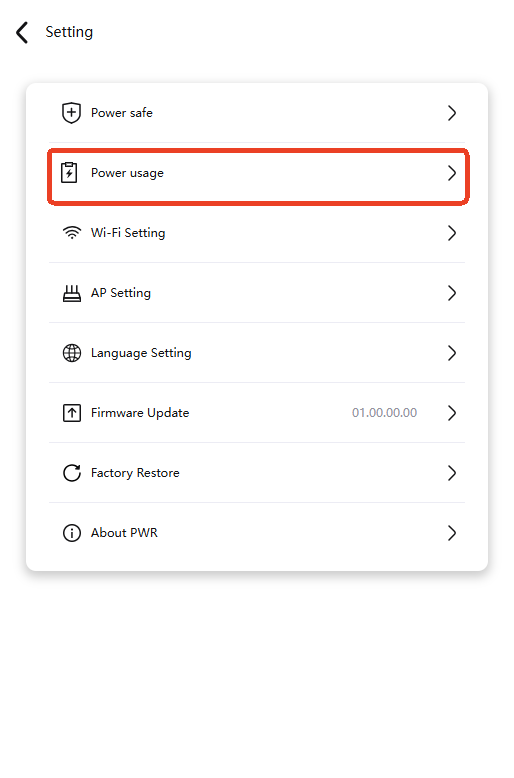
Displays cumulative energy consumption and total printing time.
Tap "Clear" to clear data.
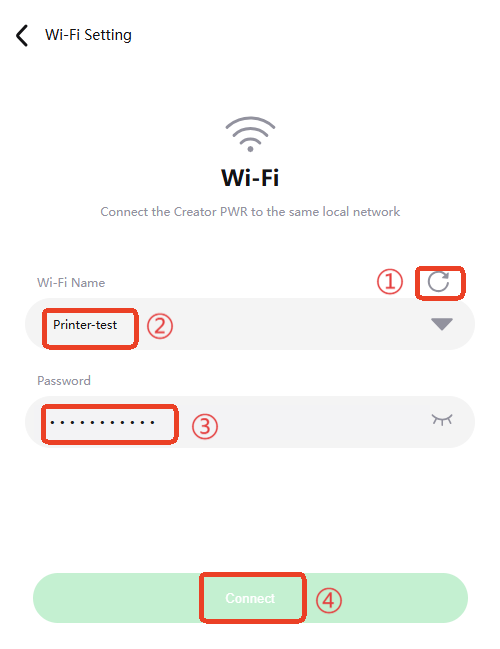
Modify Wi-Fi Settings
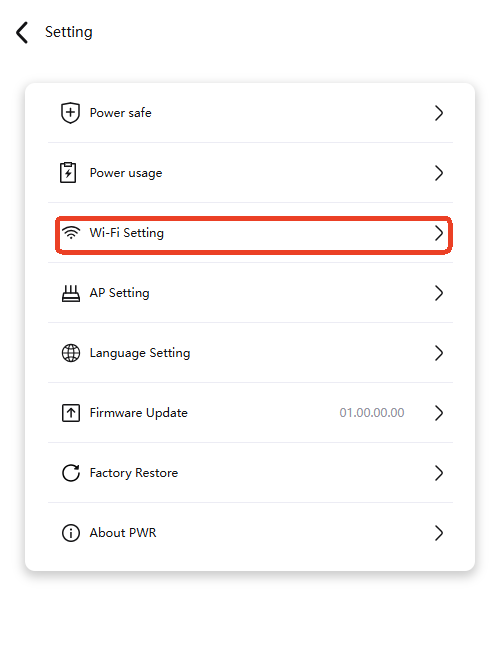
- Navigate to this page from the Settings page.
① Tap on this icon to detect available networks.
② Select your Wi-Fi.
③ Enter the password.
④ Tap "Connect".
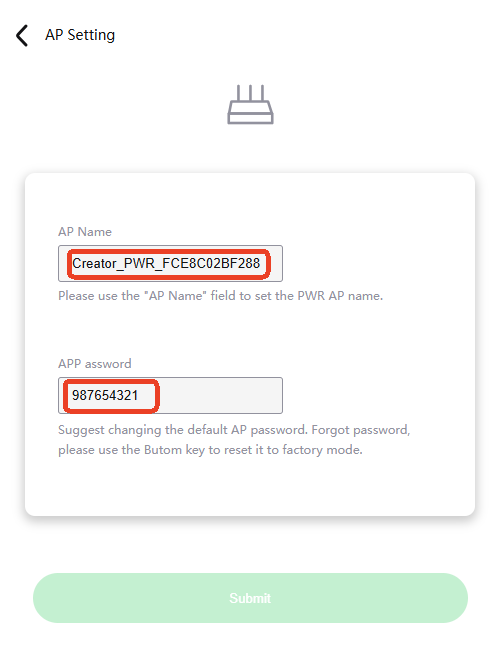
Modify AP Settings
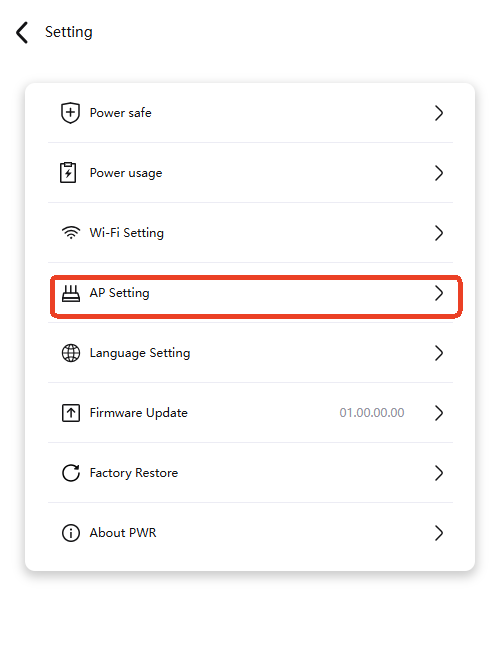
Customize the AP name and password generated by Creator PWR.
If you forget the password, press and hold the Bind button for 8 seconds to reset the device.
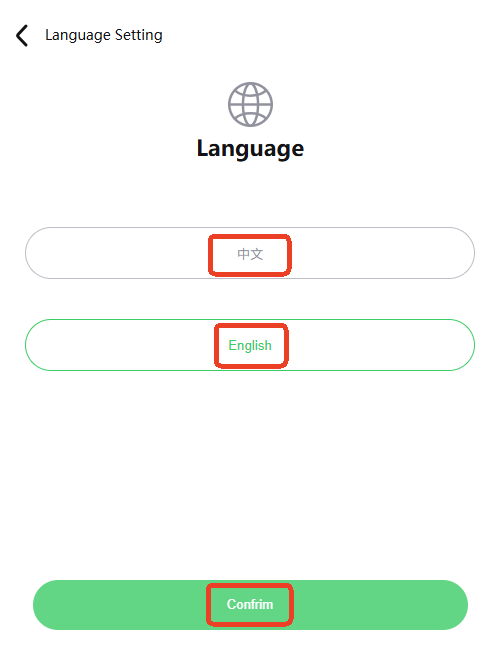
Change Language
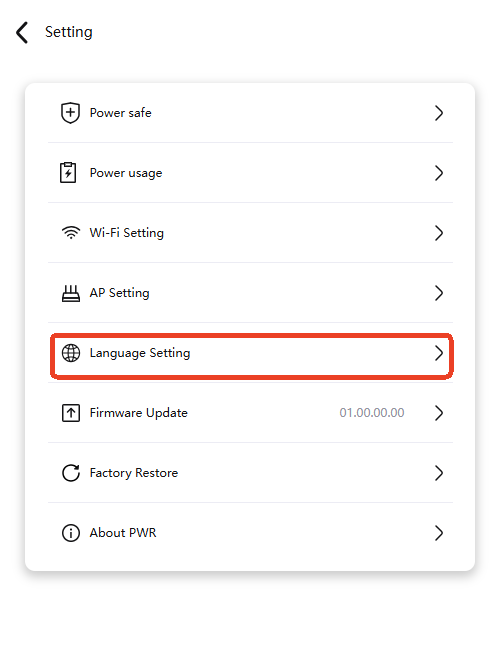
Select Chinese or English, then tap "Confirm" to apply.
Firmware Update
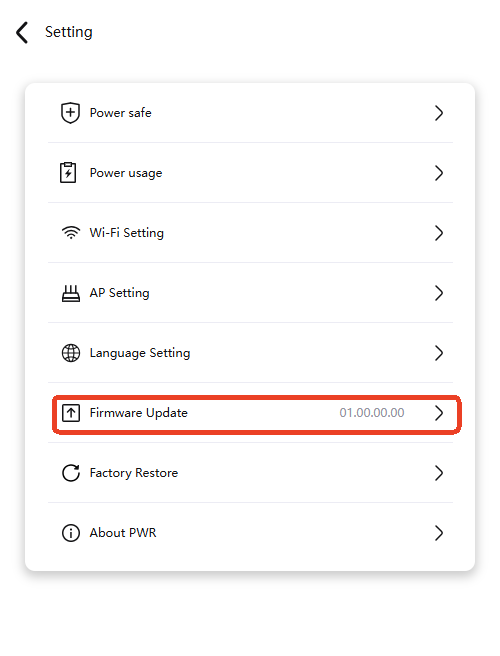
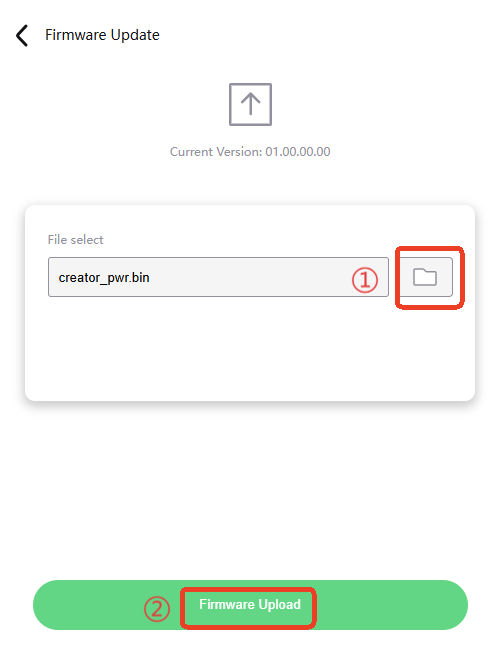
- Navigate to this page from the Settings page.
① Tap "Choose File Icon" to upload your.binfirmware.
② Tap "Firmware Upload" to begin the update.
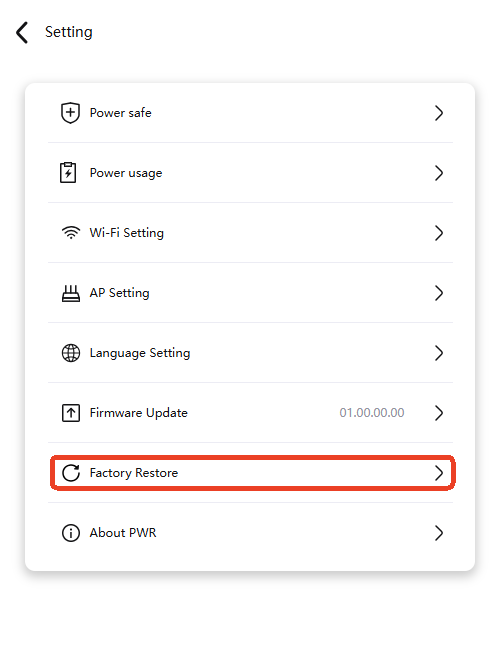
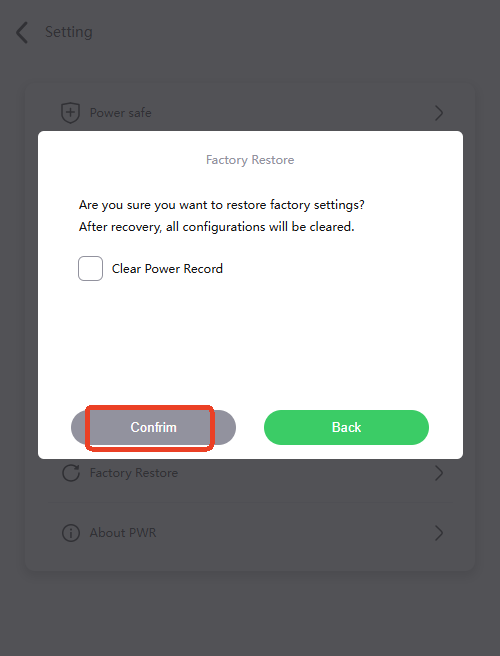
Restore Factory Settings
Method 1: In the Settings page, tap "Factory Restore".
Optionally clear the device's power usage history.
After resetting, AP credentials return to default:
* SSID: Creator_PWR_xxxxxxxxxxxx
* Password: 987654321
Method 2: Press and hold the Bind button for approximately 8 seconds until the indicator flashes red.
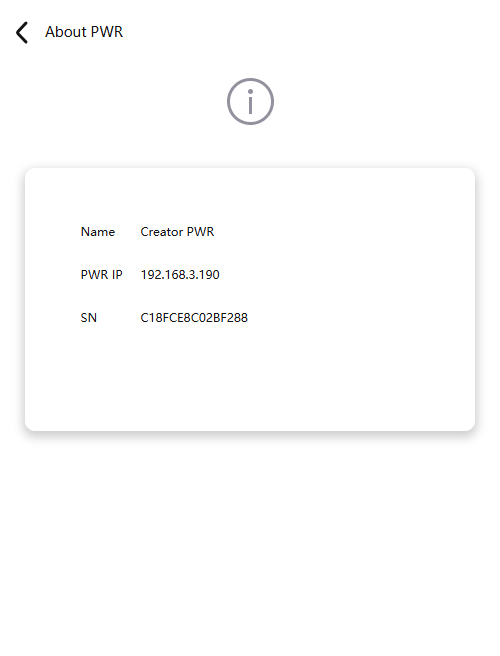
About PWR
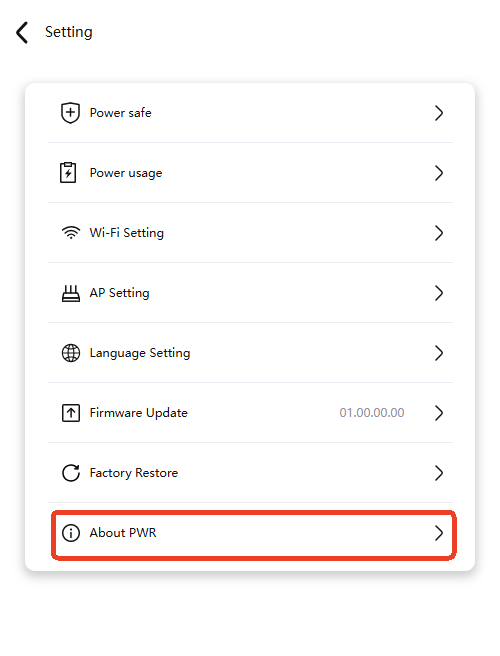
Displays the device’s IP Address and Serial Number (SN).
Controlling USB1 and 220 V Power via Custom Macros
- Download the configuration file creator_pwr.cfg
- Upload it to /config.
- Add to printer.cfg.
Firmware
Firmware History
01.00.00.00
- Initial release.
Feature Requests
We are committed to evolving the Creator PWR firmware based on user feedback. To suggest new features, please submit them as tickets on our official GitHub repository.
Request Features
Recovery Tool
If your Creator PWR fails to boot or perform OTA updates, use the recovery tool to restore functionality: Download Recovery Tool.
Technical Support
Was this page helpful? If you have any questions about product usage or encounter issues, please contact our after-sales team at service001@biqu3d.com.