Panda Breeze
Product Link: https://bit.ly/45Mb77K
GitHub: https://github.com/bigtreetech/Panda-Breeze
Wiki: https://bttwiki.com/Panda%20Breeze.html
MakerWorld: https://makerworld.com/zh/models/1698174-panda-breeze-printed-parts#profileId-1800624
Introduction
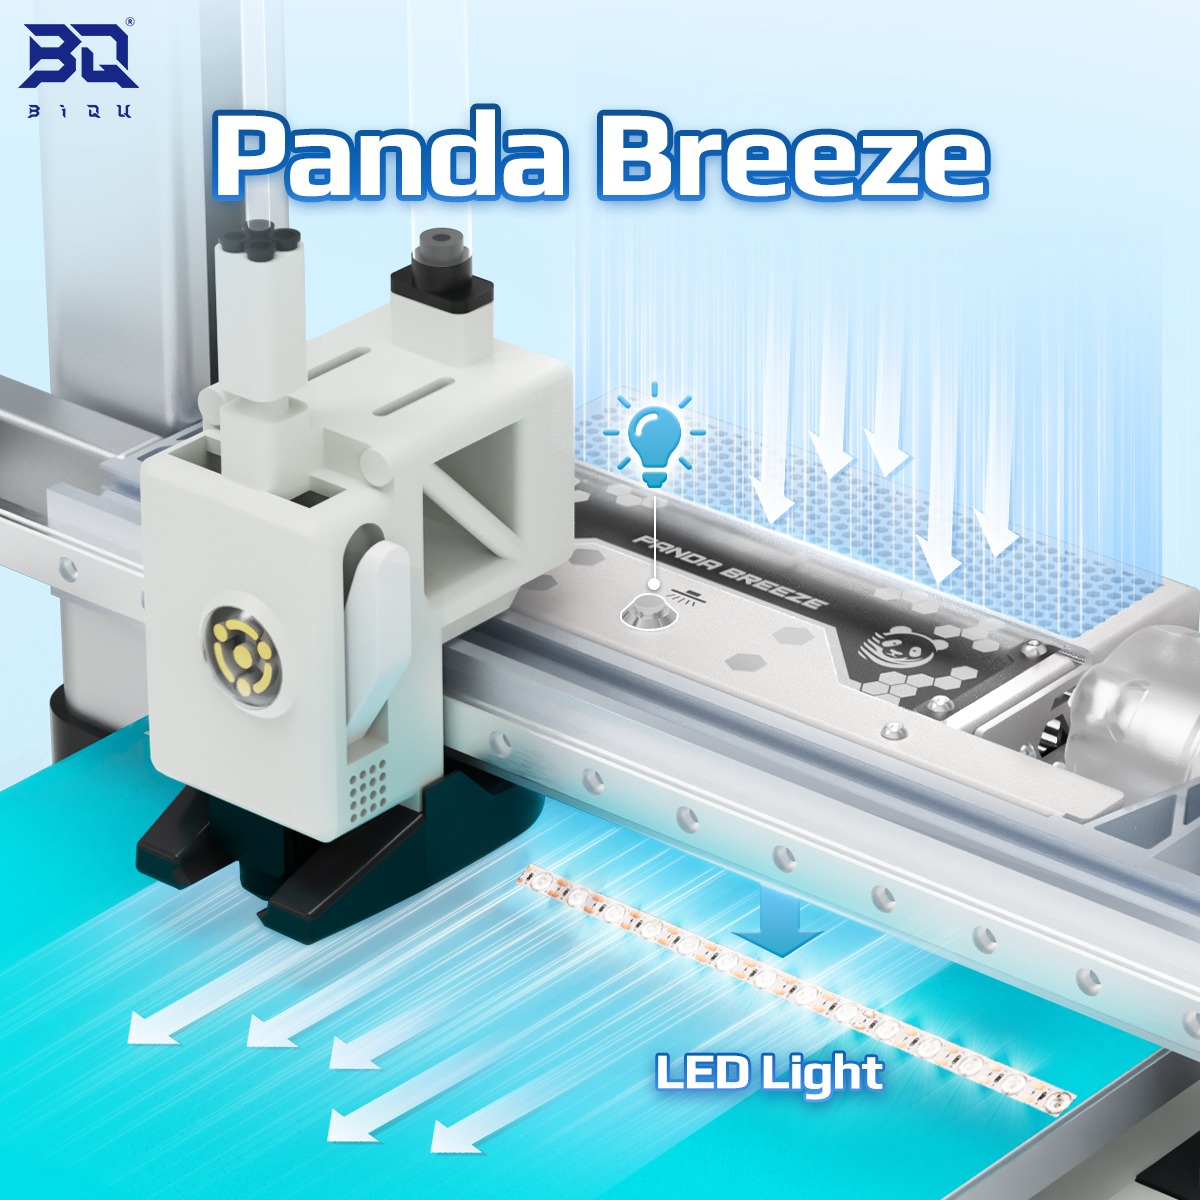
The BIQU Panda Breeze is an auxiliary cooling fan designed for the Bambu Lab A1 3D printer. Mounted on the X-axis, its crossflow fan provides wide, even airflow across the print surface. This significantly improves print quality by enhancing bridging performance, stabilizing overhangs, and capturing fine details.
Feature Highlights
High-Efficiency Crossflow Fan: Delivers a wide, even stream of air for precise and consistent cooling across the print bed.
Superior Print Quality: Dramatically improves performance on complex geometries, including bridging, steep overhangs, and fine details.
Integrated LED Light: Illuminates the print area for enhanced visibility during the printing process, making monitoring easier.
Plug-and-Play: Utilizes the printer's existing mounting points and power connections, no hardware modifications required.
Durable Aluminum Construction: Built with a high-quality aluminum-alloy body for exceptional strength, durability, and reliable heat dissipation.
Installation
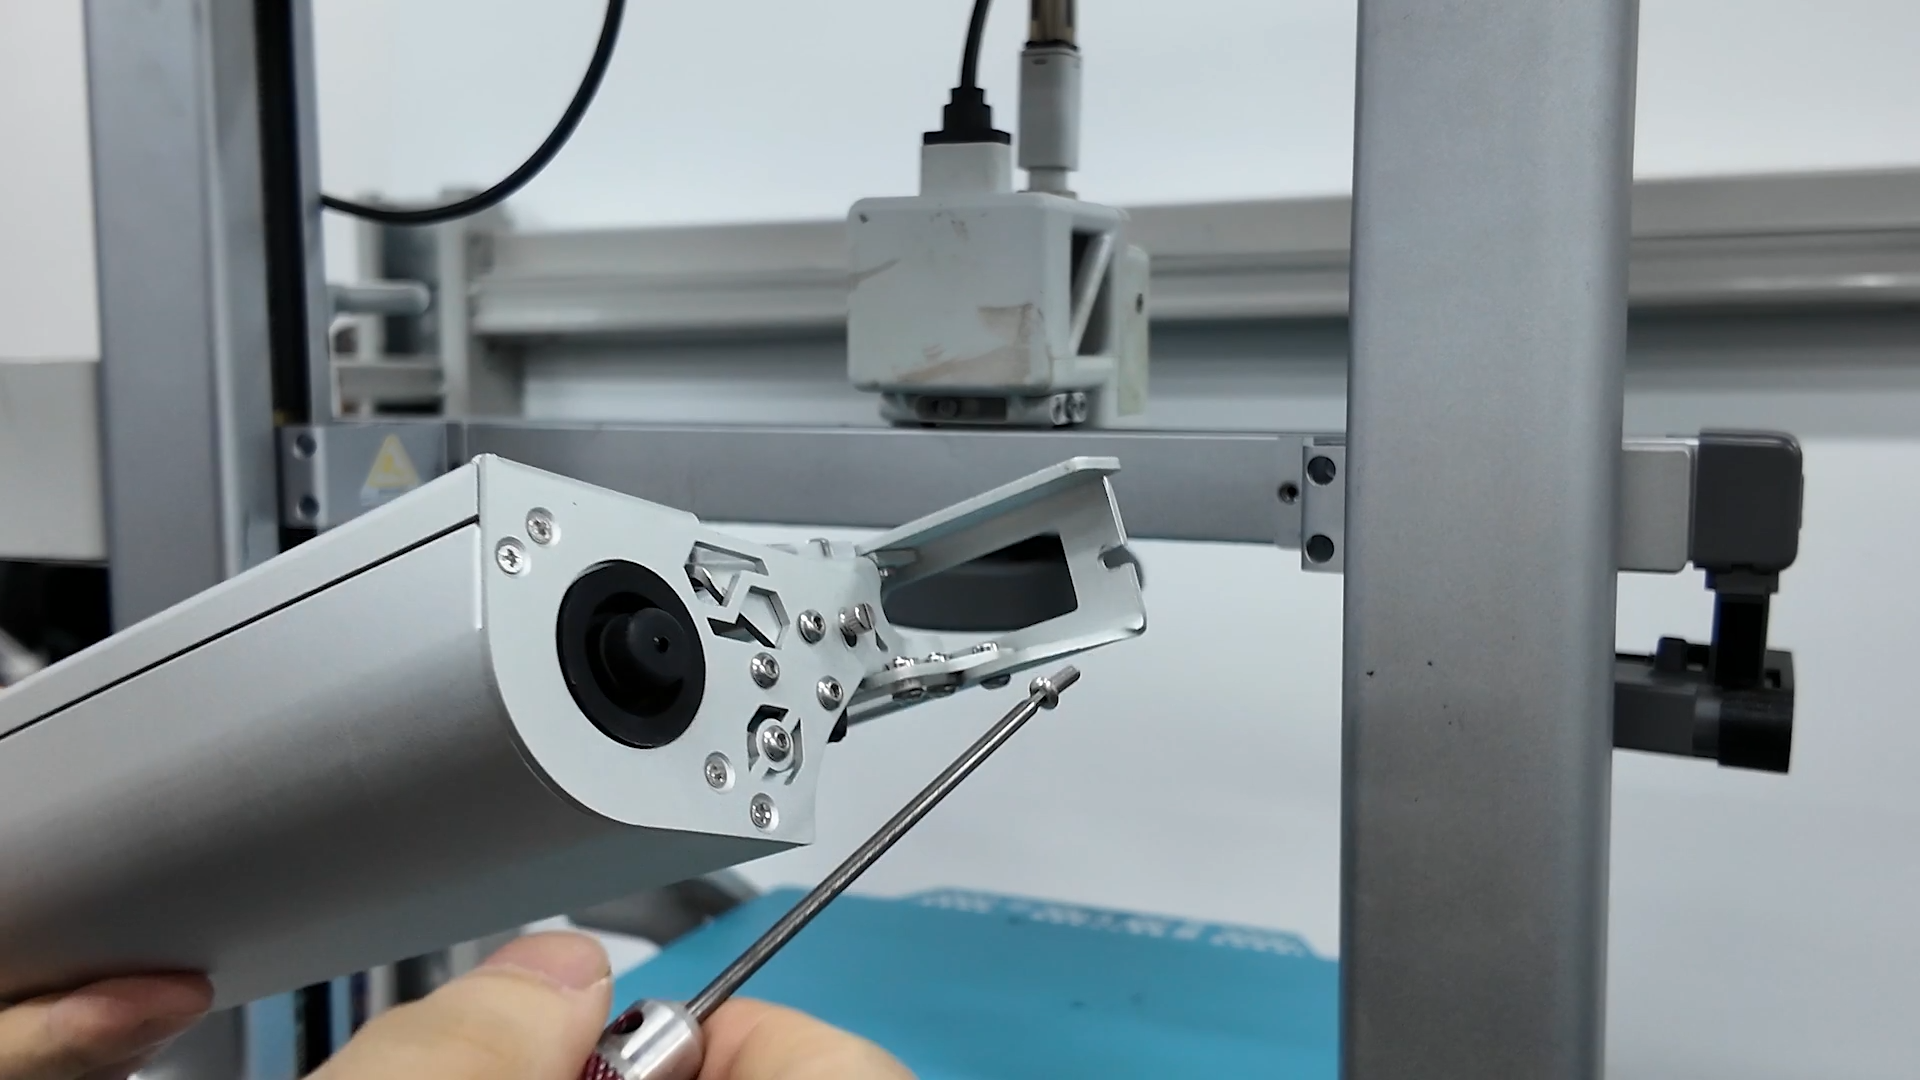
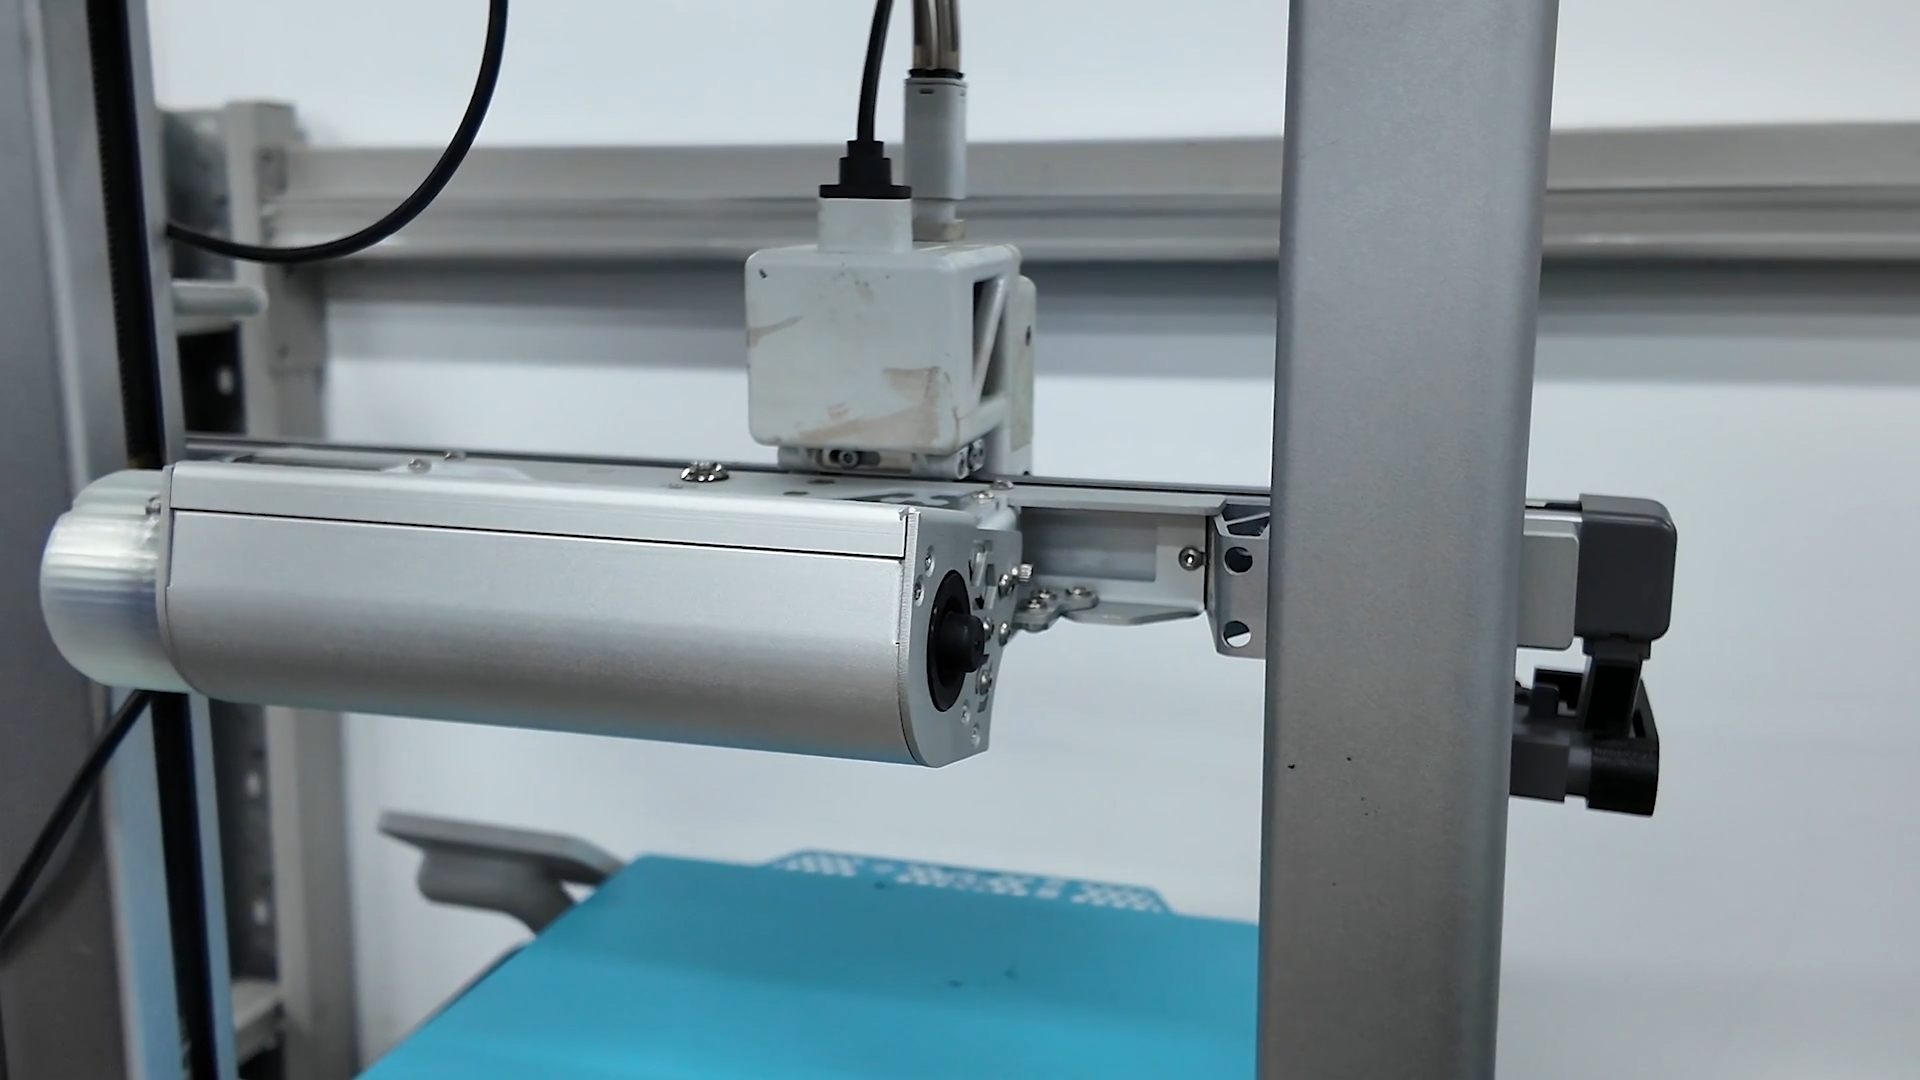
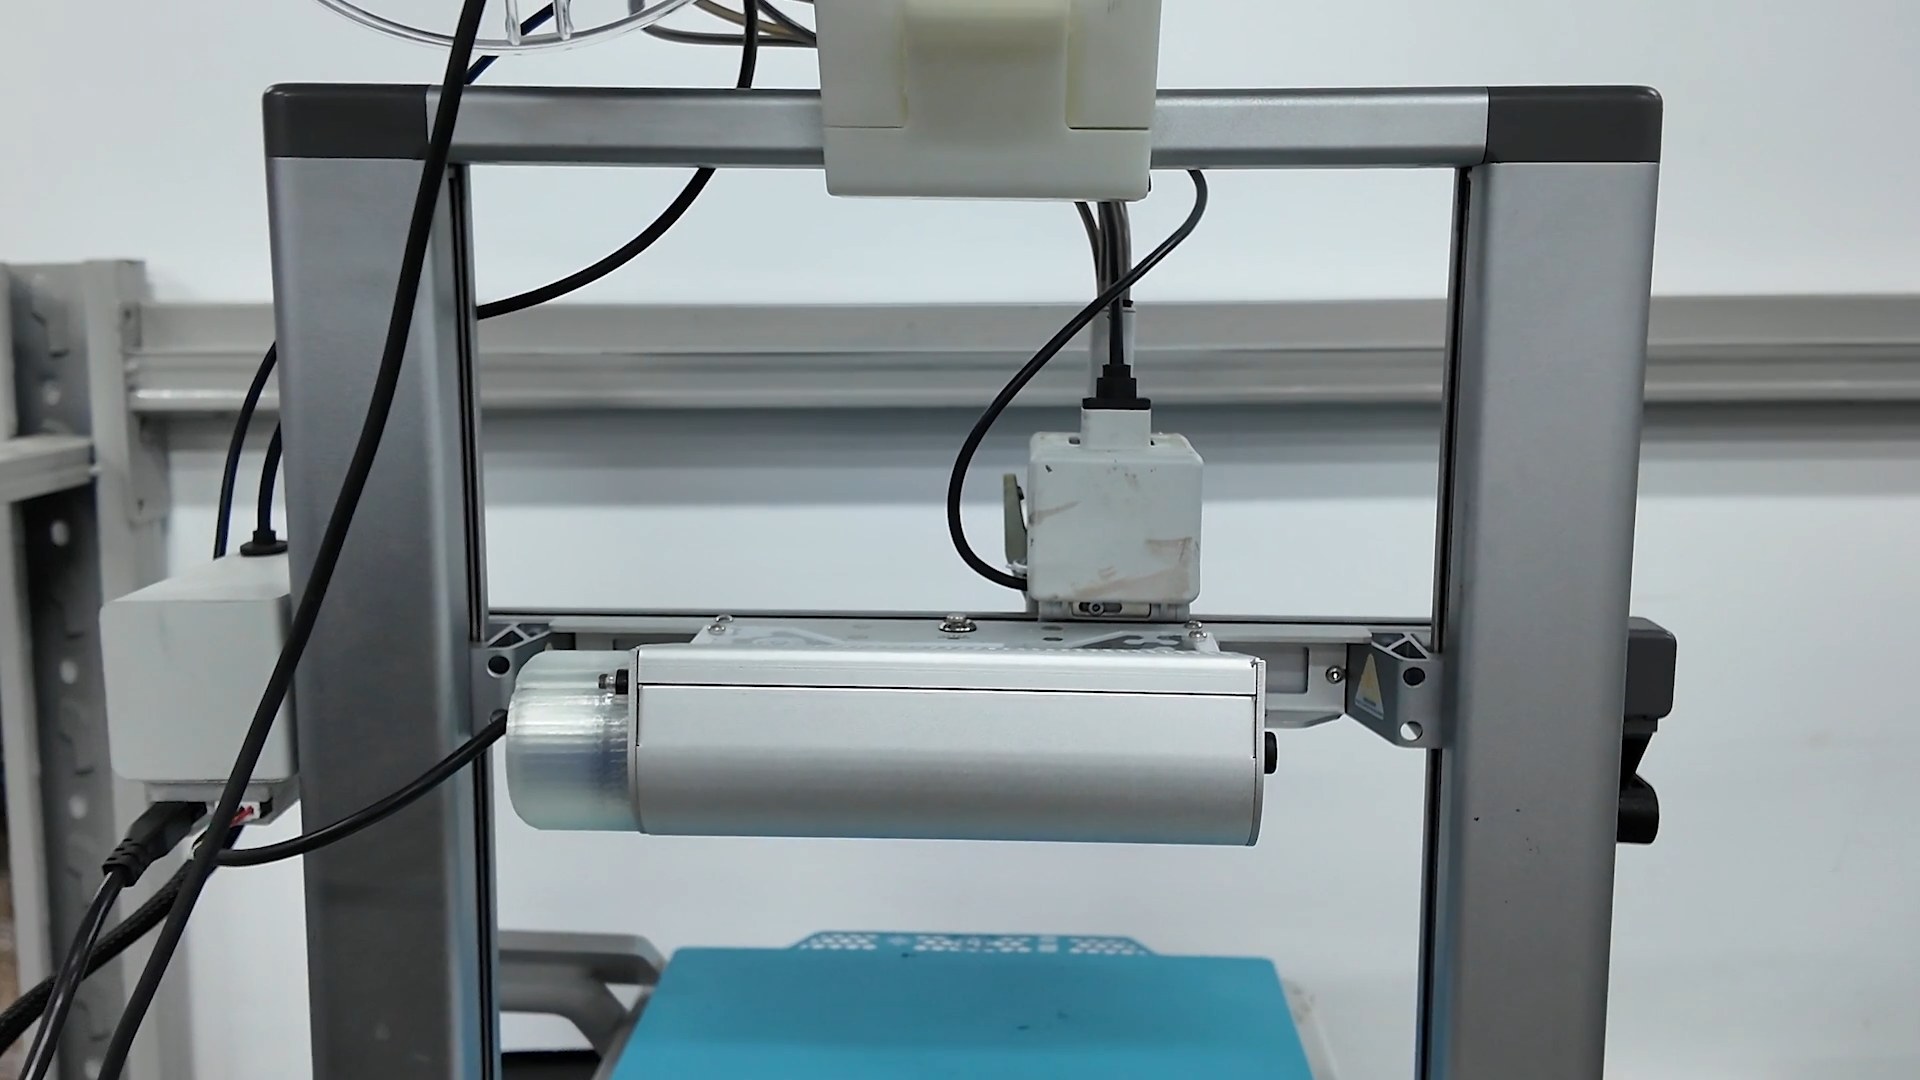
Step 1: Mount Panda Breeze
1、Using a 2.0 mm hex driver, remove the two screws on the back of the X-axis (see reference images).

2、Reuse those screws. Align Panda Breeze with the screw holes on the back of the X‑axis and tighten to secure it firmly.
Step 2: Install the Adapter Board
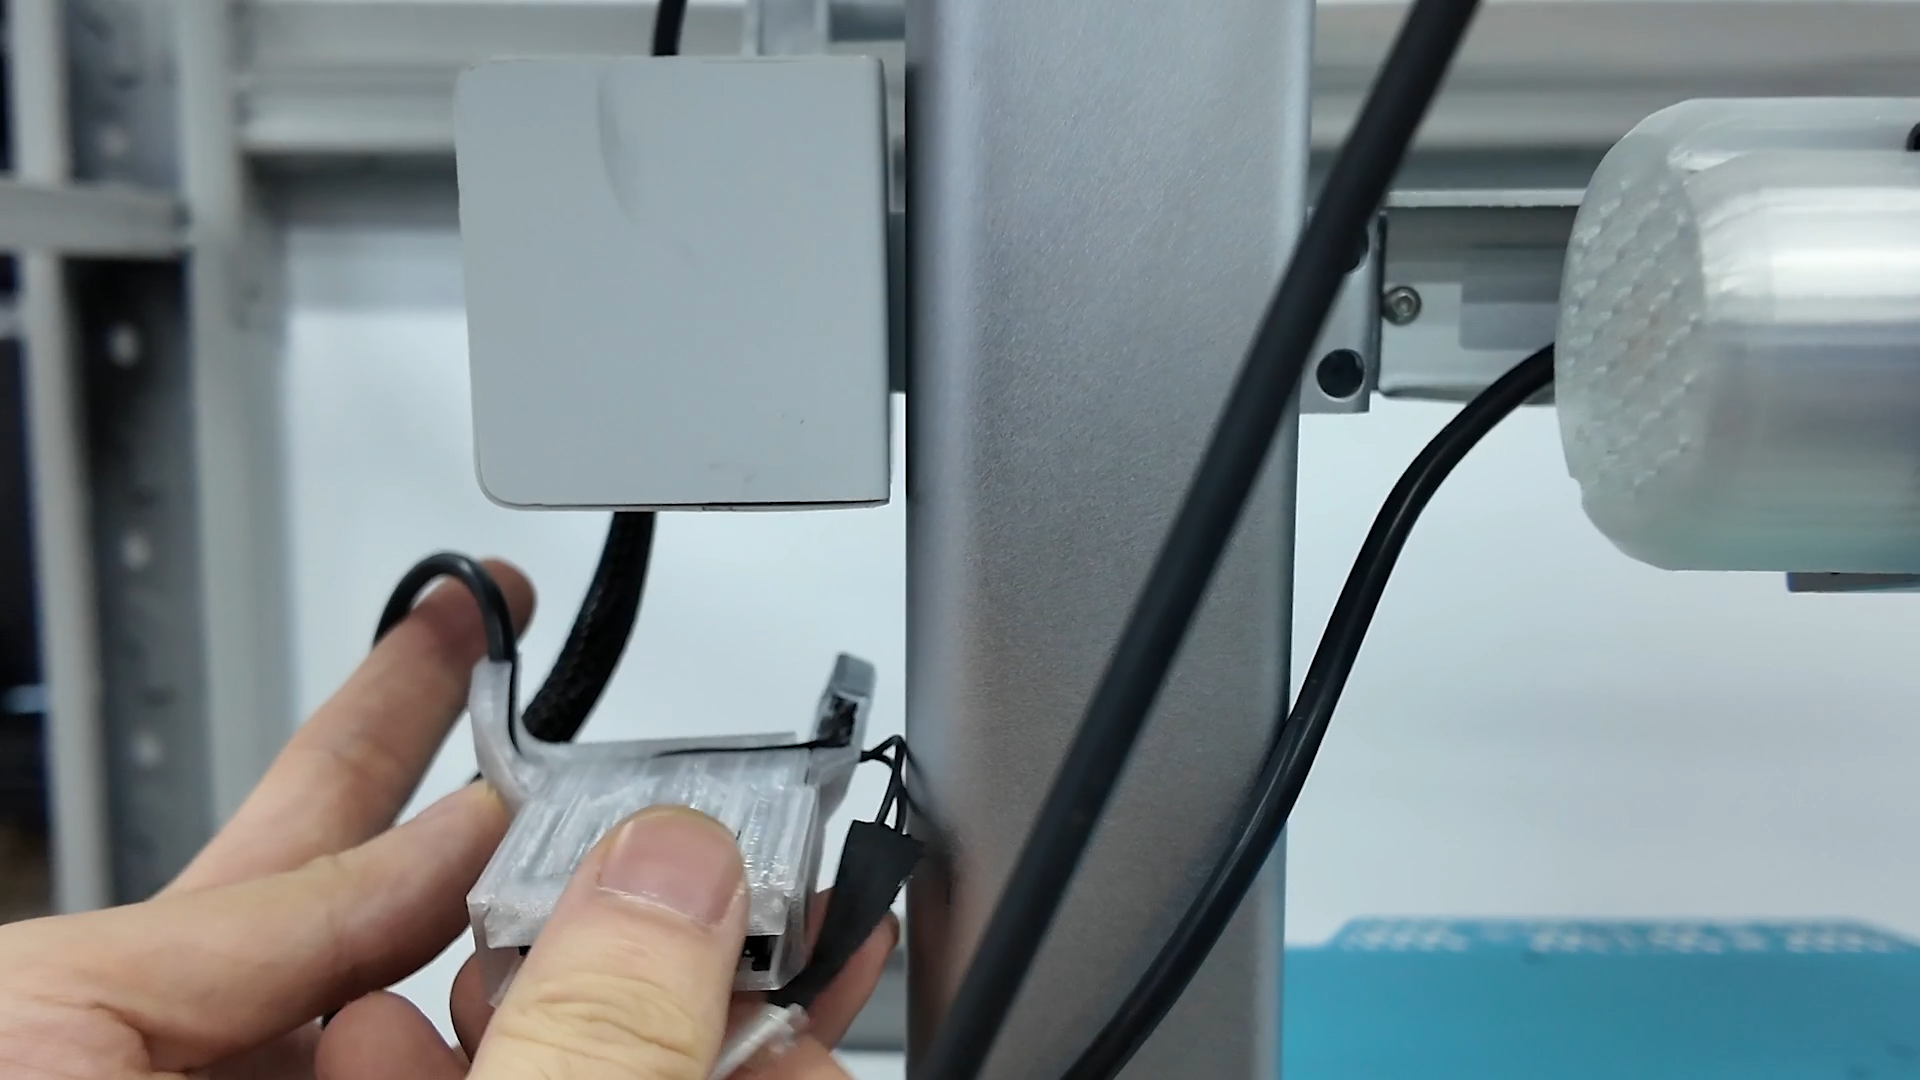
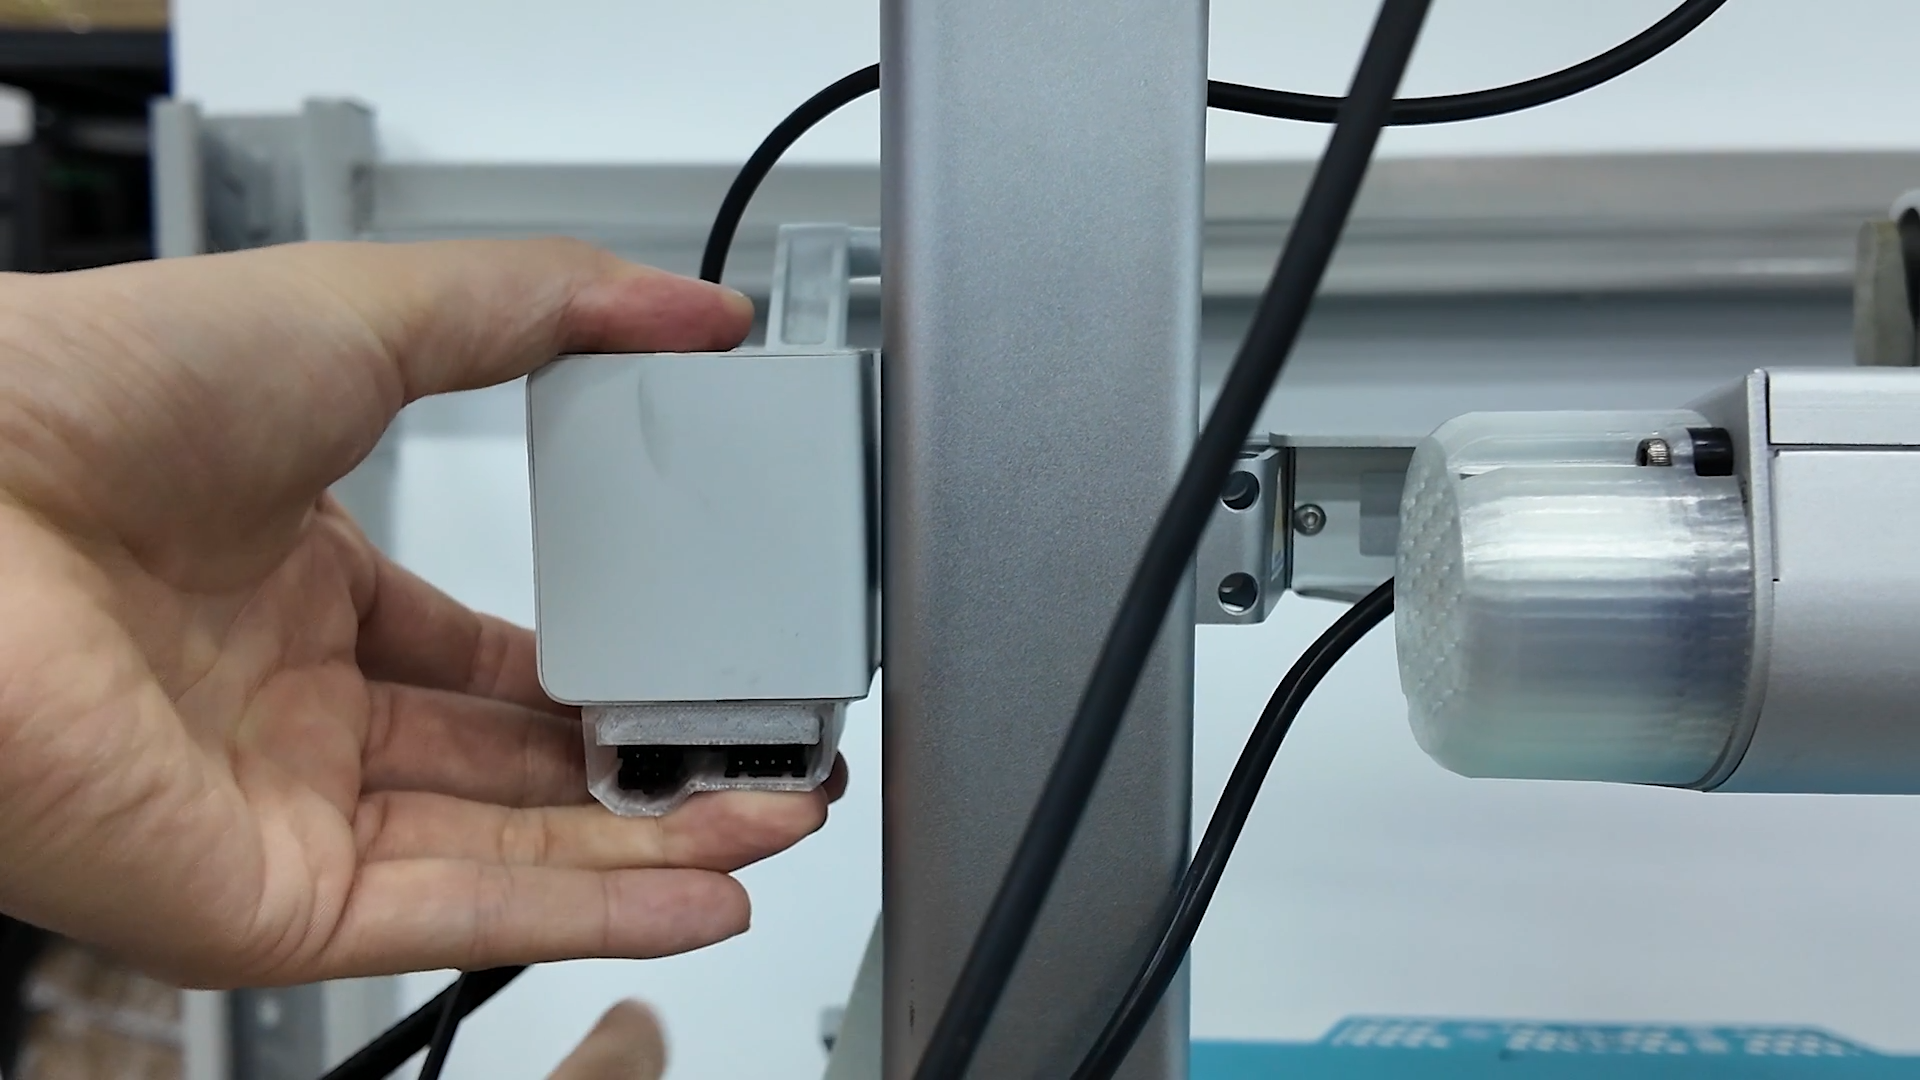
Step 3: Wiring
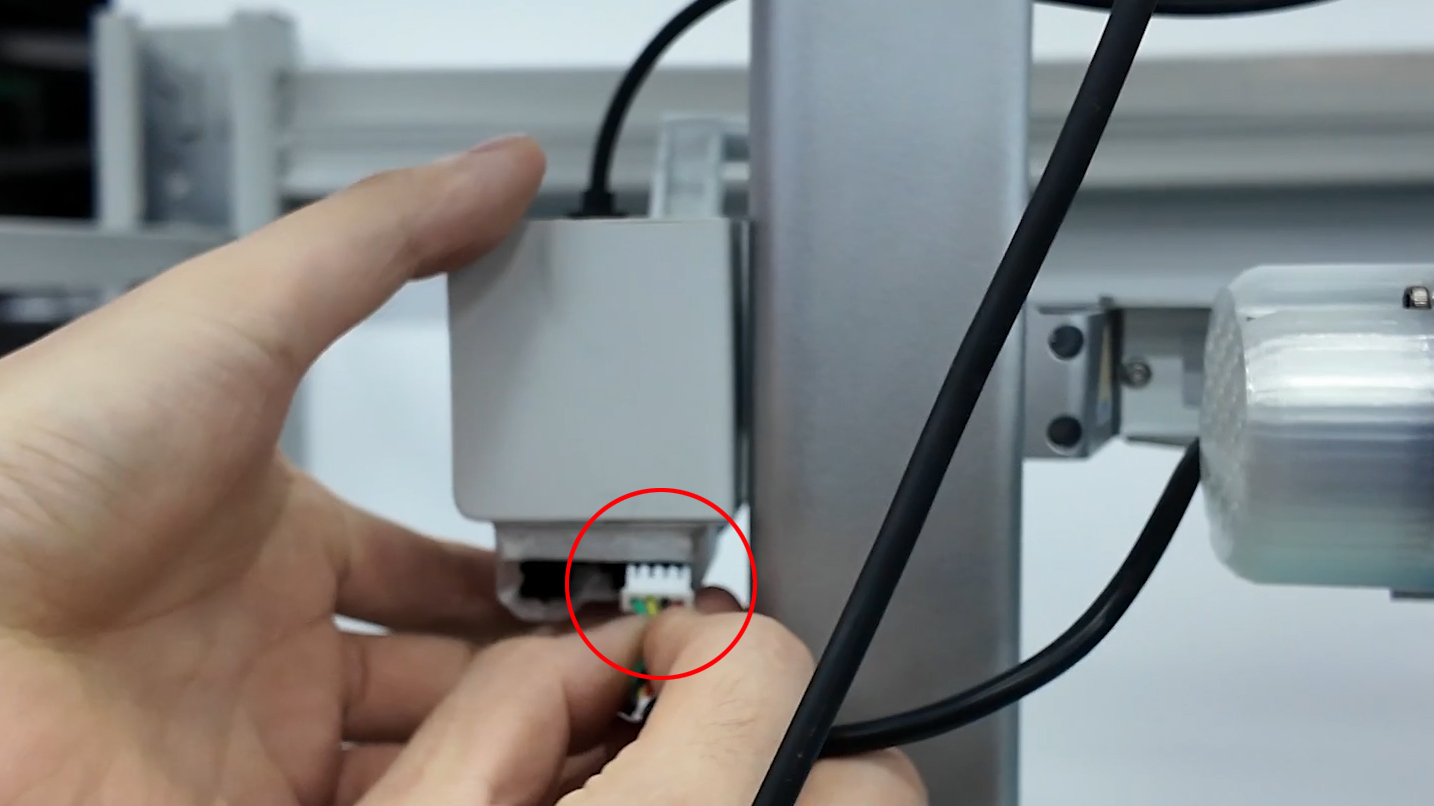
1、Plug the Panda Breeze fan cable into its matching connector (see red‑circled area in the images).
2、Insert the power cable into the MX3.0 power jack on the rear of the printer (see red circled area).
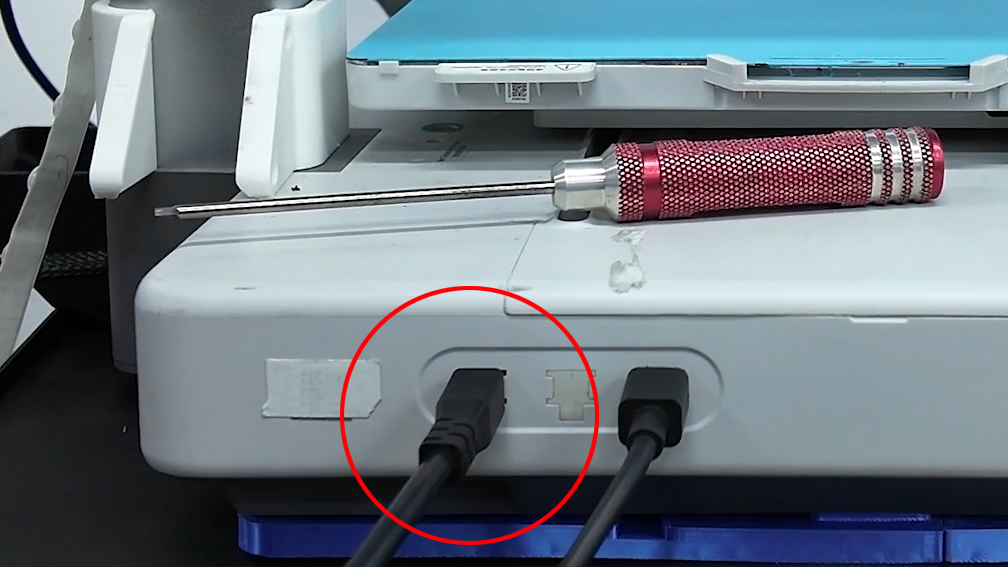
3、Insert the power cable as indicated in the image.

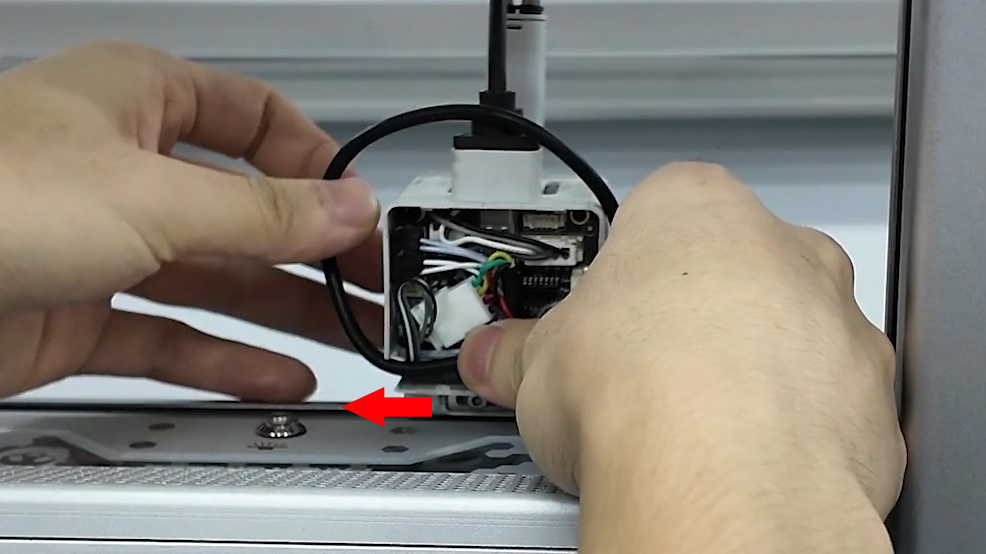
4、Open the toolhead rear cover via the notch at the bottom of the toolhead.

5、Disconnect the part-cooling fan connector (see red circled area).
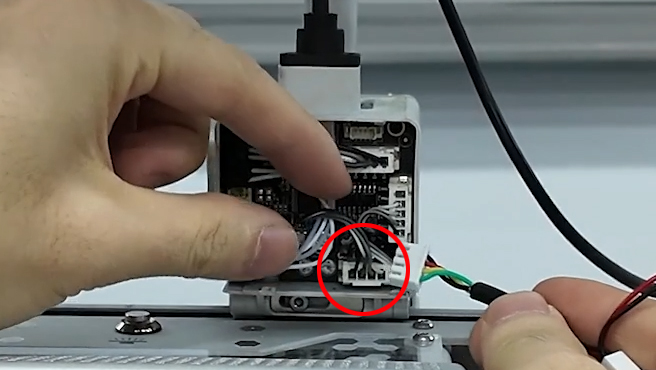
6、Plug the Panda Breeze fan‑signal adapter cable into the original part‑cooling fan port.

7、Connect the previously unplugged part‑cooling fan cable to the fan‑signal adapter cable.

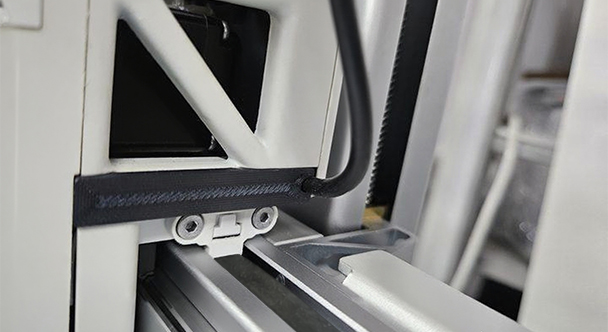
8、Neatly arrange all cables inside the toolhead. Remove the right‑side cover of the print head and route the fan‑signal adapter cable out along the indicated path.
9、Press the rear cover back into place and ensure it is securely seated.
10、Print the side cover from MakerWorld (https://makerworld.com/en/models/1698174-panda-breeze-printed-parts#profileId-1800624), reinstall the cable duct, and fasten the wiring.
Step 4: Install the LED Strip
- Clean the underside of the X‑axis with an alcohol wipe to remove dust and oil.
- Peel off the protective film from the LED strip’s adhesive backing.
- Align the strip under the X-axis. Starting at the left, press slowly toward the right to adhere the strip.
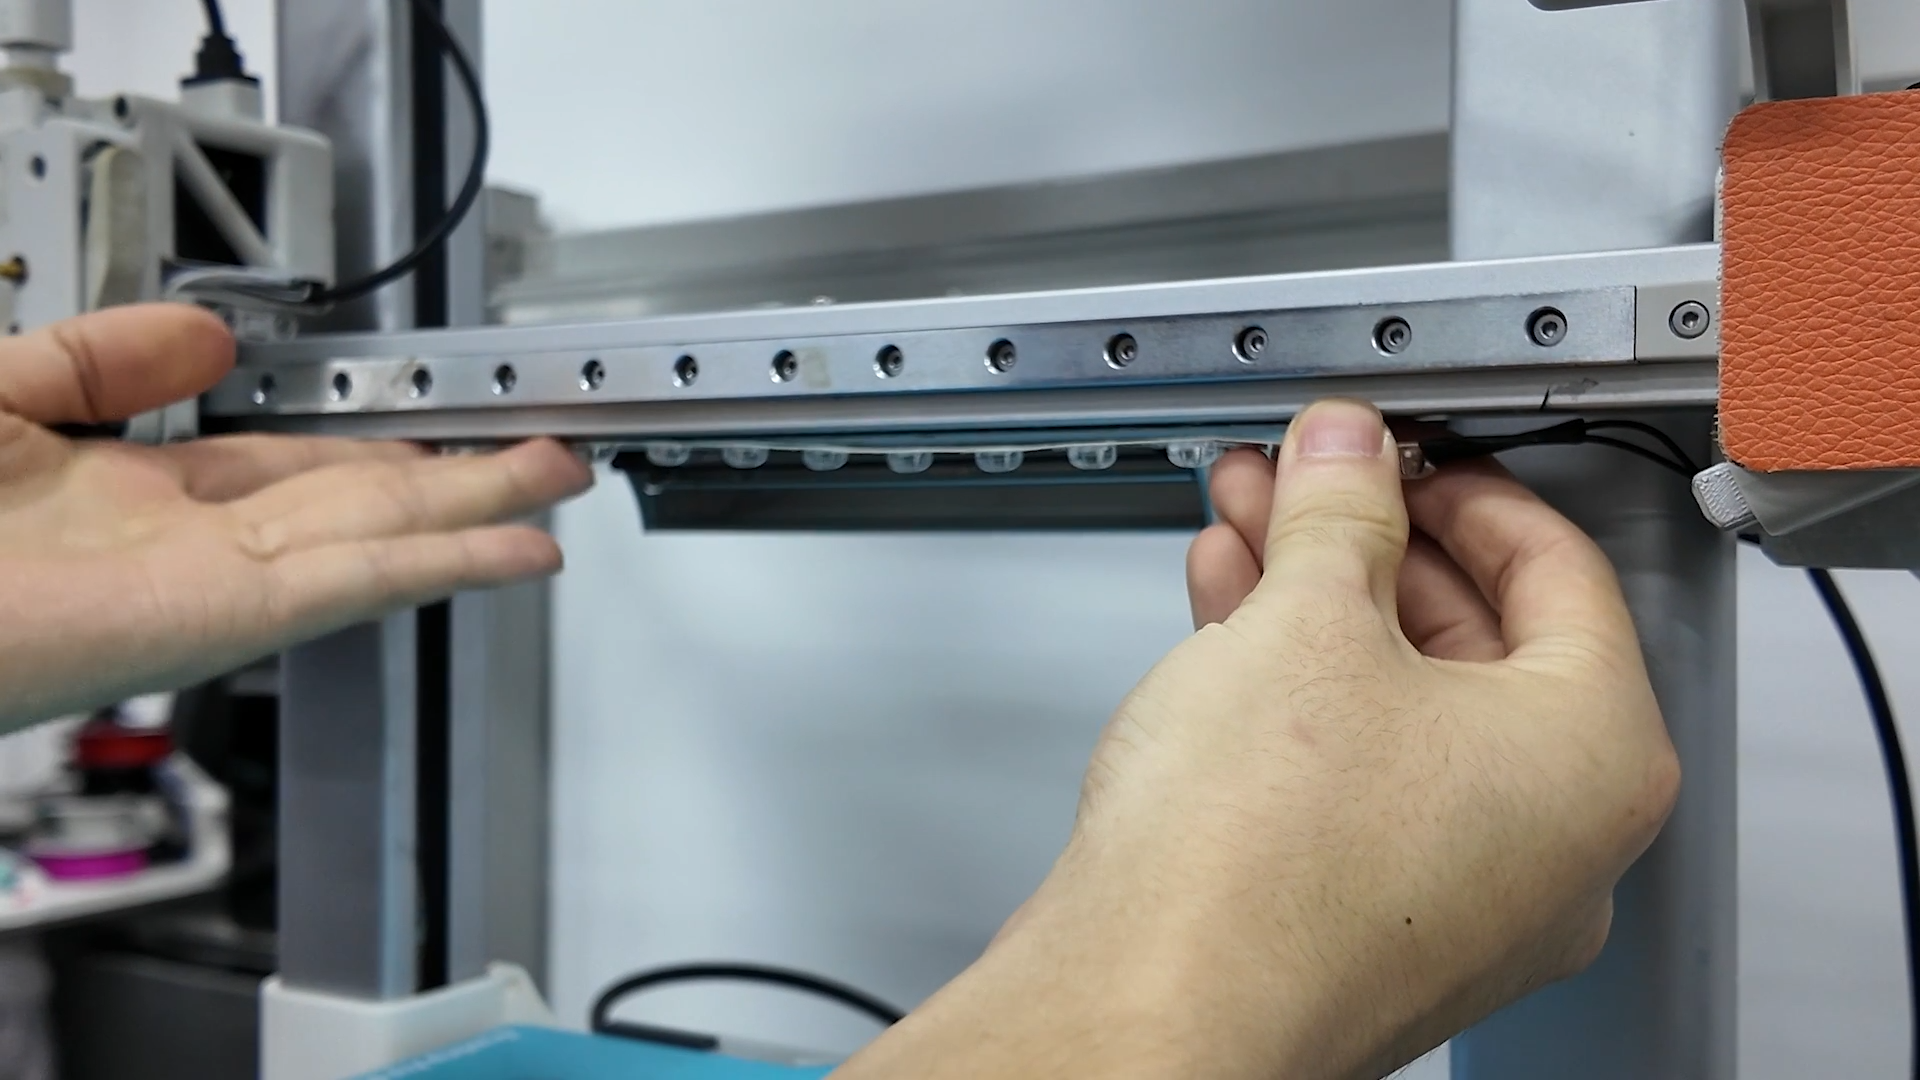
4、Press along the strip several times to ensure a secure installation.

Product Purchase Link
https://bit.ly/4kY2Ulr
If you have any issues with the product, please submit a support ticket.
https://biqu3d.com/pages/submit-a-ticket
Navigation:
BIQU Official Website: http://biqu3d.com
BIGTREETECH Official Website: http://bigtree-tech.com
Online Store: https://biqu.equipment
Community: https://community.biqu3d.com