Panda Den
-
Product Link: Buy Here
-
You can download the print files from GitHub or MakerWorld:
- Panda RGB Controller mounting shell.
- 256×256 build plate storage rack.
- Tool Drawer Gridfinity adapter chassis and related storage components.
Revision History
| Version | Date | Update Content |
|---|---|---|
| v1.00 | September 12, 2025 | Initial Version |
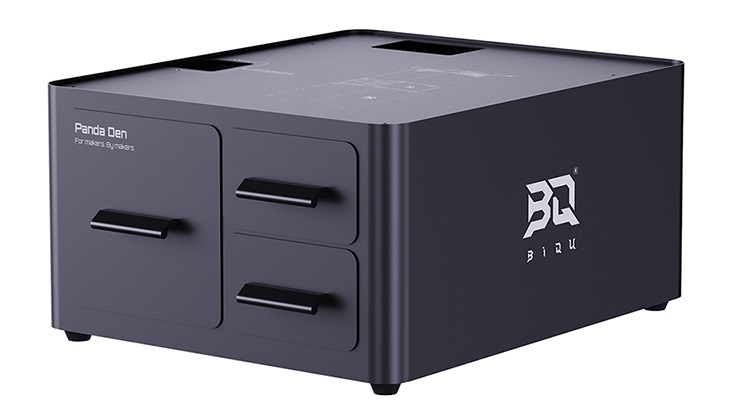
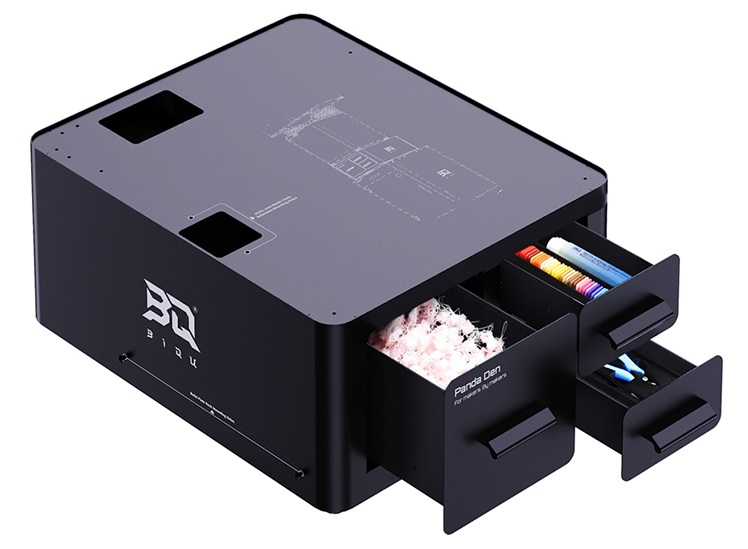
Product Overview
Panda Den is a stackable storage product designed for Bambu Lab A/P/X series printer users. It neatly stores printing plates and tools while simplifying waste collection. It also supports RGB light kit installation, offering both personalized style and practical functionality, making it the perfect blend of functionality and decoration for your printer.
Product Features
-
High-strength materials
Crafted from high-strength steel, the body ensures exceptional durability and heavy-duty load-bearing capacity.
-
Supports RGB Kit Expansion
Various lighting effects, controllable via Web UI and BQ App.
-
Compatible with Multiple Models
Compatible with Bambu Lab A/P/X printers.
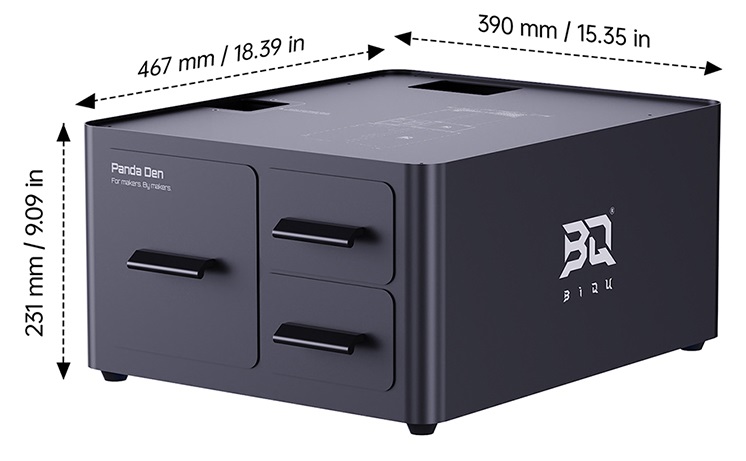
Product Specifications
-
Product Name: BIQU Panda Den
-
Material: High-Strength Steel
-
Compatibility: Compatible with Bambu Lab A/P/X printers (Elegoo CC and other models will be adapted over time)
Panda Den Bambu Lab A1 Series Installation Guide
-
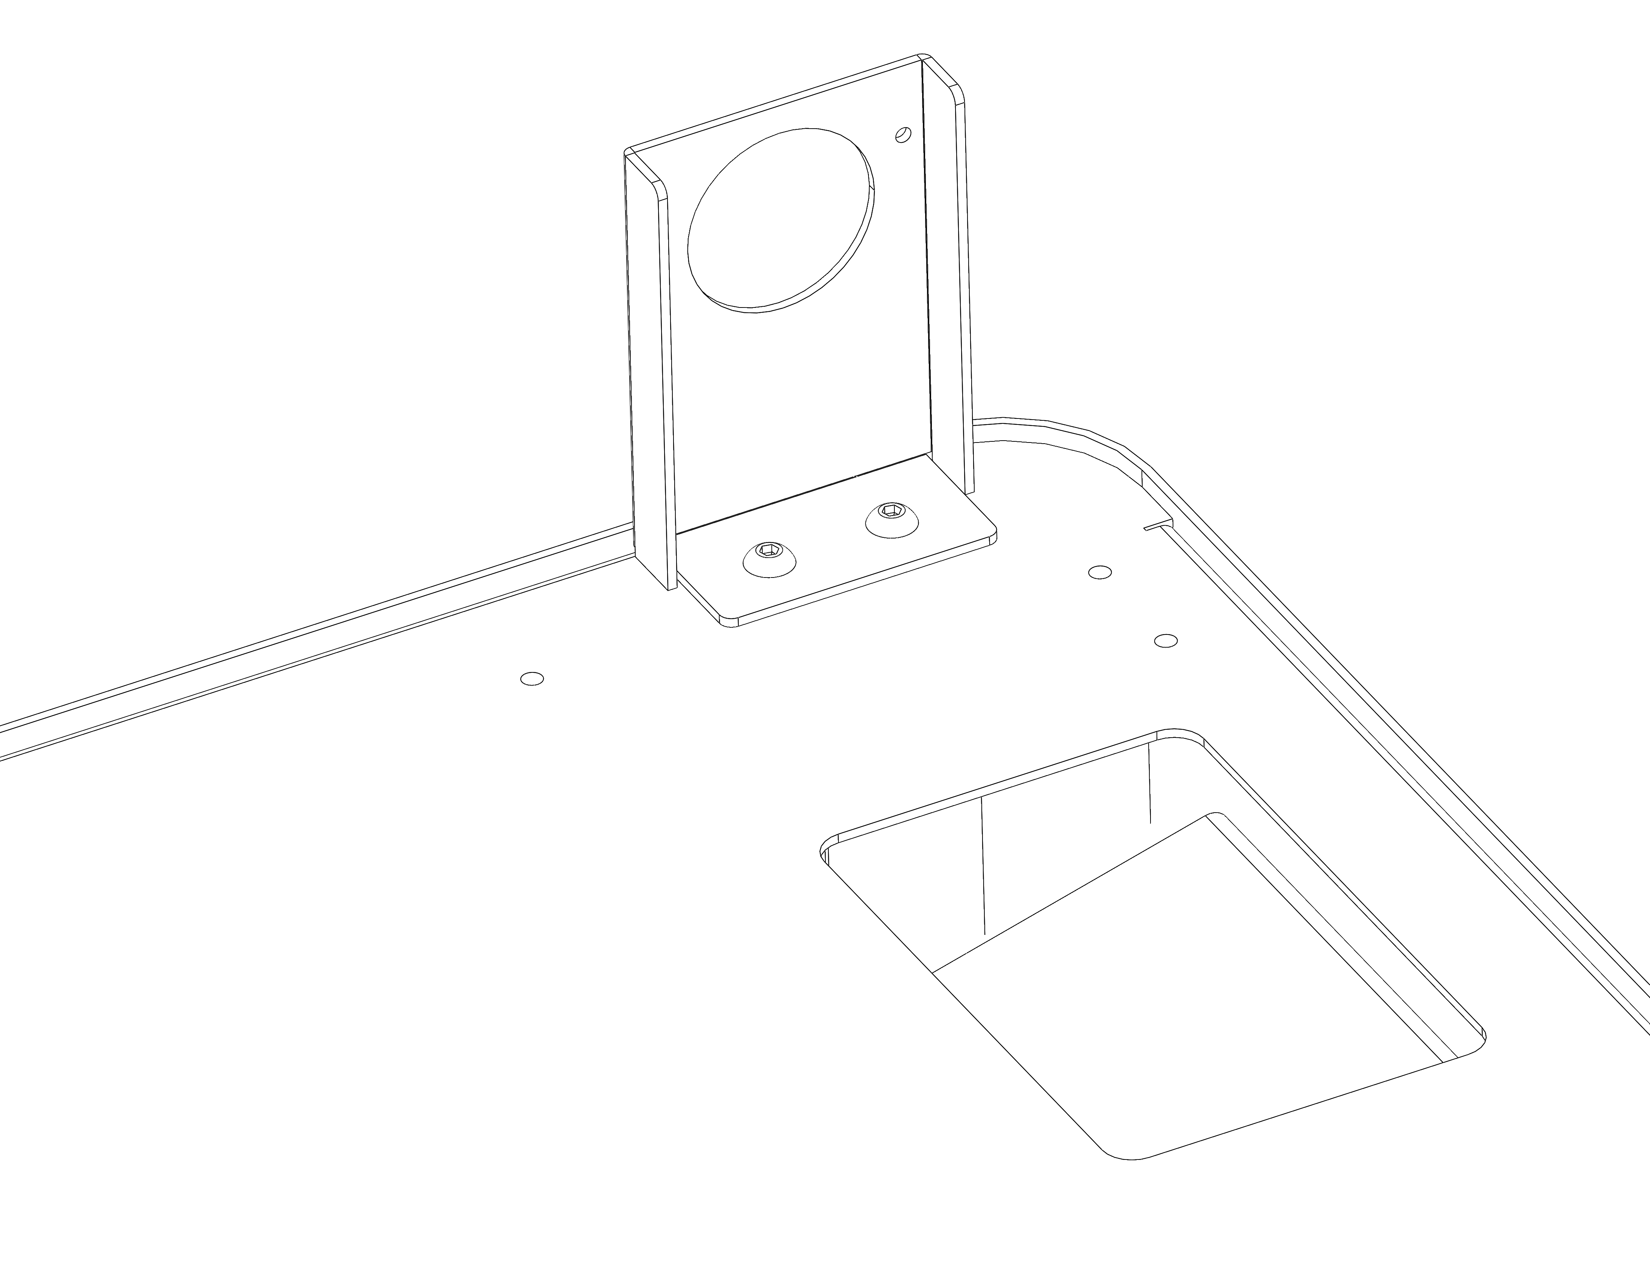
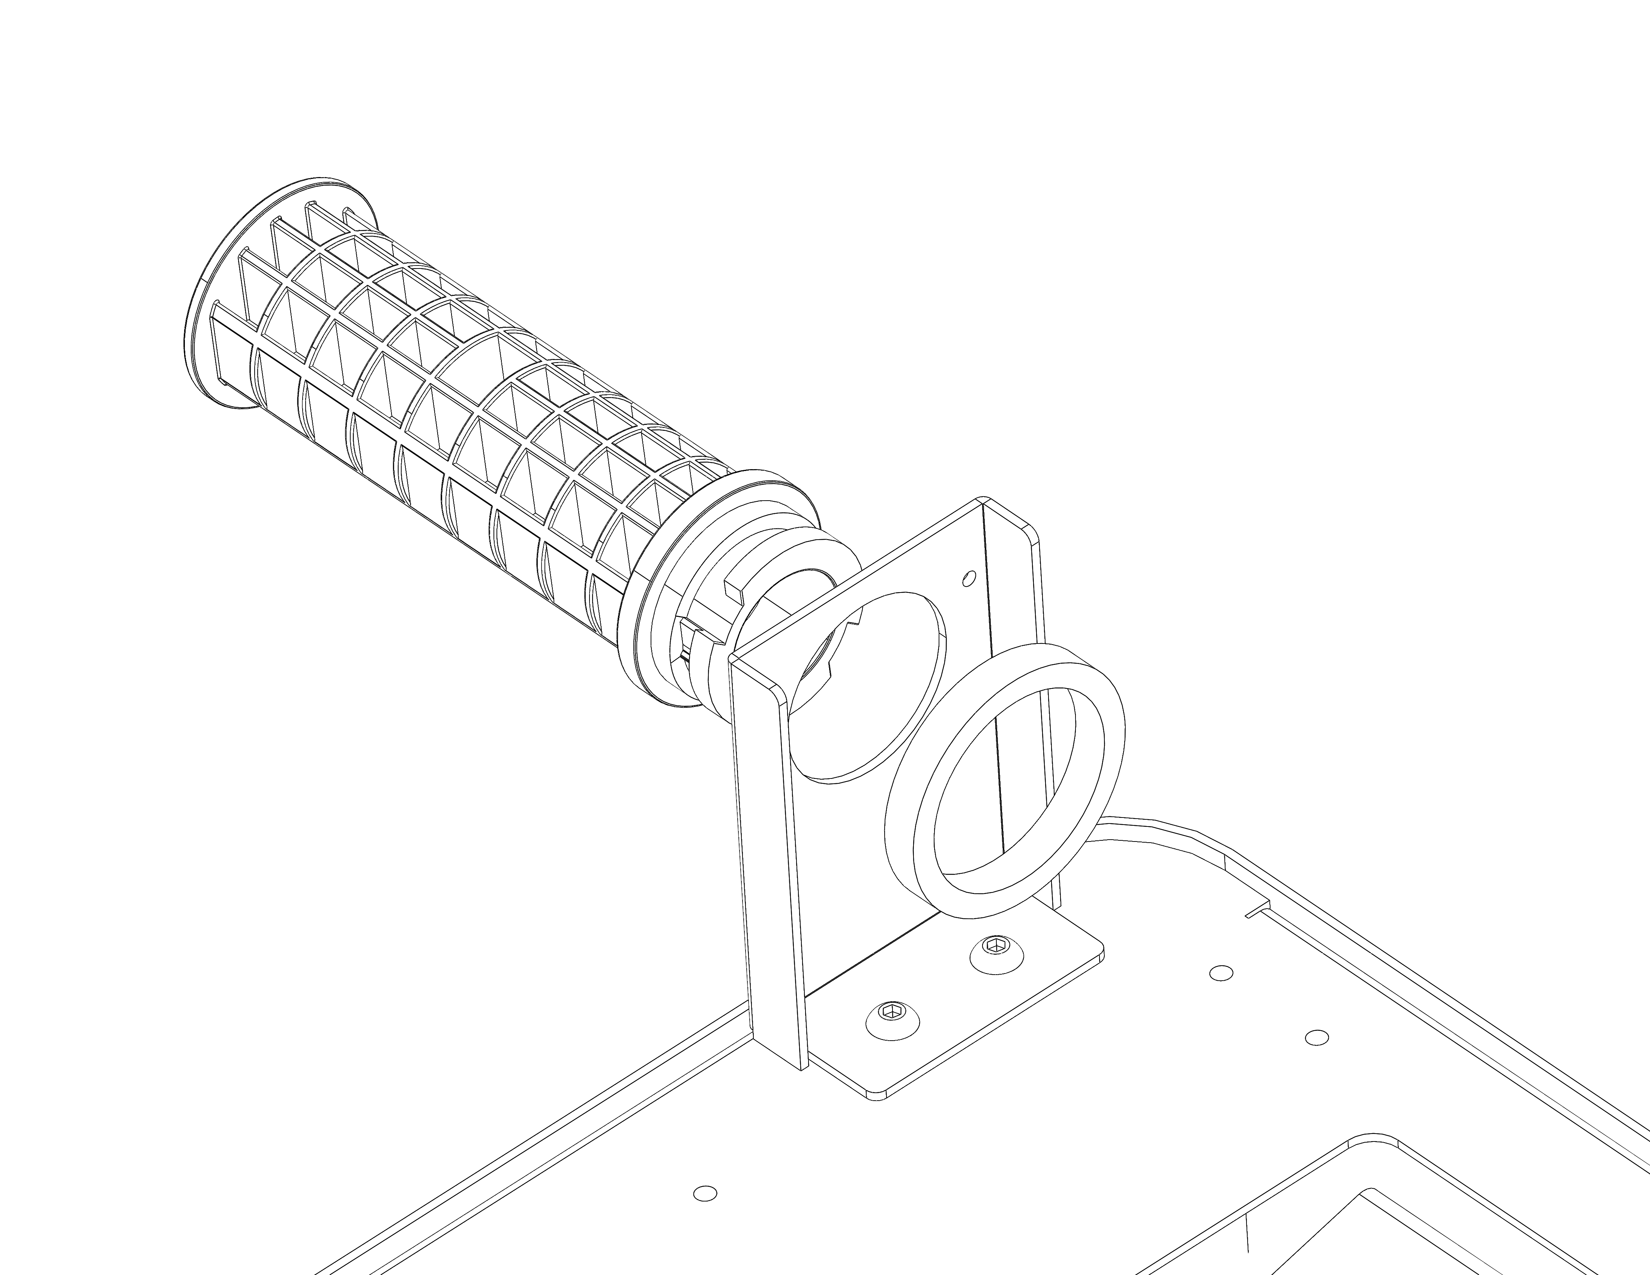
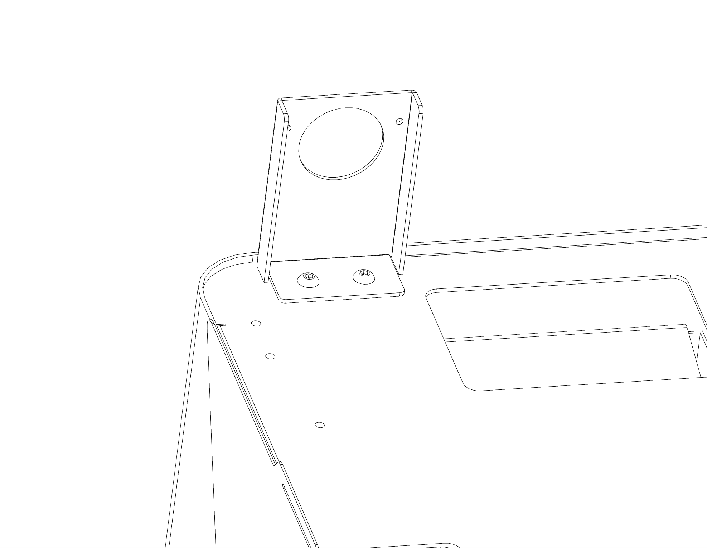
Step 1: To install the filament spool holder, attach the provided steel bracket to the designated mounting holes (silk marking: filament spool holder mounting holes). Note that there are four holes, allowing two possible mounting positions—choose whichever you prefer. Secure the bracket with the two included M4×5 screws. Once installed, the bracket can hold either the included filament spool holder or the printer’s original holder.
-
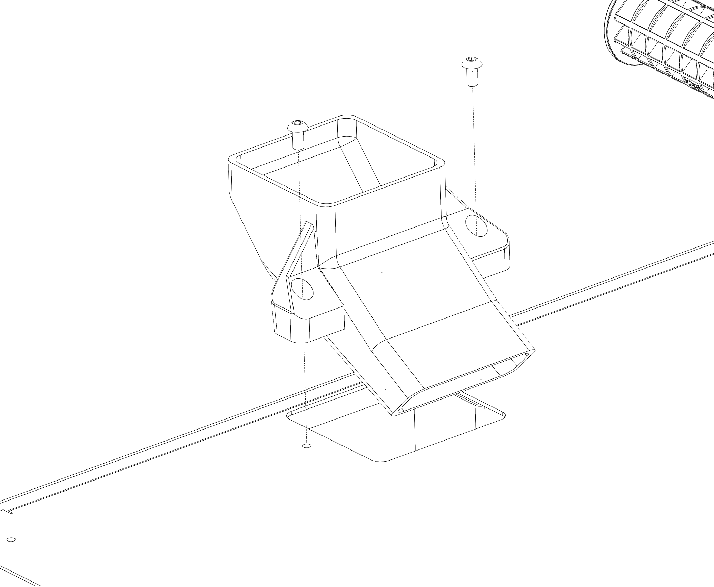
Step 2: Install the A1 Waste Collection (printed in advance) onto its designated mounting hole, identified by the silk mark A1/A1 mini Waste Chute Extension mounting hole. Secure it with the two included M4×8 screws. Next, position the A-series printer on top of the Panda Den, ensuring the leftmost side is aligned directly above the Waste Collection opening. Finally, insert the printed A1 Waste Stopper to complete the installation.

-
Step 3: Install the build plate bracket.
Panda Den Bambu Lab PX Series Installation Guide
-
Step 1: Install the external filament spool holder.
Attach the provided steel bracket to the designated mounting holes (silk marking: filament spool holder mounting holes). There are four holes, allowing two possible mounting positions—choose whichever you prefer. Secure the bracket with the two included M4×5 screws. Once installed, the bracket can hold either the included filament spool holder or the printer’s original holder.
-
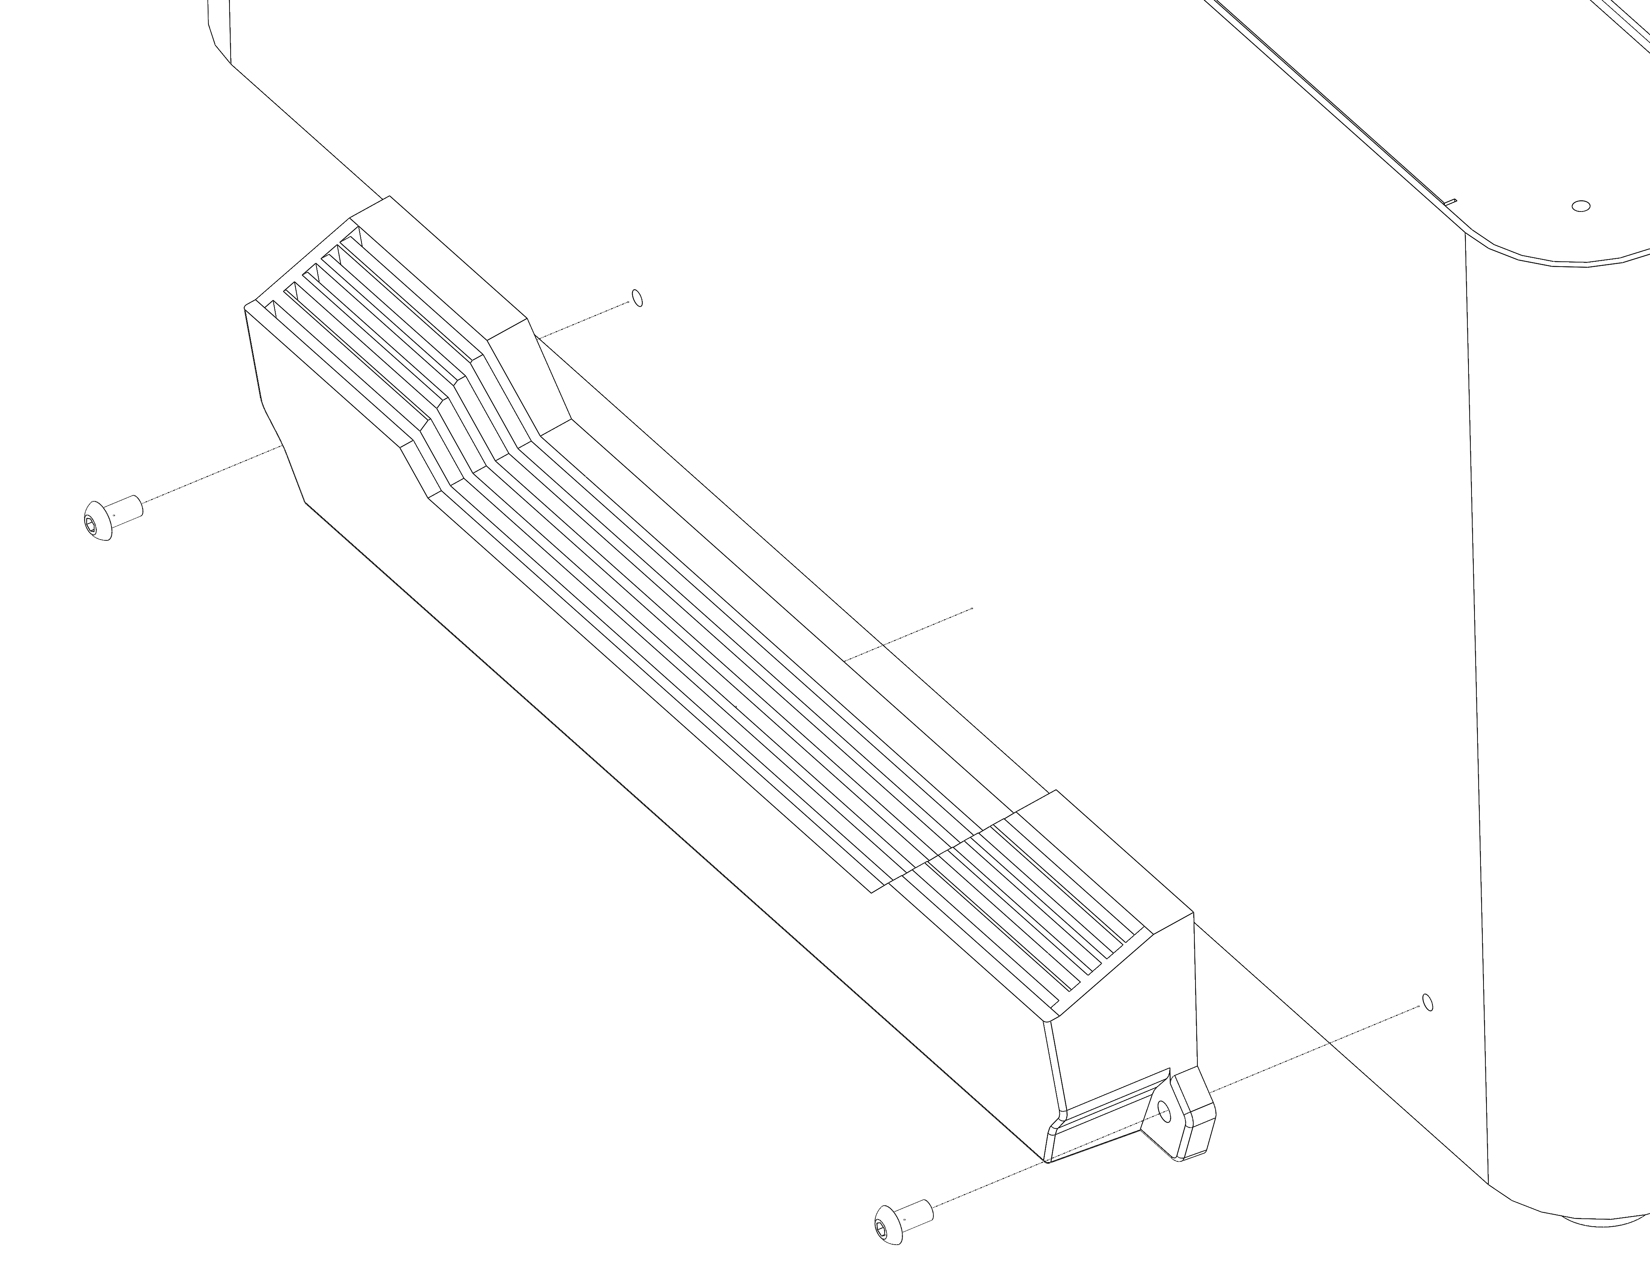
Step 2: Assemble the P1/X1 Waste Chute Extension.
-
Use 6 countersunk M3*6 screws from the accessory pack to attach the magnets to the P1/X1 Waste Chute Extension (printed in advance).

-
After positioning the printer on the Den, align its waste chute outlet with the designated mounting hole (silk marking: P1/X1 Waste Chute Extension mounting hole). Then, magnetically attach the P1/X1 Waste Chute Extension to both the printer’s waste chute opening and the Den’s corresponding mounting hole.
-
Panda Den RGB Light Strip Installation Guide
RGB light strip must be used with Panda RGB Controller, click to view the product details.
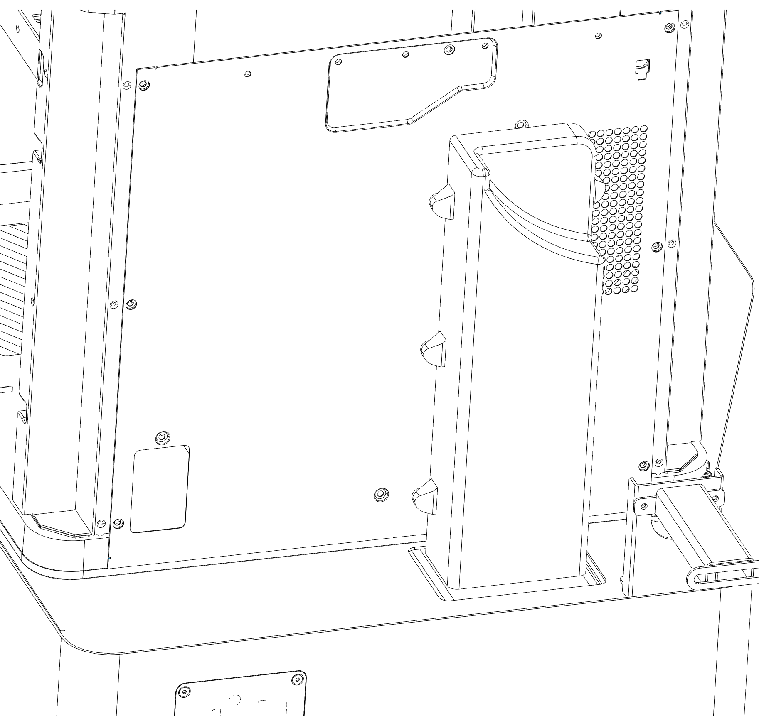
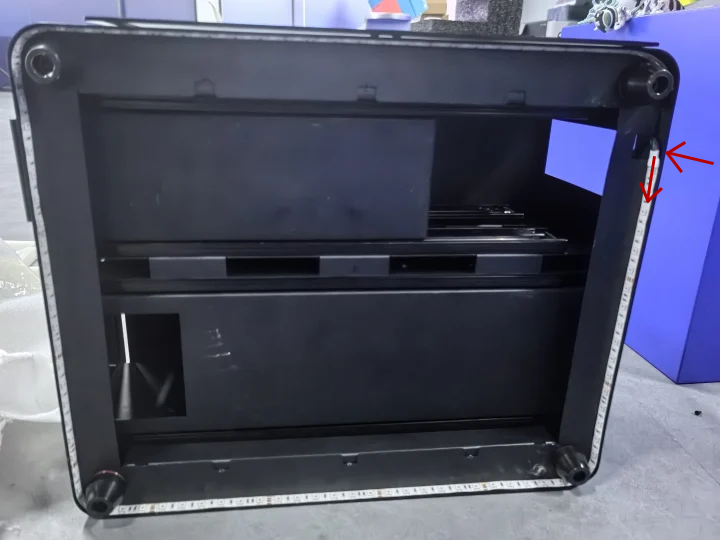
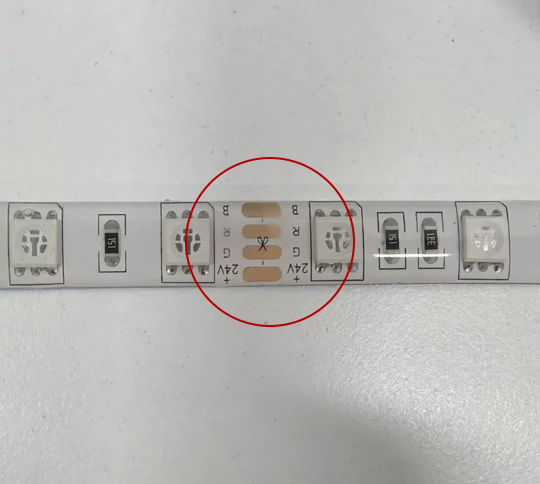
Flip the base over and locate the opening marked with an arrow in the image below. Route the light strip through this opening, then run it along the small ridge (approximately 1 cm high) around the bottom of the Panda Den. Press the strip firmly into place along the ridge, and once secured, cut it at the scissors mark (see red circle in the image). The light strip is now installed.
Panda Den Waste Section User Guide
To clean the waste, lift the Removable Waste Drawer Cover and push the waste out through the bottom outlet.

Enjoy your Panda Den!